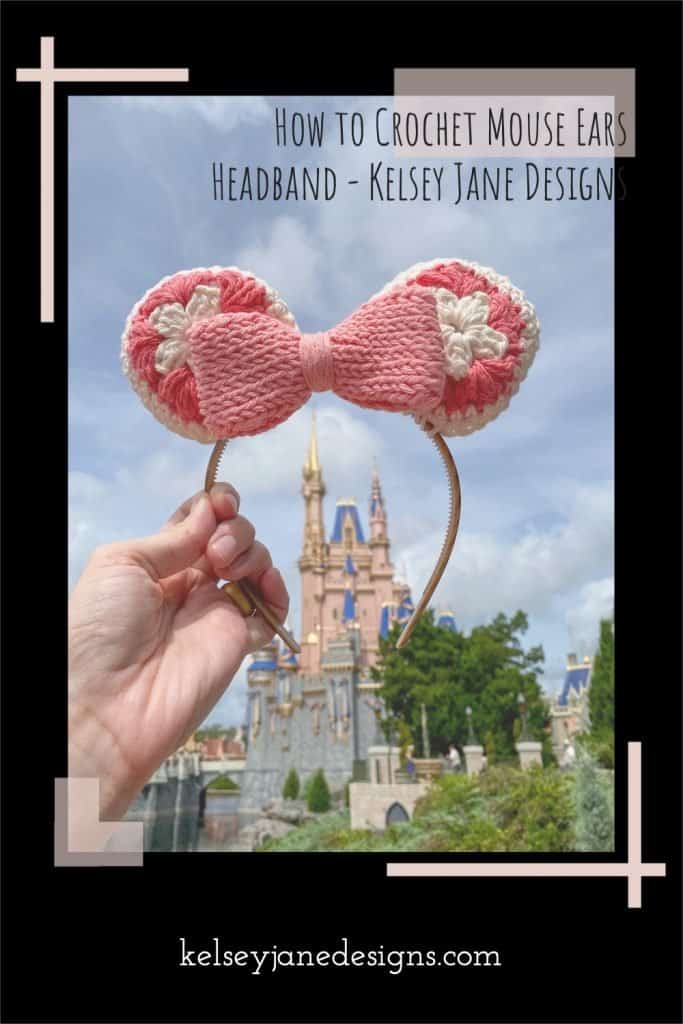
How to Crochet Mouse Ears Headband
The following post contains affiliate links. By clicking on the links you are supporting my site and allowing me to continue to create free content. I promise, I only share products that I use and love! For more information please see my disclosure page.
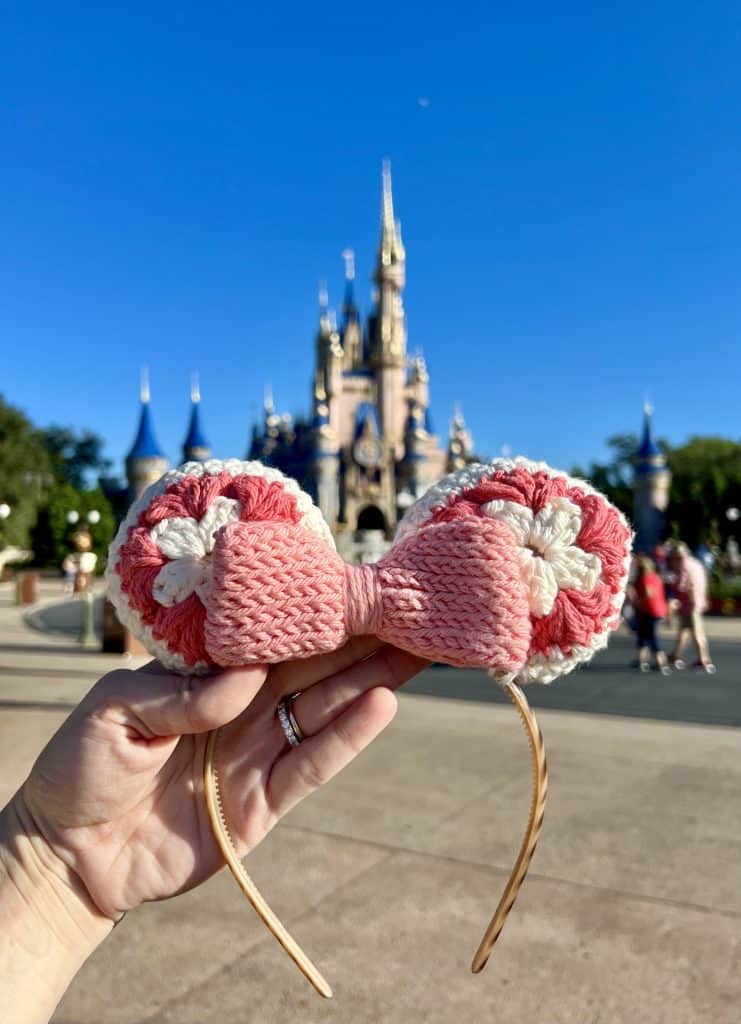
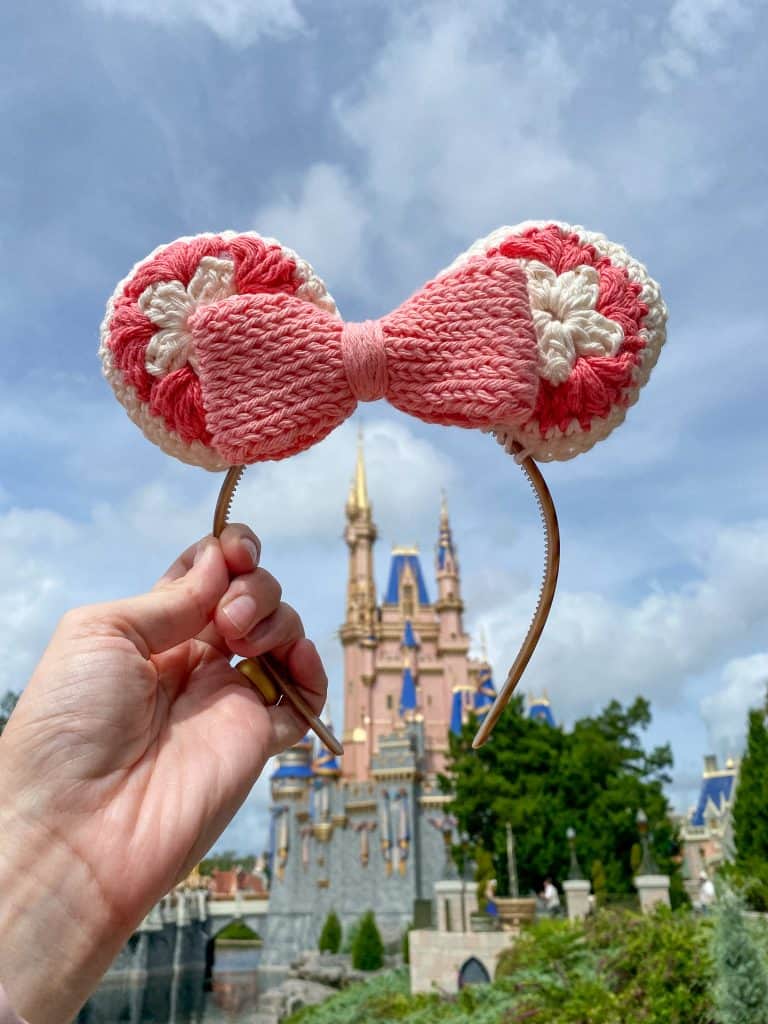
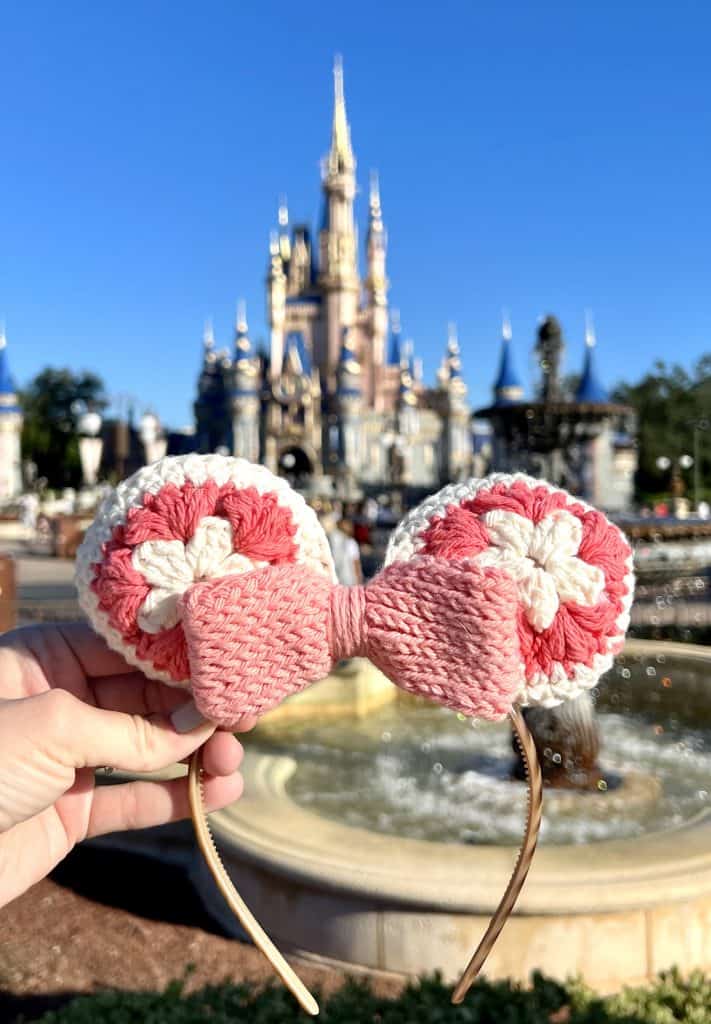
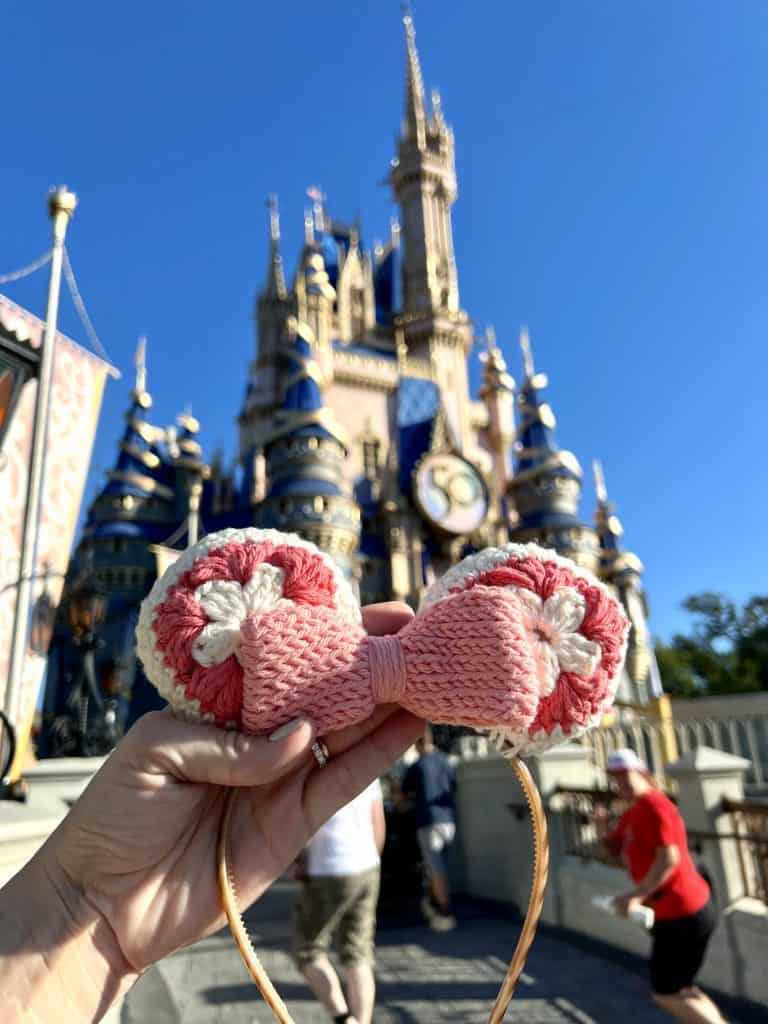
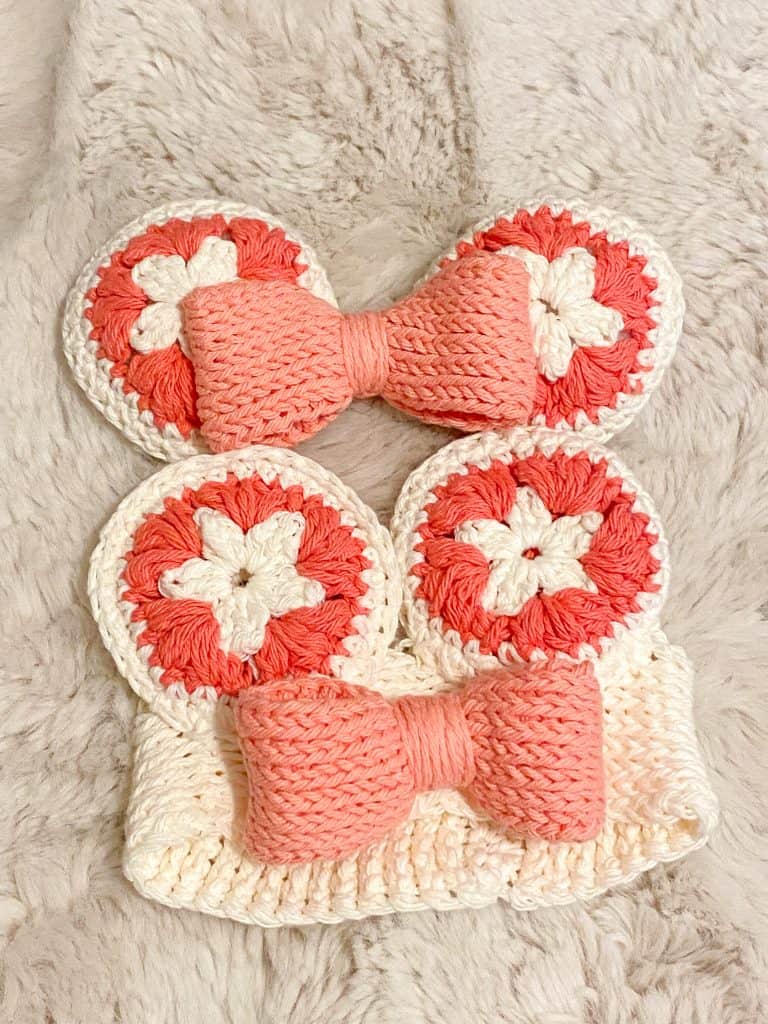
You’ll receive endless compliments on your next trip with these one-of-a-kind crochet mouse ears! Included are instructions for Mommy and Me matching Mouse Ears. Full video tutorial included for extra help.
The following post contains affiliate links. By clicking on the links you are supporting my site and allowing me to continue to create free content. I promise, I only share products that I use and love! For more information please see my disclosure page.
My family absolutely loves Disney World. Now that we have kids we try to go every chance we get. That being said now that I have a daughter, I of course want as many ways to match her as possible. This is why I decided to come up with my own pattern for matching mouse ears. My daughter is still quite young so hers are attached to a crocheted headband while mine is attached to a traditional plastic headband. If your child is older, you can easily just attach them to a child-sized plastic headband instead of the crocheted. The crocheted version allows the ears to stand up on her forehead versus on top of her head.
I have included instructions for the baby/child version but I did not include any pictures of my daughter wearing the headband. Maybe I watch the news too much but I am a little paranoid about putting photos, especially recent, of my children on the internet. So trust me in that the end result is super adorable and perfect!
The Video:
Abbreviations/Stitches
- Chain (ch)
- Stitch (st)
- Double Crochet (dc)
- Slip Stitch (sl st)
- Tunisian Knit Stitch (tks)
- Forward Pass (FwP)
- Return Pass (RetP)
- Tunisian Simple Stitch (tss)
- Yarn Over (YO)
- Change Color (CC)
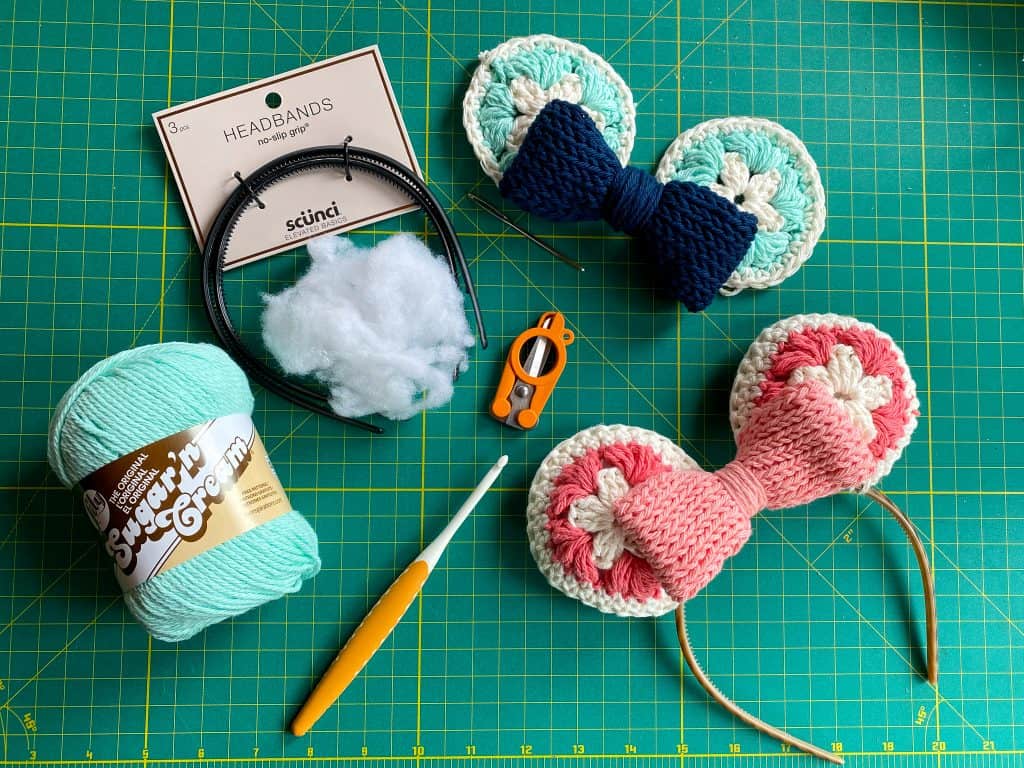
Supplies
- Lily Sugar n Cream (100% cotton, #4 weight):
- Color 1 (C1): Ecru 0.4 oz
- Color 2 (C2): Tangerine 0.4 oz
- Color 3 (C3) Light Pink 0.4 oz
- 5mm crochet hook (this one is just as dreamy as a Furls but much more affordable!)
- Headband (these were comfy all day in the park)
- Polyfill (or extra yarn)
- Scissors
- Yarn Needle
- 6.5 mm hook if making the baby headband
For an Ad Free Printable Version of the pattern, check out my ETSY Shop
Notes
Each ear is made of 2 circles that are single crocheted together with a small amount of polyfill inside. You can also use neutral-colored cotton yarn to stuff in between. You don’t want too much stuffing so it doesn’t pop/appear through the gaps in the pattern.
The bow is worked using Tunisian Knit Stitch (tks). Detailed instructions are below and you won’t need a special hook! You’ll use the same hook as the rest of your pattern.
You can use all one color for the ears if you’d like! Customize the colors to make them unique and your own.
To change colors: yarn over (YO) using the new color for the first chain of your new row. Your final loop on your hook should be the new color. Cut the old color and I like to tie with the new color tail for extra security (tie is optional). Weave in your tails.
Puff Stitch: YO, insert into st, YO & draw up a loop x 3 then YO and pull through all 7 loops on hook. Ch 1 to close puff
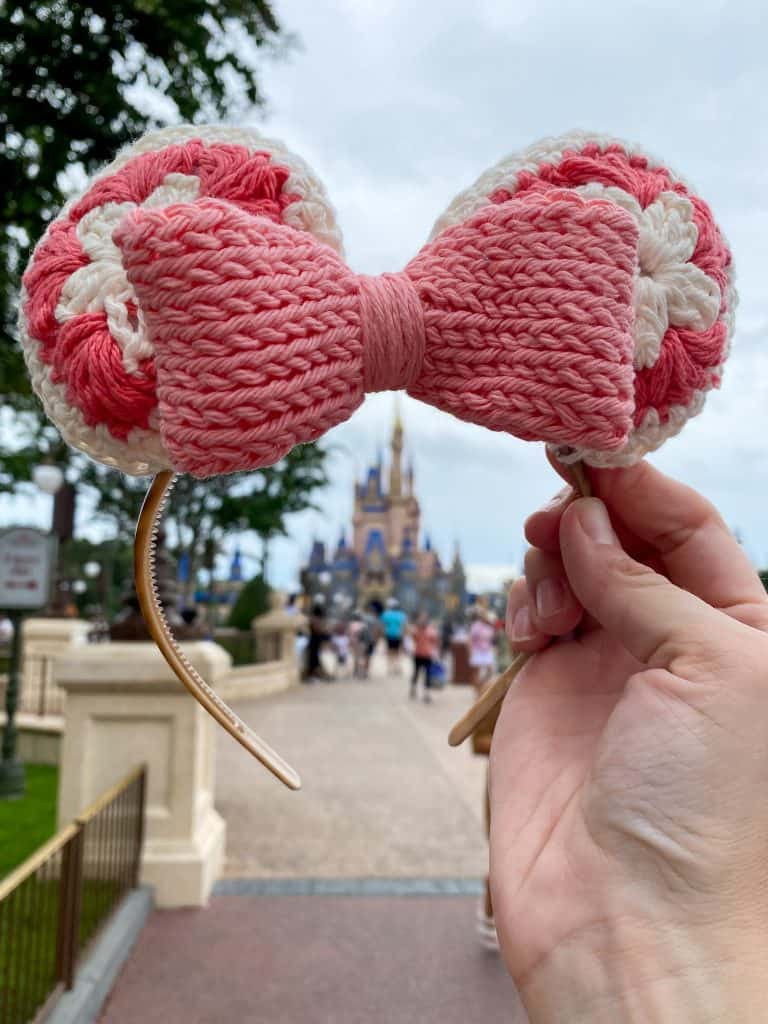
From experience, be careful when packing your headband! Don’t make the same mistake as me and let it get shoved in the bottom of your backpack. See how sad the bow looks below. This can make it a little more tricky to get the ears to stand back up and the last thing anyone wants to do is have to manipulate their headband in front of the castle before they can take a photo.

Instructions:
Ch 3, sl st into 1st ch forming a ring (or make a magic circle).
Round 1: ch 3, 2dc, ch 1, *3dc, ch 1* x 4 then sl st into ch 3
Round 2: CC to C2, ch 3, 3 puff st per ch 1 gap, sl st into ch 3
Round 3: CC to C1: ch 1, sc in each puff and ch 1 around then sl st into ch 1
Repeat, making 4 circles.
Tip: make your 1st circle, cut yarn leaving a short tail to tuck inside. Then after making your 2nd circle, don’t cut the yarn and instead move on to assembling those 2 circles together that way you don’t have to reattach your yarn.
Bow Instructions:
Every row in Tunisian crochet is worked in 2 steps: Forward Pass (FwP): working loops onto your hook and Return Pass (RetP): working loops off your hook.
Below Instructions are for the Forward Pass, Return Pass will be the same for each row.
Return Pass (RetP): is always the same for each row. Start by chaining 1 (yo and draw through 1 loop), *yo and draw through 2 loops on your hook* repeat across until 1 loop left on hook.
Row 1: Ch 8, turn ch over, starting in 2nd ch from hook, draw up a loop in the back bump of each ch (8) (Photo A shows Back Bump) (Photo B shows loops drawn up on hook)
Rows 2 – 38: tks across until final stitch then insert hook underneath both loops on the side of the stitch (8) (Photo C shows where to insert hook for tks) (Photos D & E show where to insert hook for final stitch)
Continue until reaching row 38 or until 10.5” long.
After that then sc to the first chain/row (Photo F) don’t worry about being messy, we’re covering this section.
Cut yarn and leave around a 50” tail to wrap around bow center.
(A) 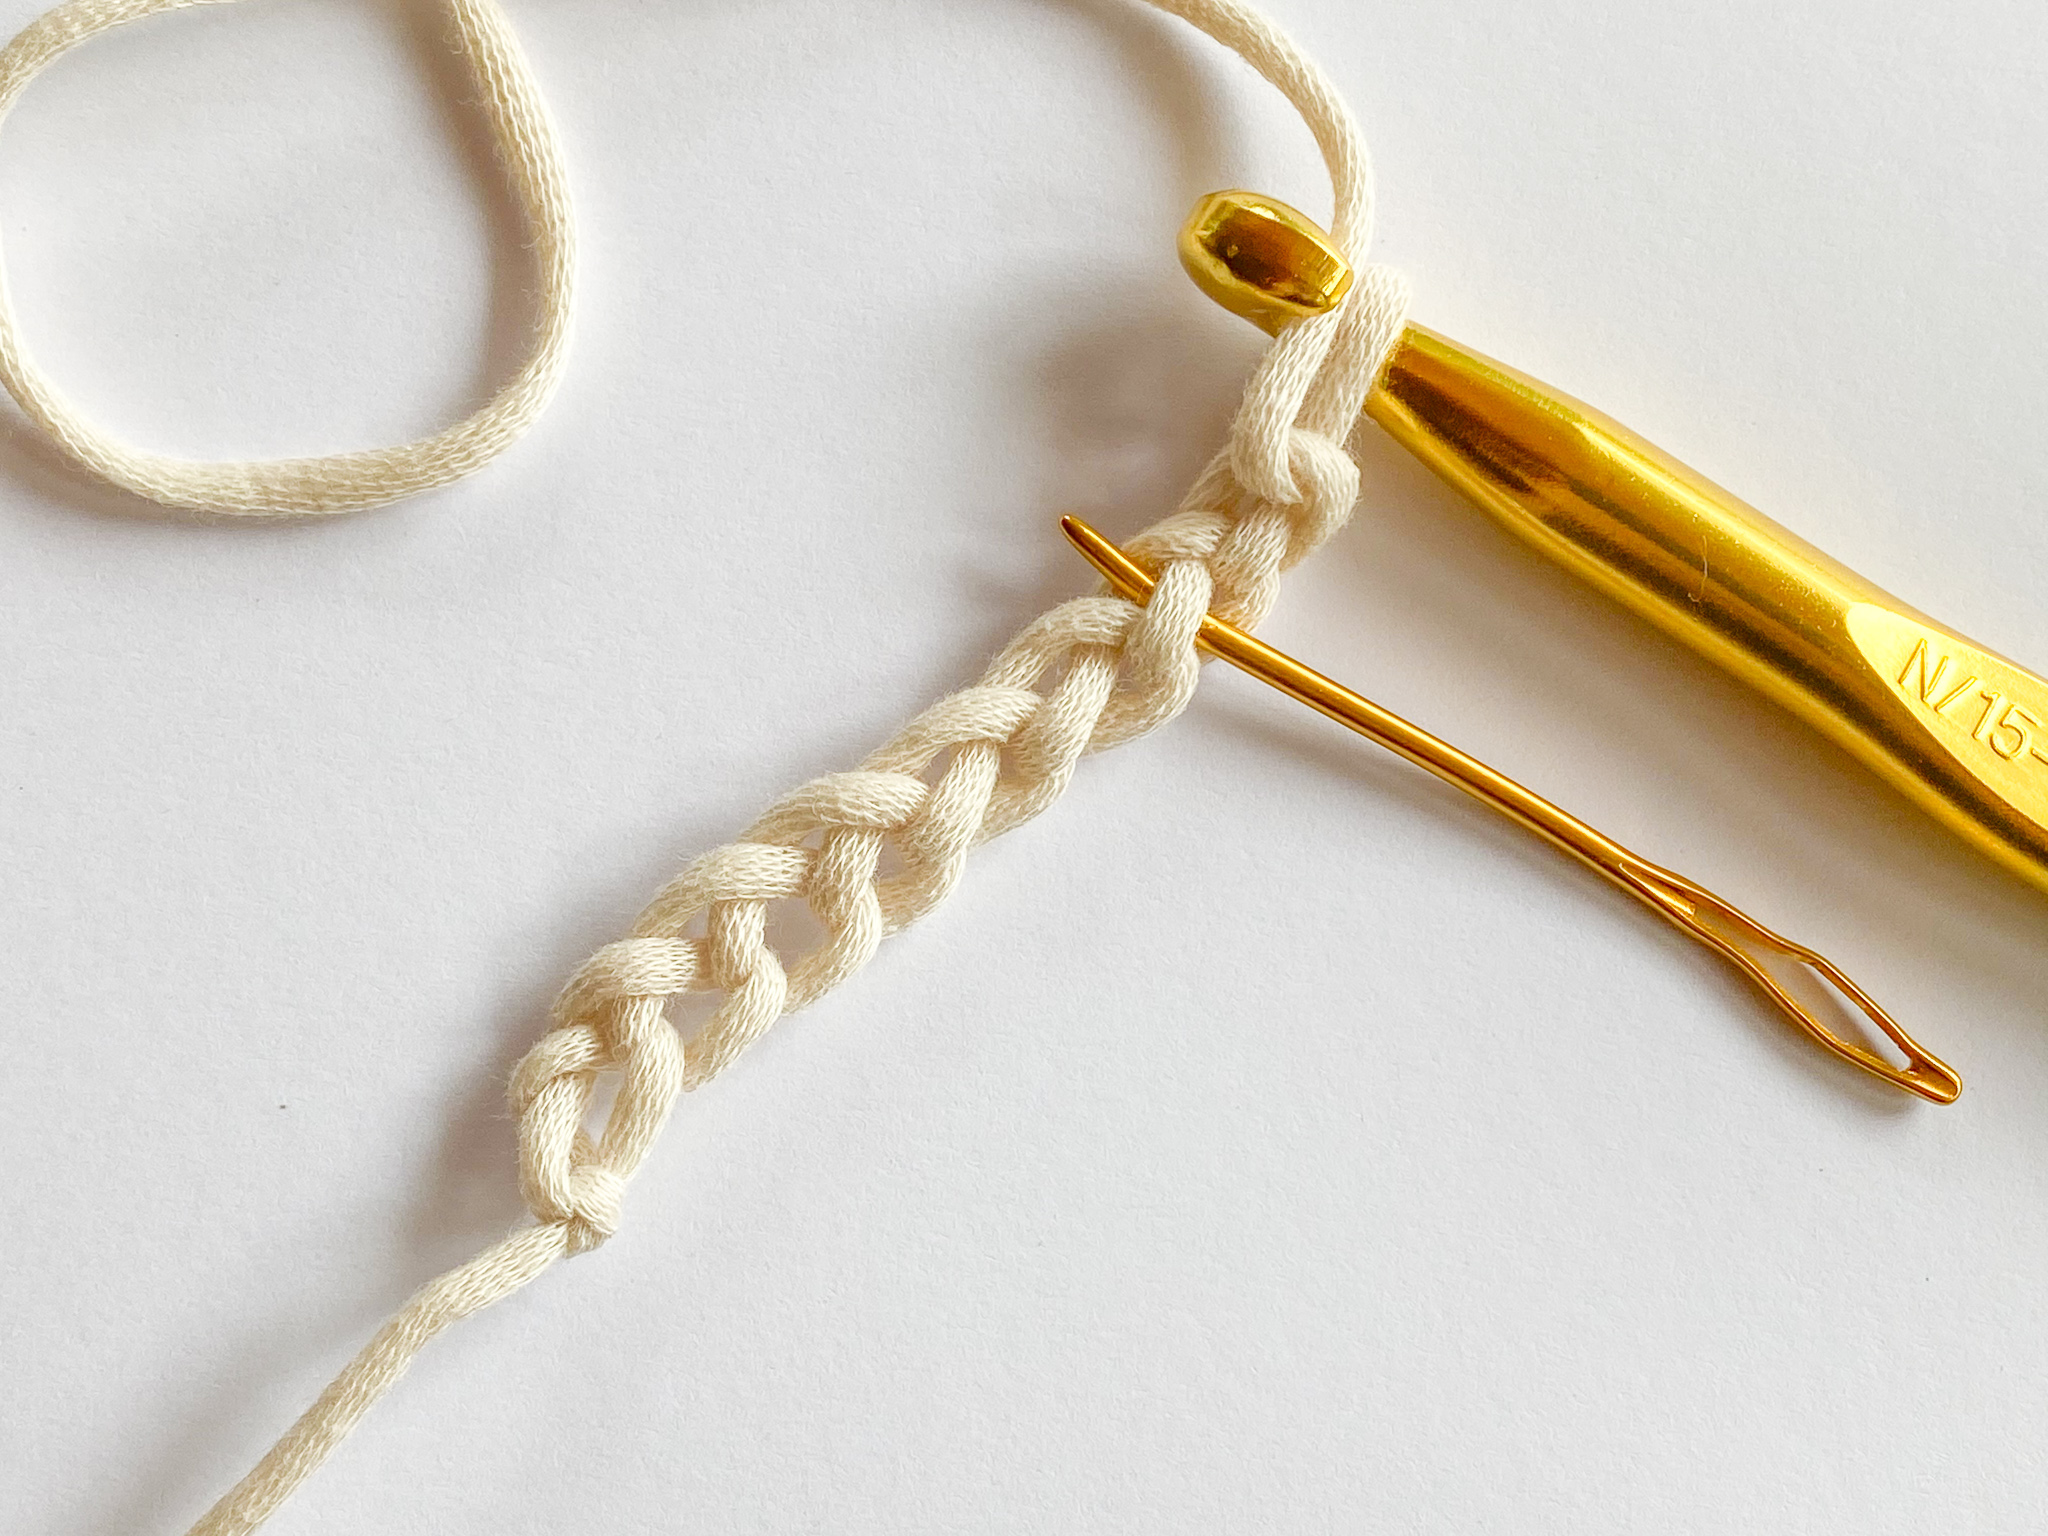
(B) 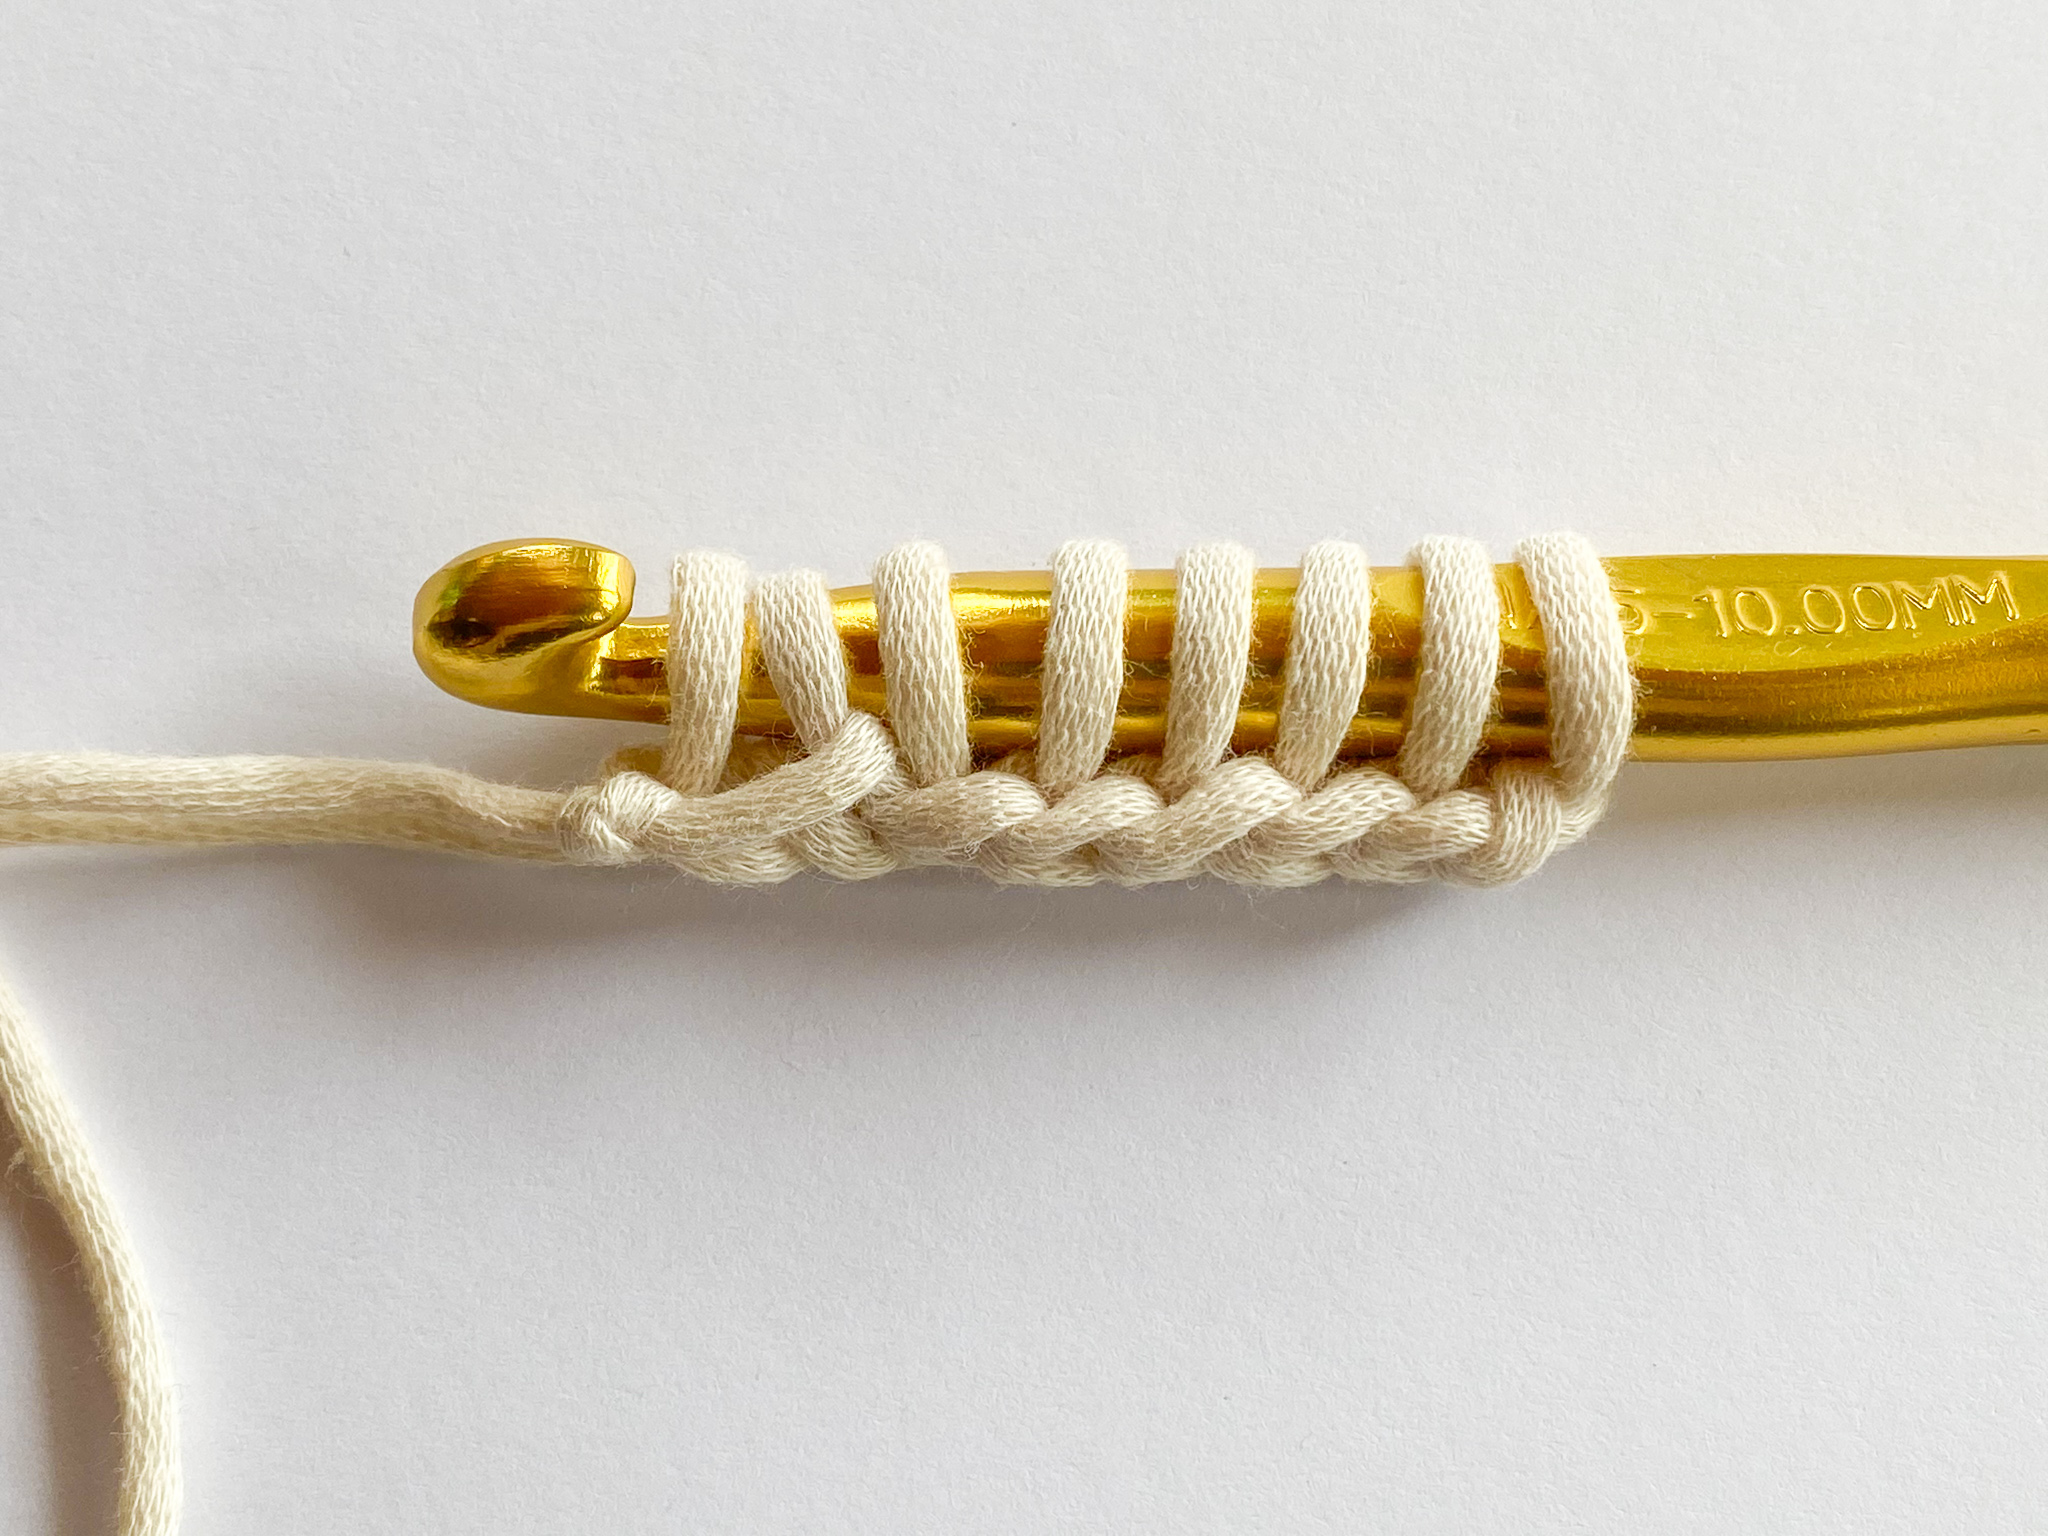
(C) 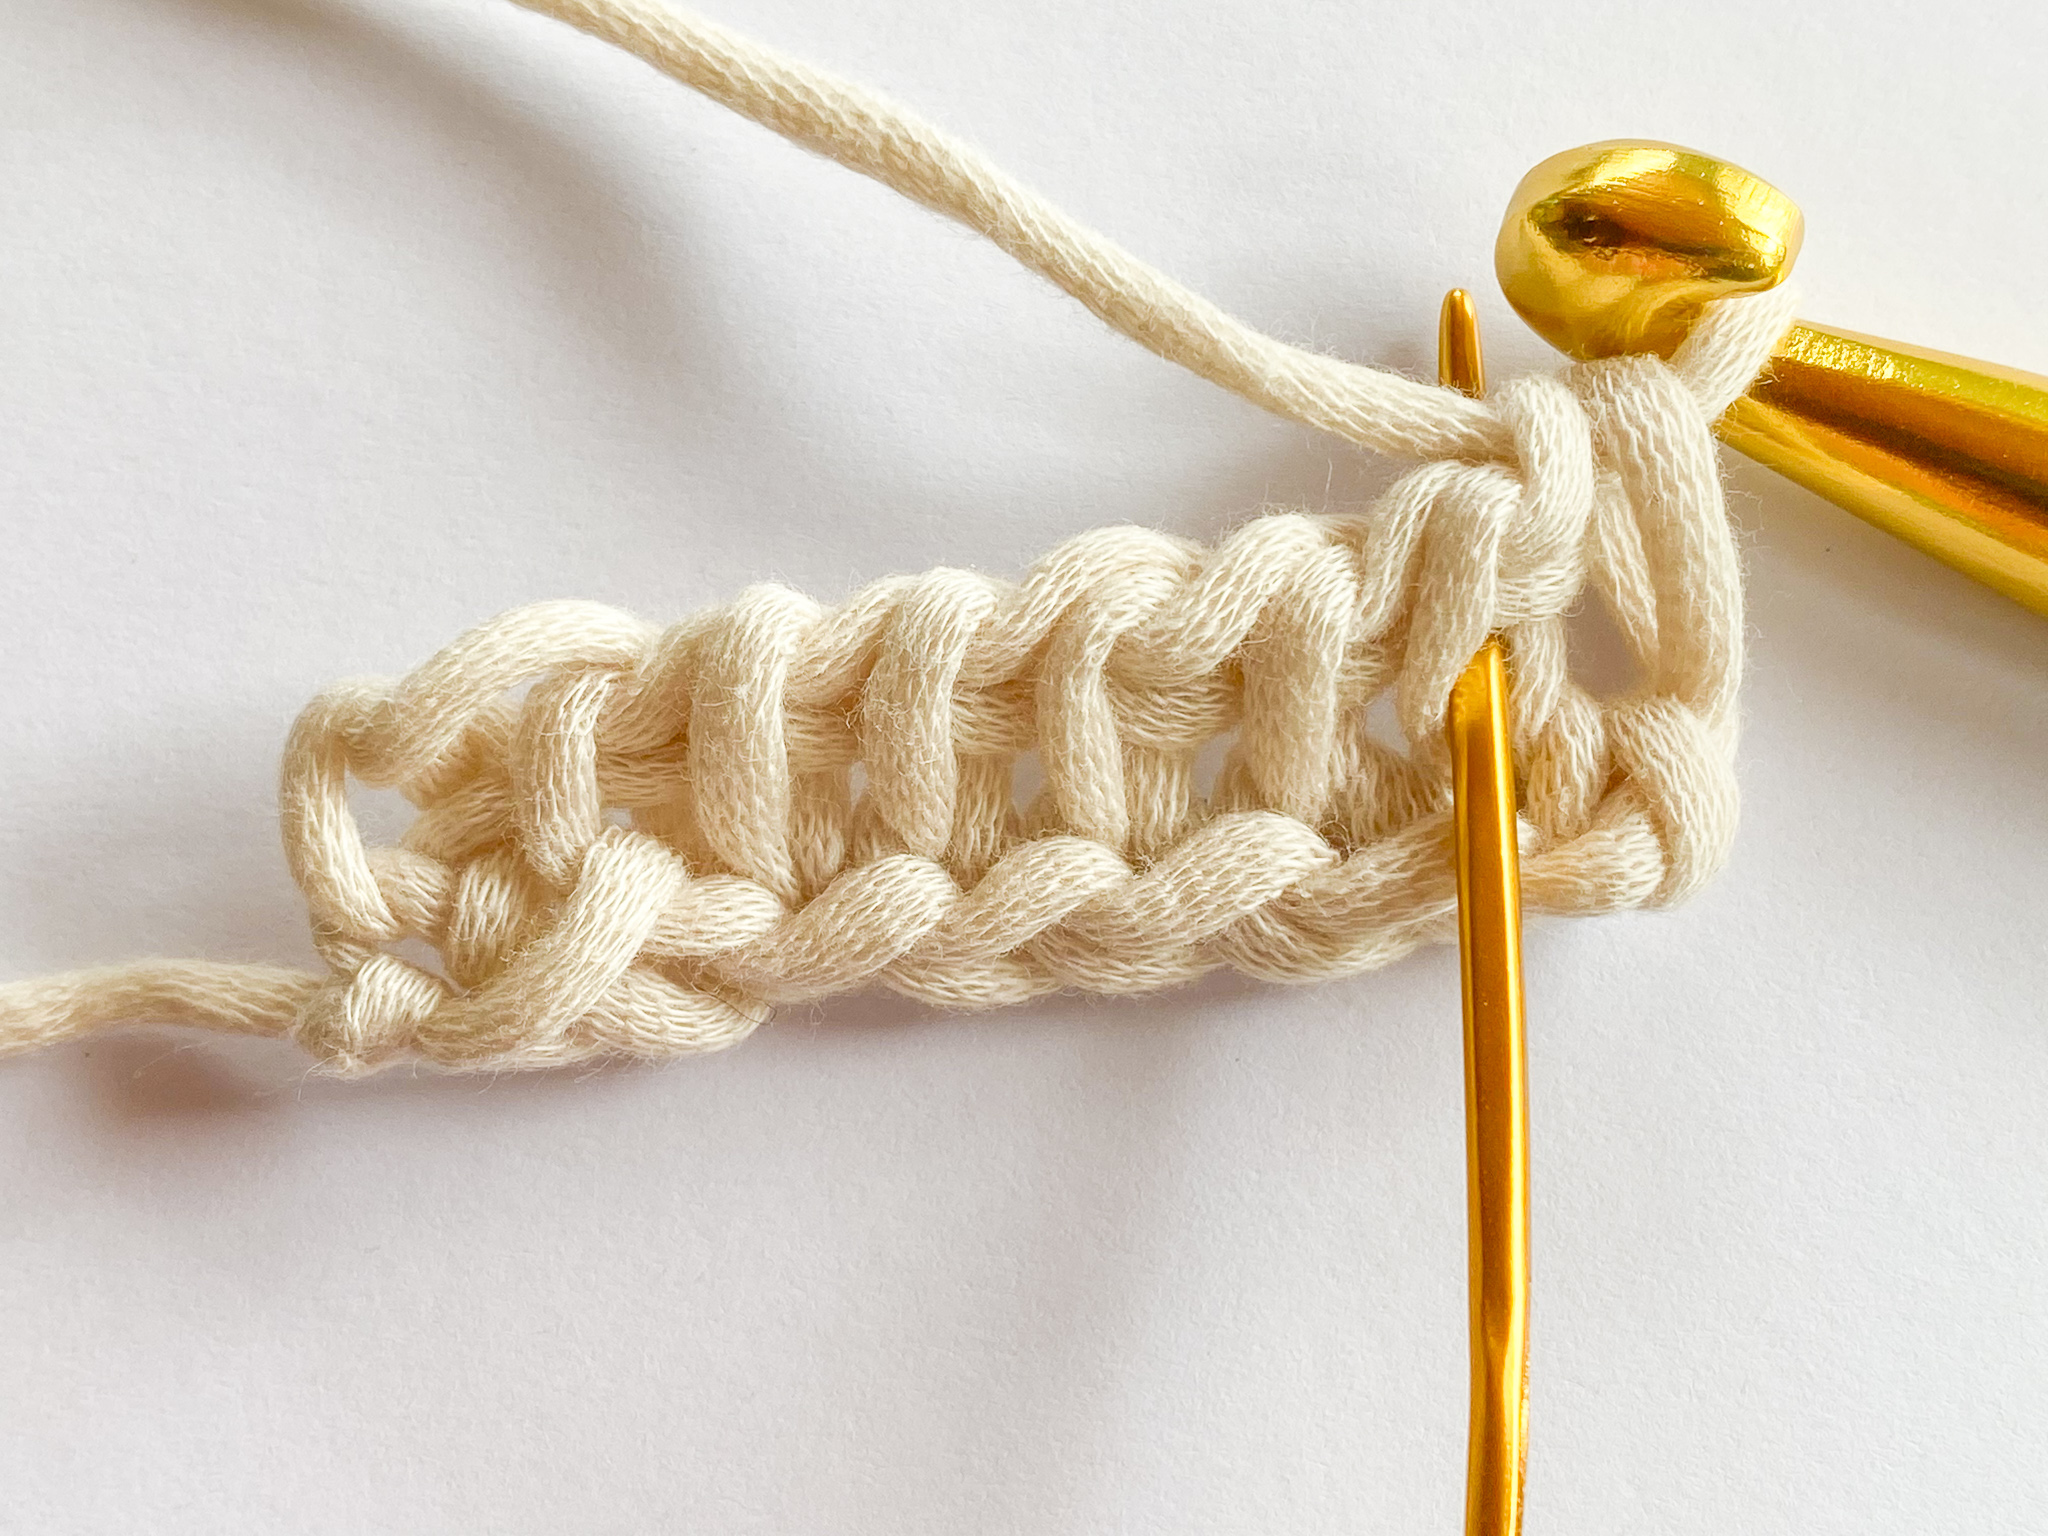
(D) 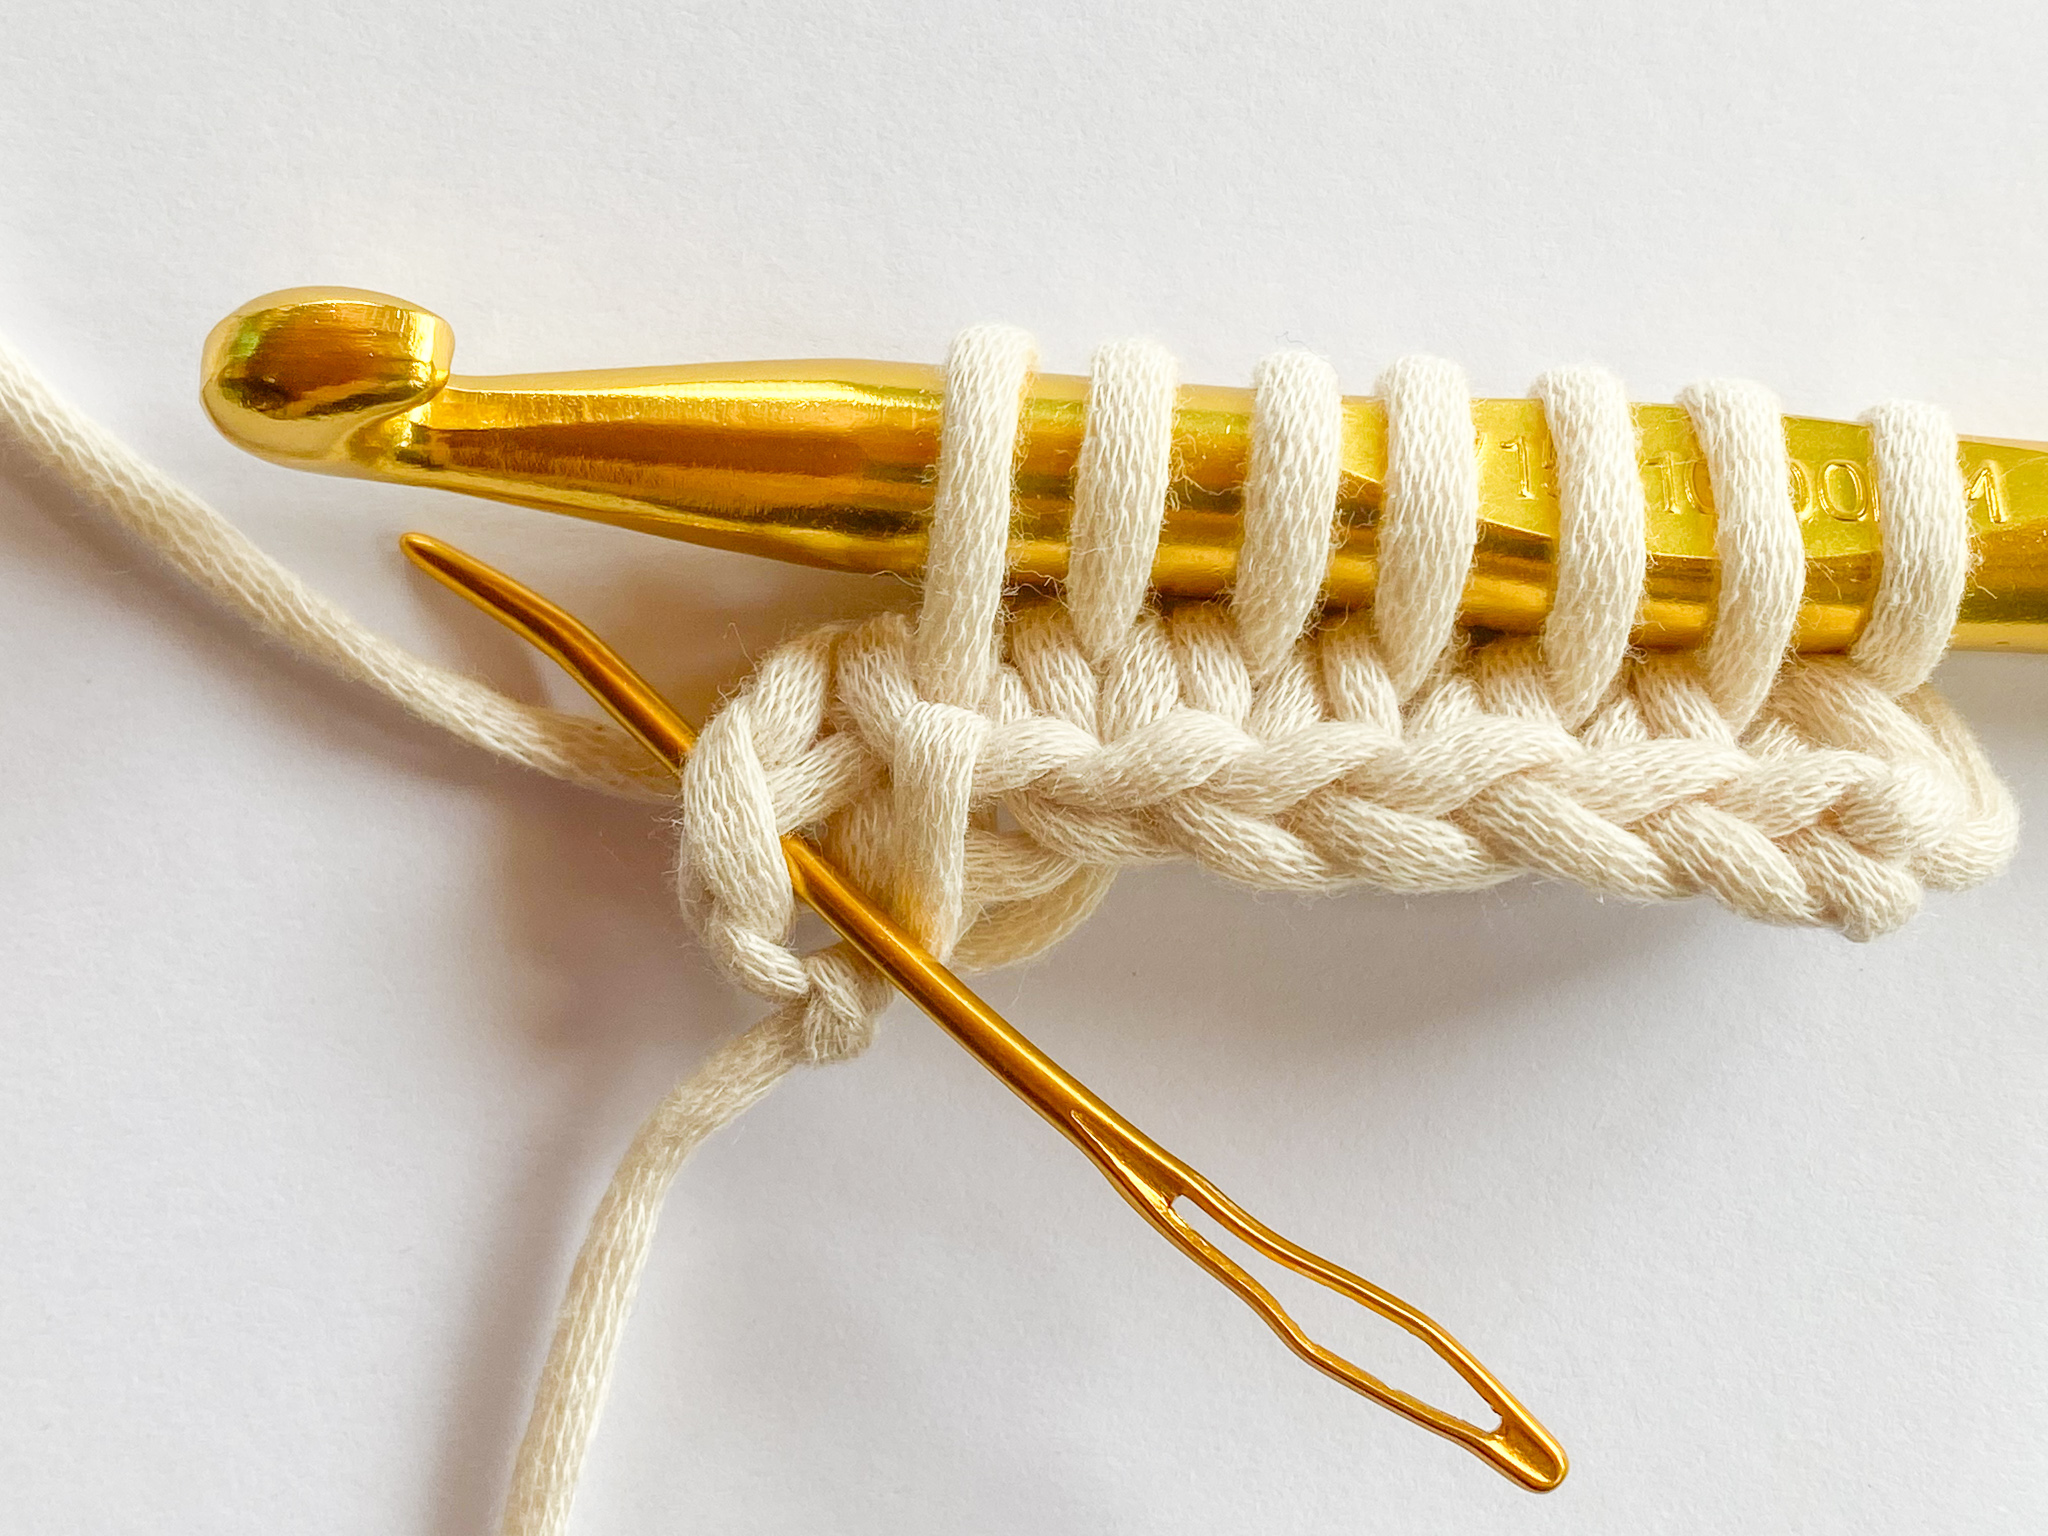
(E) 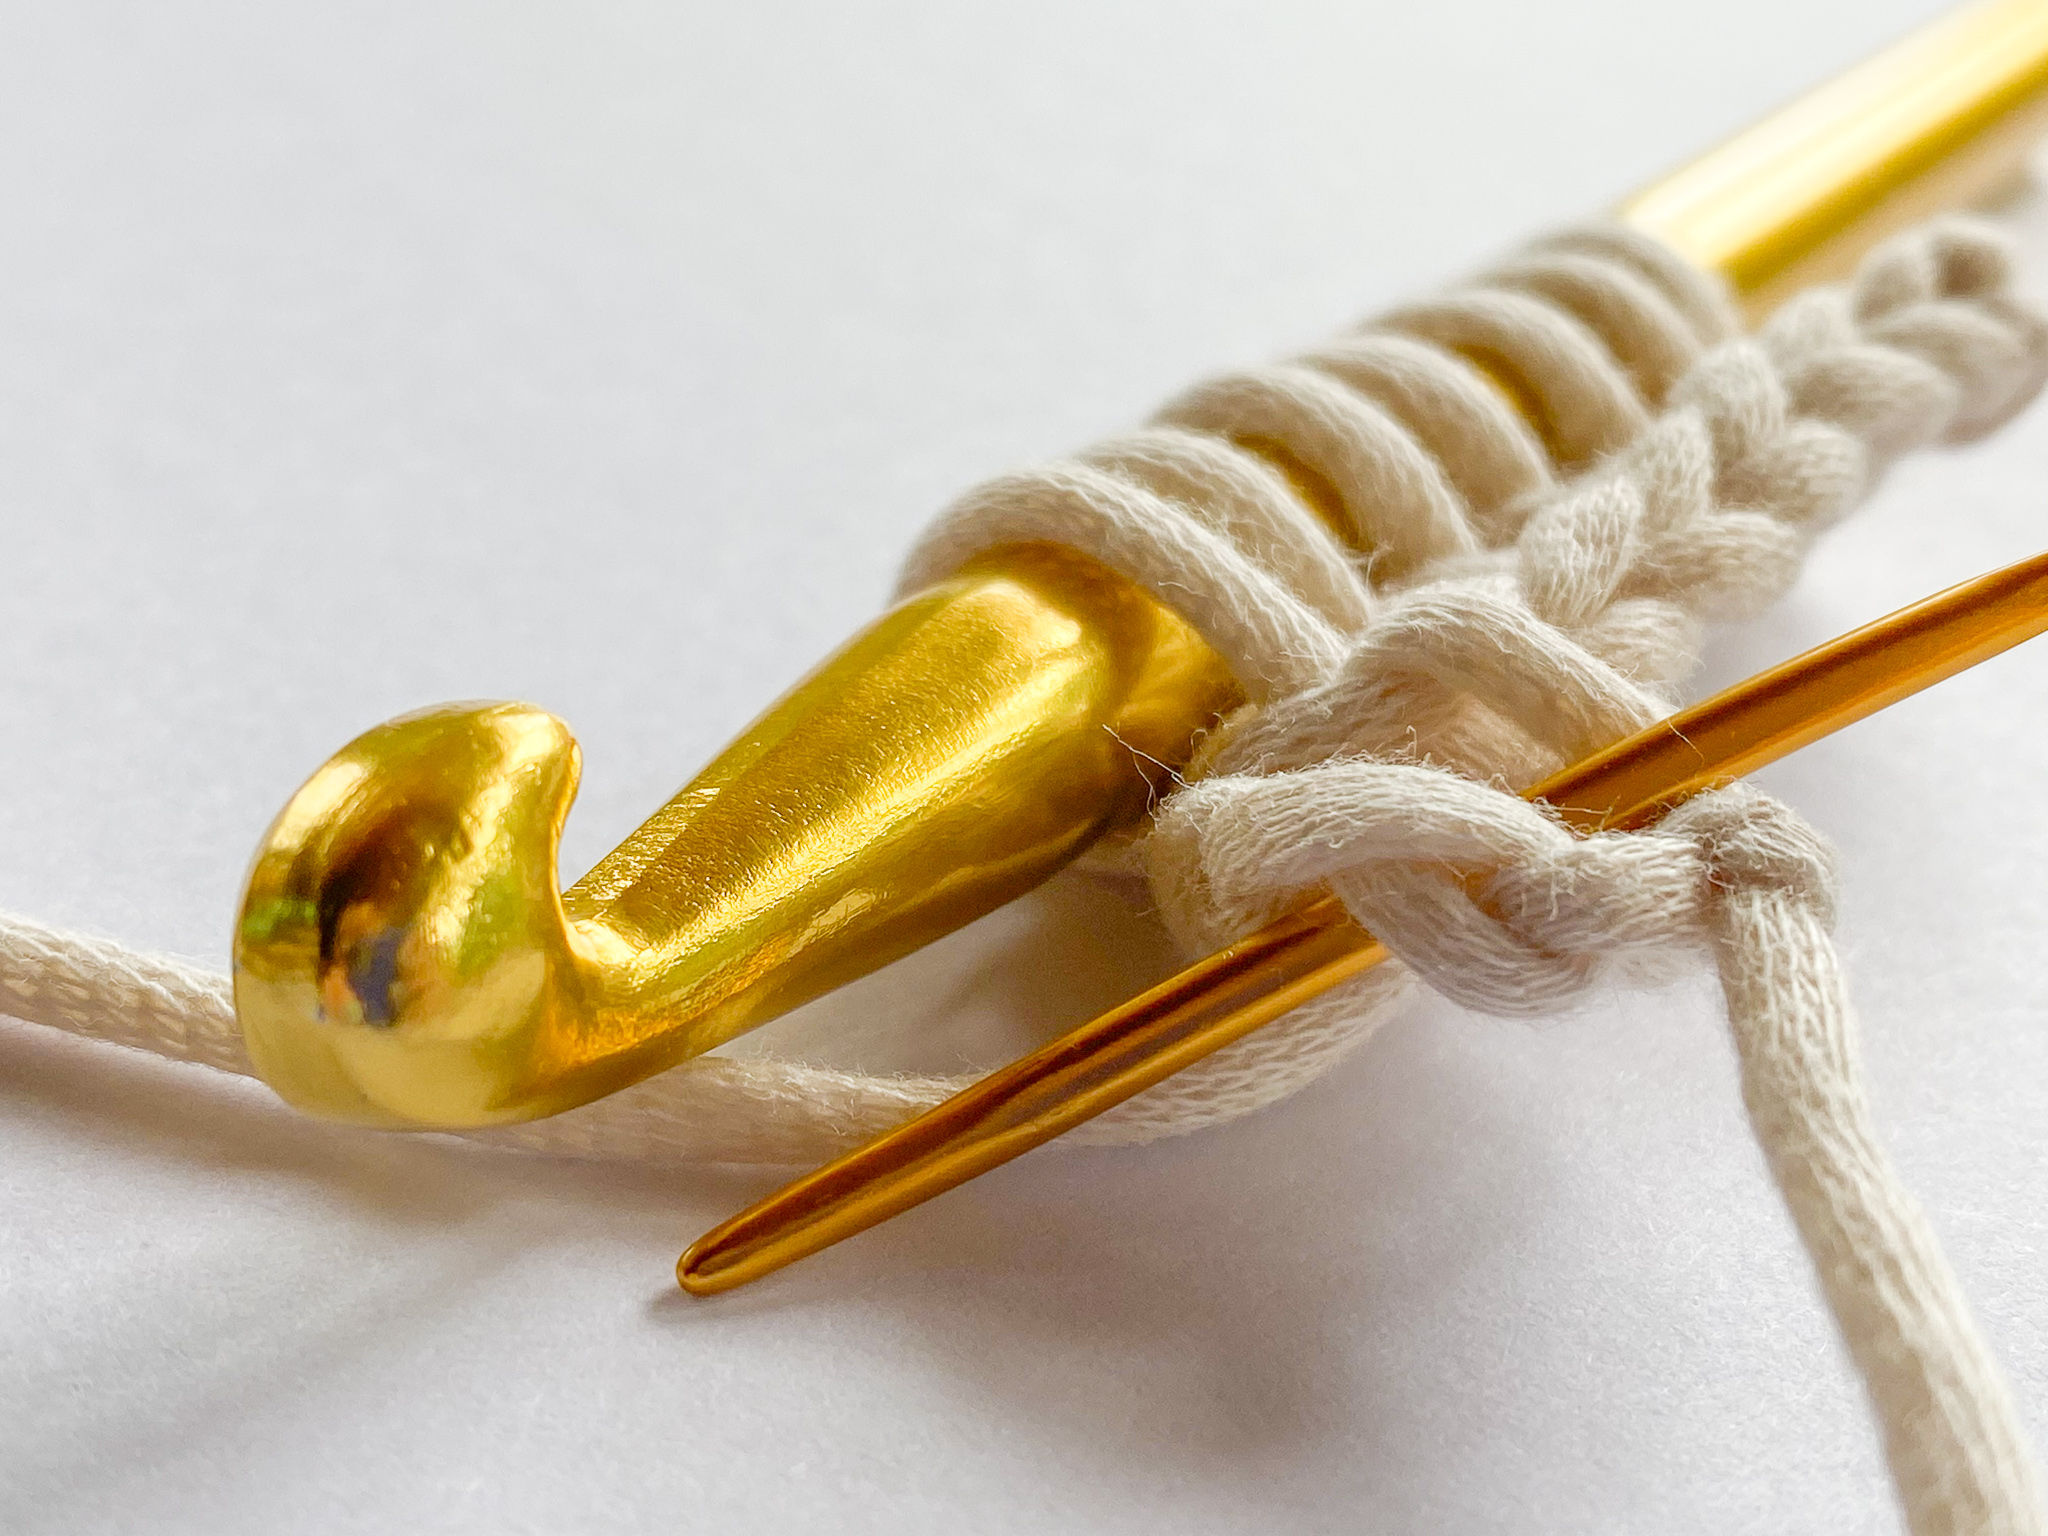
(F) 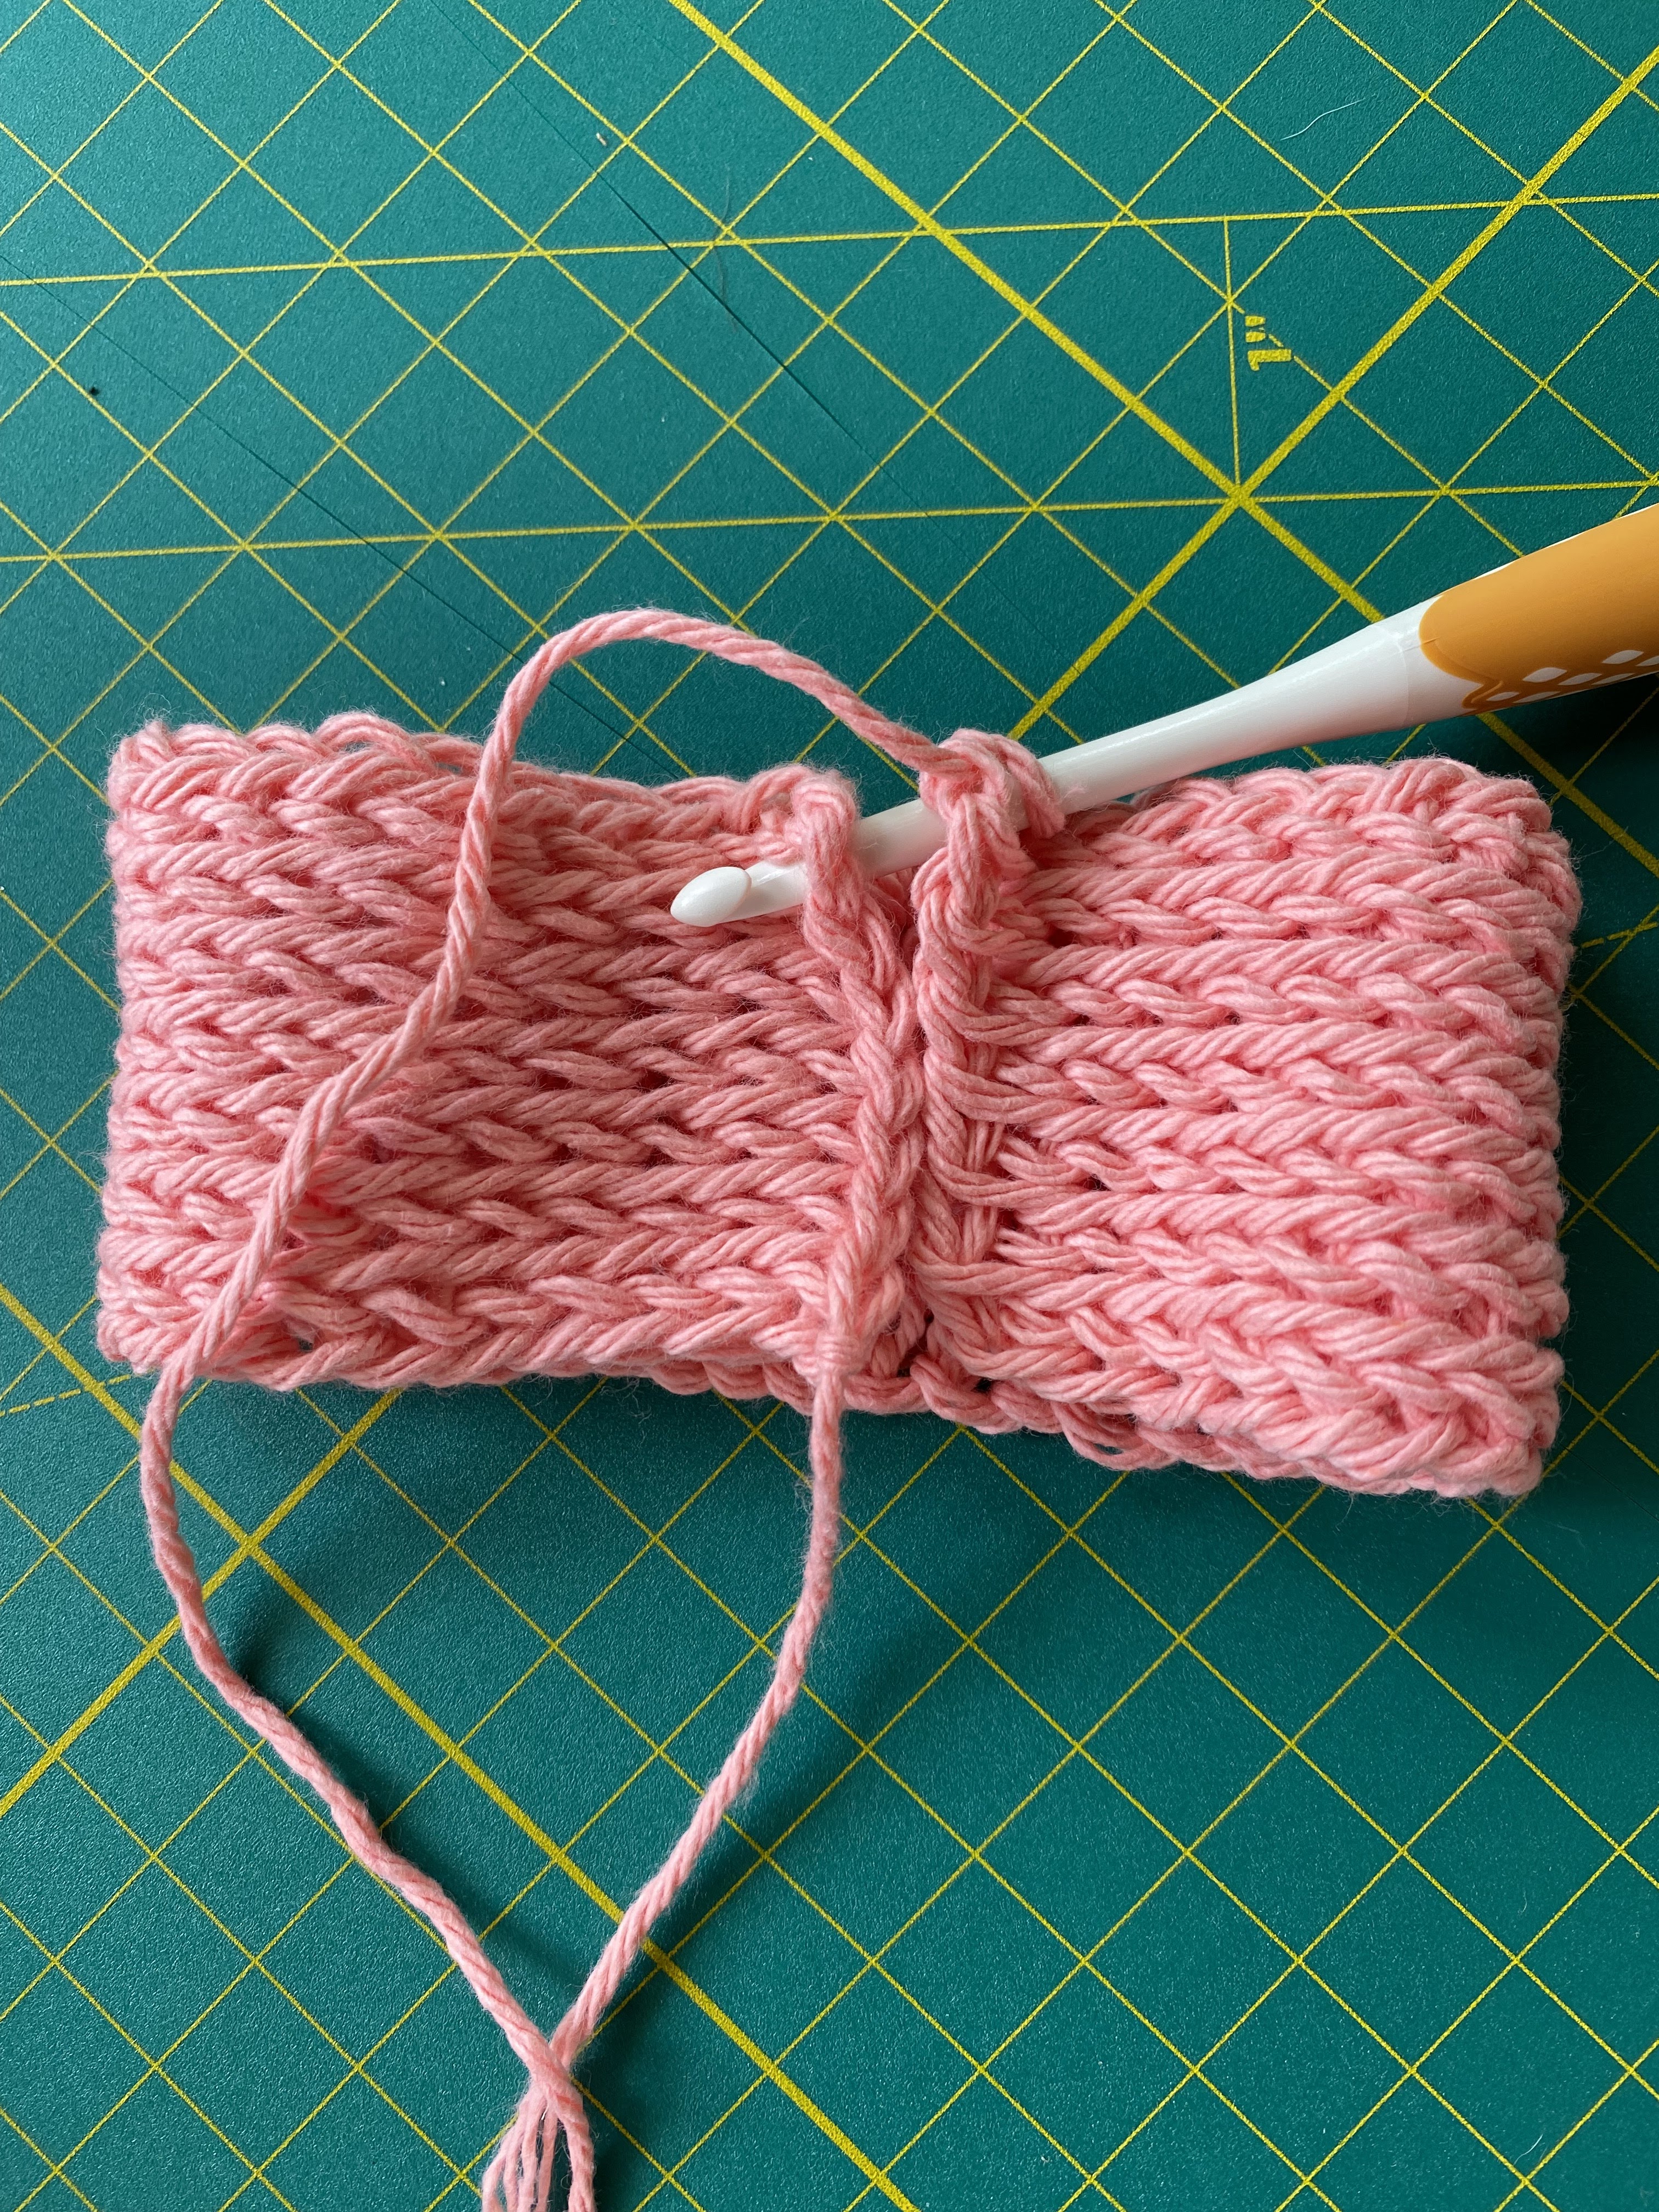
Baby Sized Headband:
We will be following the same simple tks instructions as we did for the bow except we are using a larger hook which will make the headband larger and more strechy.
Using a 6.5 mm hook and Color 1.
Row 1: Ch 8, turn ch over, starting in 2nd ch from hook, draw up a loop in the back bump of each ch (8)
Rows 2+: Tunisian Knit Stitch until 14-16” long
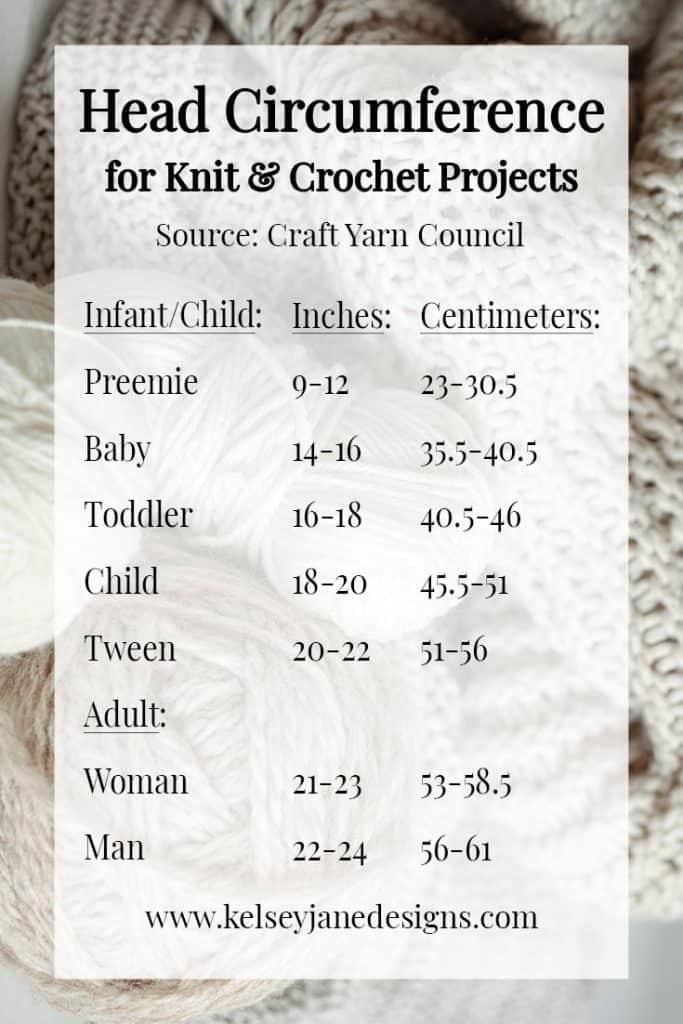
I made mine 16” long for my 6-month-old daughter and ended up being 50 rows. Check out the chart below for average head circumference sizes by age.
Cut yarn, leaving a 5” tail. Using your tail and yarn needle sew the ends together and cut then weave in your tail.
Assembly (Baby):
For the baby headband, I made 4 circles and seamed them together just like the adult version (instructions below) except I did not put any polyfil in between the 2 layers. After much experimenting, I found that the ears stood up just fine on the baby headband without any polyfil. But this is your project and I encourage experimenting with anything you think might work better!
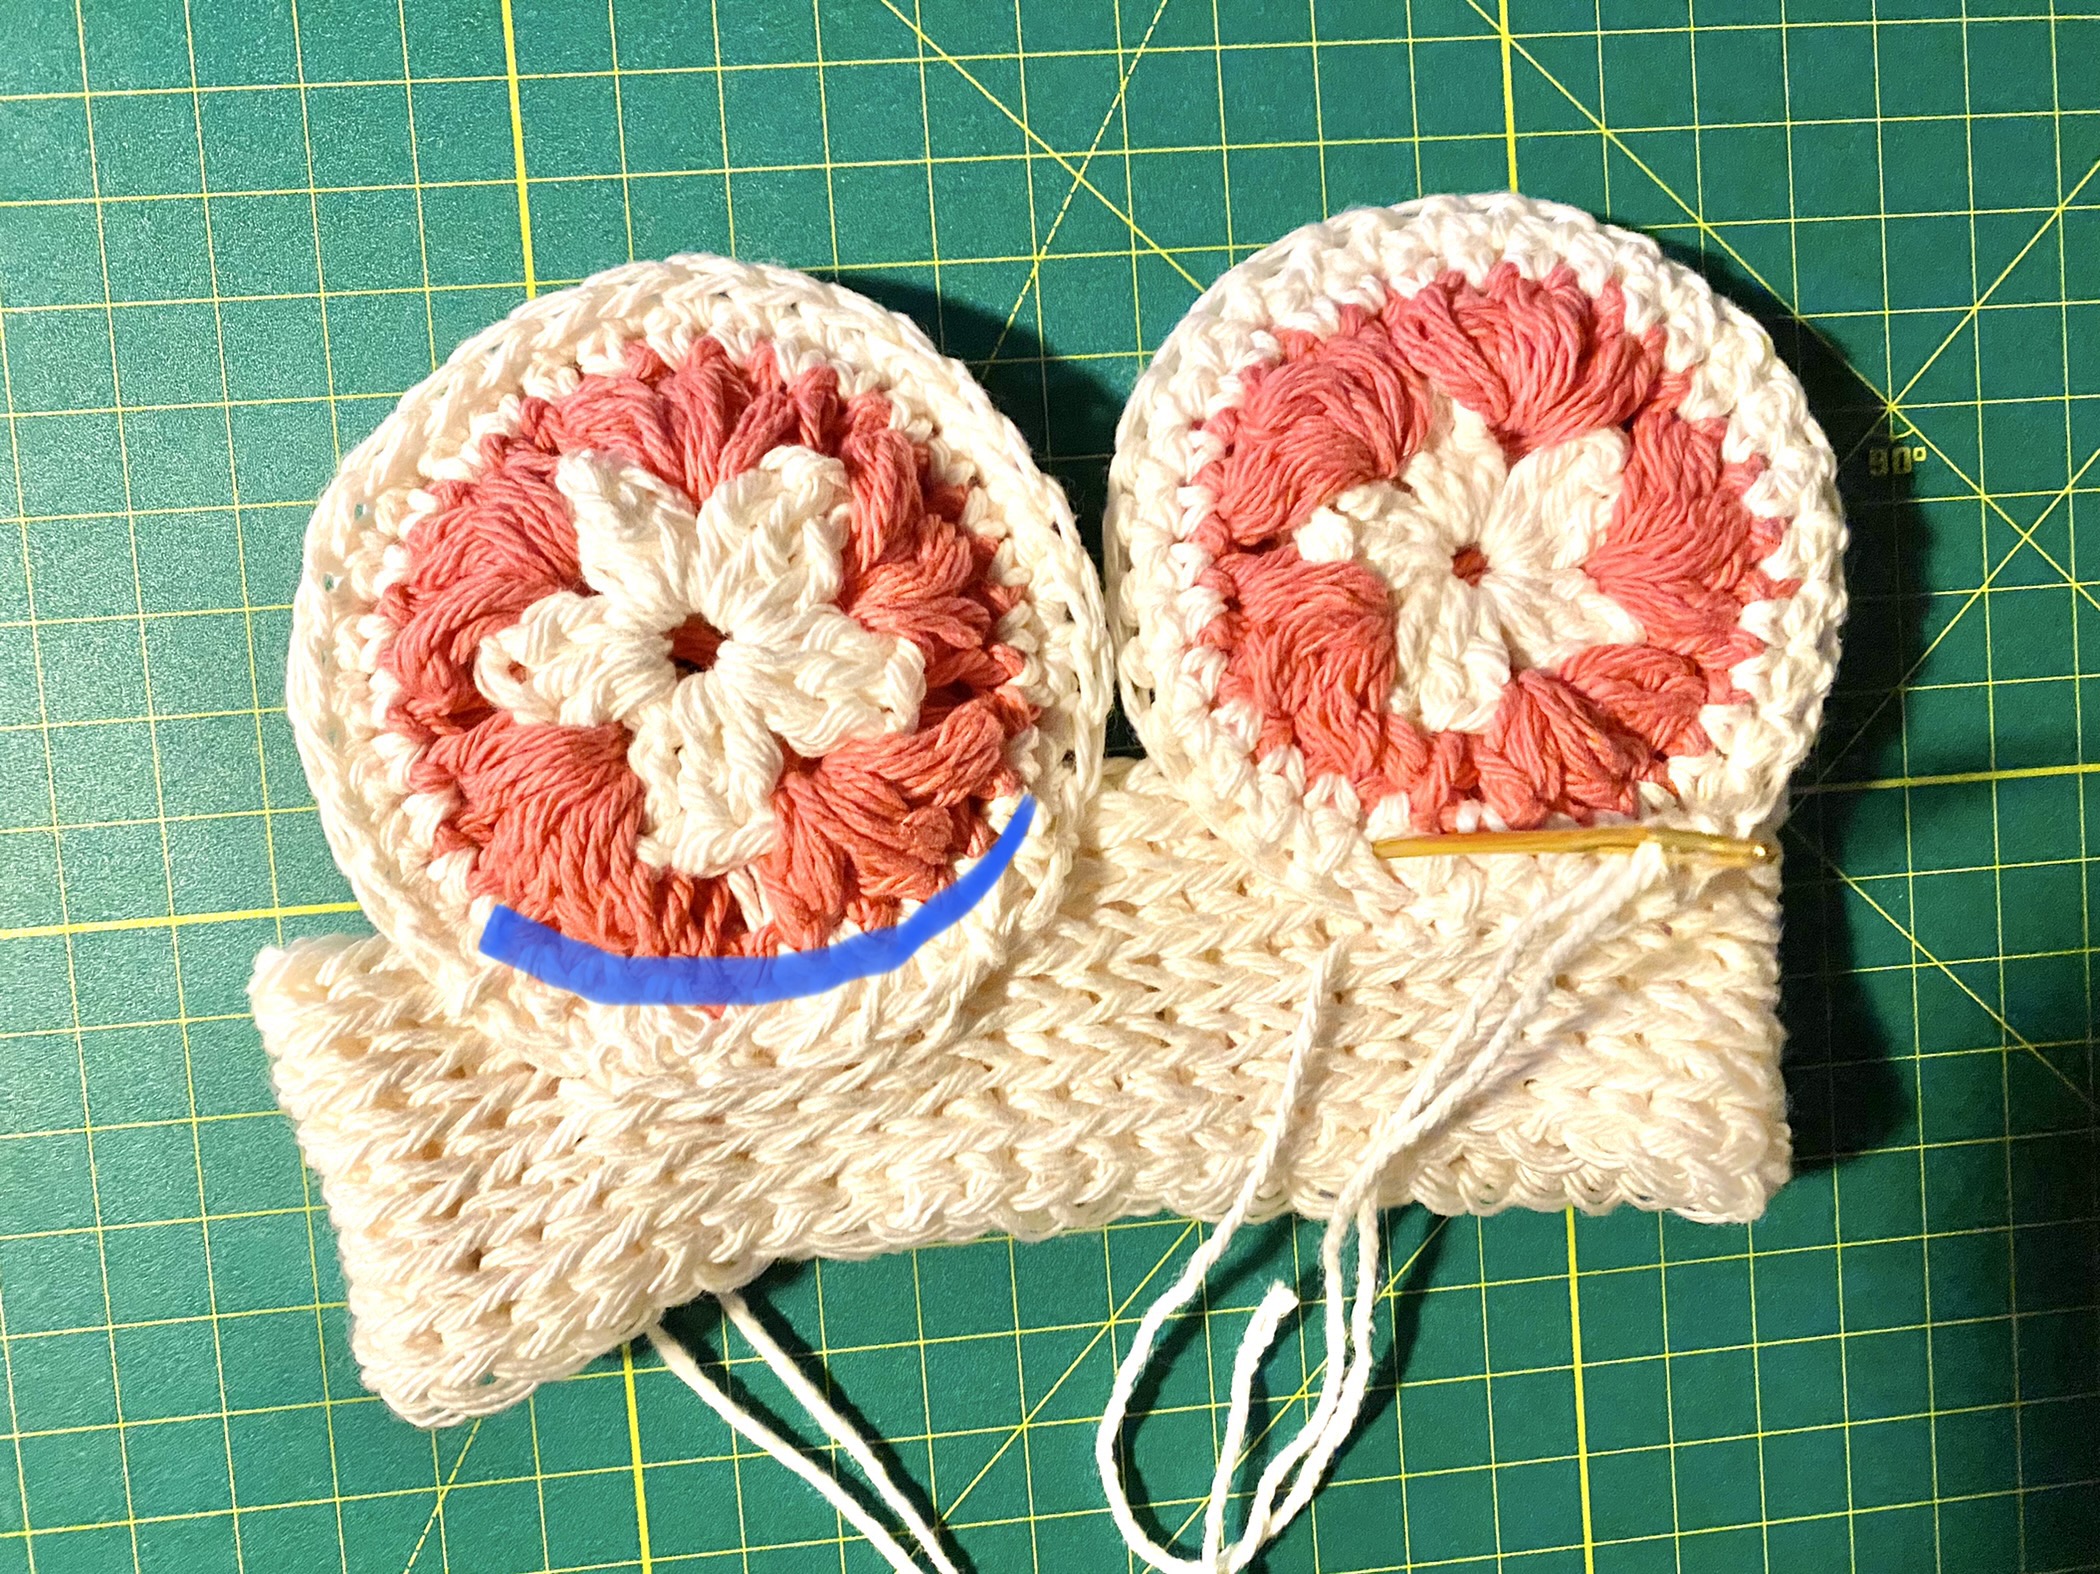
Starting with the ears, sew the bottom edges to the headband. Align the bottom of the ear to the middle of the headband and be sure to stitch all the way around up to the edge of the headband to ensure the ears will stand up properly (see the blue line in the image below for where I recommend sewing).
When attaching the bow, start by tying your yarn to the back of the center wrapped portion and stitch around and into the headband a few times. Then I recommend a small stitch on both ends of the bow to ensure it is attached well.

Assembly Instructions:
Ear Assembly:
With your C1 yarn still attached, sc through each sc attaching the 2 circles together.
Once you have an inch or so left. Stuff a tiny amount of polyfil inside. I don’t recommend using too much or it will stick out through the gaps.
Once attached, cut your yarn with a 15” tail and tie it off. You will use your tail to attach the ears to the headband.
Bow Assembly:
After you slip stitch the two ends together, fold your bow in half horizontally, and wrap your tail around the center as many times as you can. Tie the yarn in the back and weave in the tail.

Save on Pinterest for easy access later!
Attaching to headband (Adult):
Check out my Youtube Video to see exactly how I attached the ears and bow to a plastic headband.
Ears: using your tail and a yarn needle, wrap tightly around the headband and stitch into the ears through the 1st single crochet row. By attaching higher up in the ear, you are helping the ears stand up straight and not fall backwards.
Bow: using the same color yarn as the bow, cut about a 10” piece. Using your yarn needle, attach to the back bottom of the bow then wrap around the headband a few times. Next you’re going to grab the back edges of each ear to attach all 3 pieces. This will help hold everything up straight and if you do it low enough it should not be noticeable.
Congratulations, you’re done! I would love to see your finished work and the colors you used!
Instagram: @kelseyjanedesigns
Ravelry:Kelsey Jane Designs