

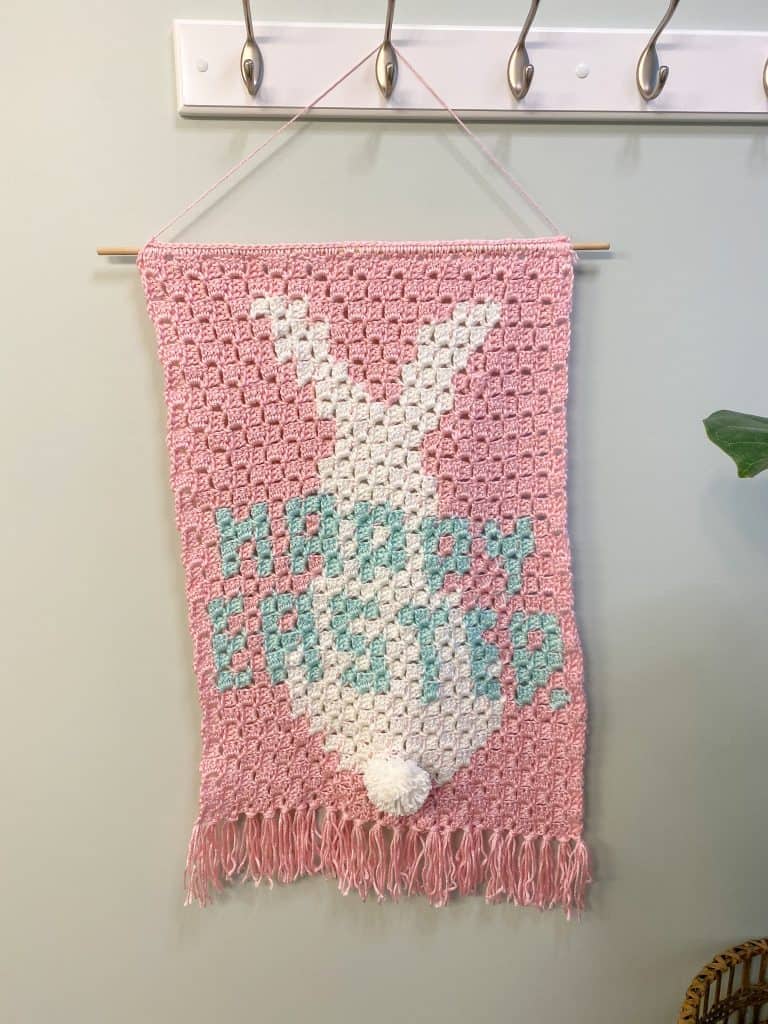
Easter C2C Wall Decor
The following post contains affiliate links. By clicking on the links you are supporting my site and allowing me to continue to create free content. I promise, I only share products that I use and love! For more information please see my disclosure page.
For a low cost printable pattern and graphghan chart, check out my ETSY shop.
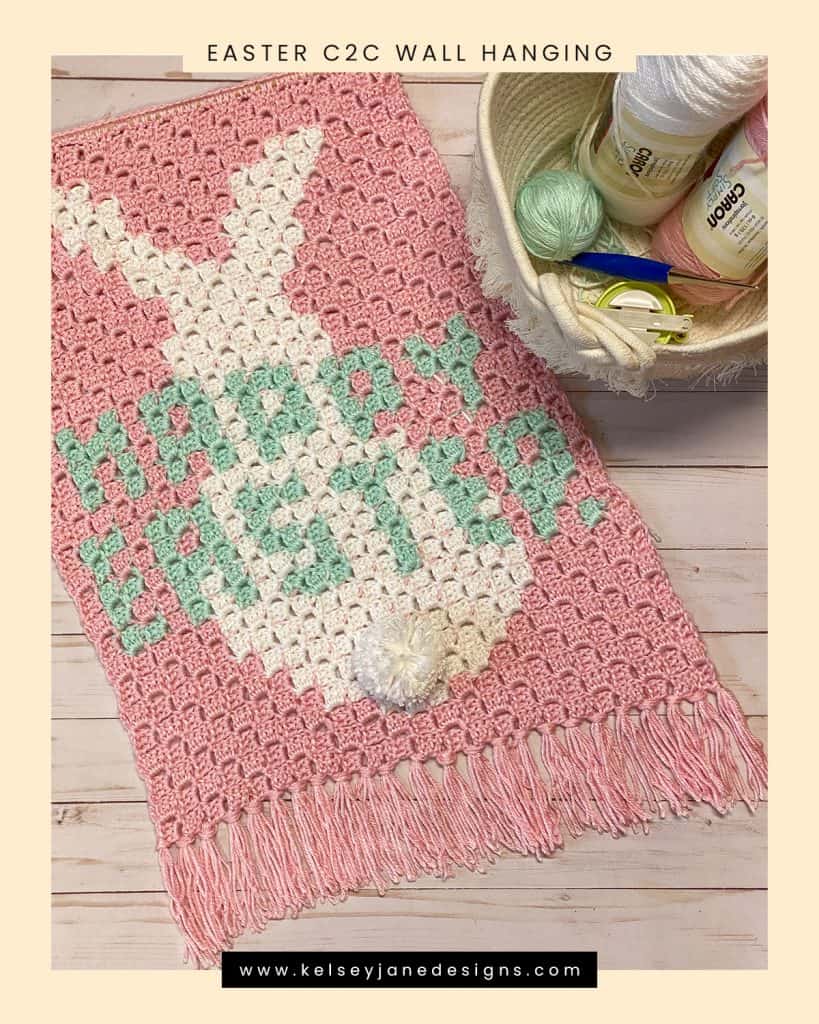
Easter seems to always sneak up on us every year. Complete your holiday decor with this quick and timeless wall hanging. Also makes a great gift!
Caron Simply Soft yarn provides gorgeous pastel hues and a subtle shine perfect for spring. Feel free to use substitutions but I highly recommend checking out www.yarnsub.com where you can get exact percentage matches and tons of details to help with substituting.
Finished size: 16″ x 20″ (plus fringe)
Supplies
- Caron Simply Soft Yarn in the following shades:
- Soft Pink (195 yards + fringe)
- White (77 yards)
- Soft Green (47 yards)
- 18″ or 24″ dowel rod (I cut a 48″ rod in half)
- 4.5 mm (G+) Crochet Hook
- 2.5″ Pom Pom Maker (or piece of cardboard)
- Scissors
- Yarn Needle
Notes
- If you’d like to use a different yarn, check out www.yarnsub.com for really great tips on substituting.
- Pattern is a rectangle C2C project.
- You will increase once per row until Row 23.
- Rows 24-30 you’ll maintain 23 squares by increasing on first stitch and decreasing on the last.
- Rows 31-52 you’ll be decreasing on both ends making the rectangle close.
- For more help: https://youtu.be/J6MV_-qjDtc
- For changing colors, before finishing the last stitch of old color, put a loop of new color on hook and pull through. https://youtu.be/SbG78BvZw8E
- For the dowel rod, I bought a 36” one at Home Depot then cut it in half.
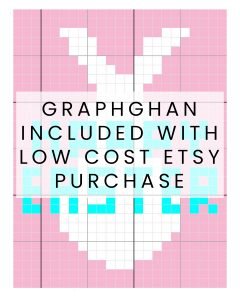
For a printable, color coded copy of the instructions with bonus graphghan, check out my ETSY listing.
Instructions:
All squares are worked as a standard C2C with 3 Double Crochets.
↙ Row 1 [RS]: (MC) (1 square)
↗ Row 2 [WS]: (MC) x 2 (2 squares)
↙ Row 3 [RS]: (MC) x 3 (3 squares)
↗ Row 4 [WS]: (MC) x 4 (4 squares)
↙ Row 5 [RS]: (MC) x 5 (5 squares)
↗ Row 6 [WS]: (MC) x 6 (6 squares)
↙ Row 7 [RS]: (MC) x 7 (7 squares)
↗ Row 8 [WS]: (MC) x 8 (8 squares)
↙ Row 9 [RS]: (MC) x 9 (9 squares)
↗ Row 10 [WS]: (MC) x 8, (C3), (MC) (10 squares)
↙ Row 11 [RS]: (MC) x 11 (11 squares)
↗ Row 12 [WS]: (MC) x 3, (C2) x 4, (MC), (C3) x 3, (MC) (12 squares)
↙ Row 13 [RS]: (MC), (C3) x 3, (MC), (C2) x 6, (MC) x 2 (13 squares)
↗ Row 14 [WS]: (MC) x 2, (C2) x 6, (C3), (MC), (C3), (MC), (C3), (MC) (14 squares)
↙ Row 15 [RS]: (MC) x 2, (C3) x 2, (MC), (C2), (C3), (C2) x 6, (MC) x 2 (15 squares)
↗ Row 16 [WS]: (MC) x 3, (C2) x 6, (C3) x 2, (MC), (C3), (MC) x 3 (16 squares)
↙ Row 17 [RS]: (MC) x 6, (C3), (C2) x 7, (MC) x 3 (17 squares)
↗ Row 18 [WS]: (MC) x 3, (C2) x 5, (C3), (C2) x 2, (C3) x 2, (MC), (C3), (MC) x 3 (18 squares)
↙ Row 19 [RS]: (MC) x 2, (C3) x 2, (MC) x 2, (C3), (C2) x 2, (C3), (C2) x 5, (MC) x 4 (19 squares)
↗ Row 20 [WS]: (MC) x 4, (C2) x 6, (C3), (C2) x 2, (MC) x 3, (C3) x 2, (MC) x 2 (20 squares)
↙ Row 21 [RS]: (MC) x 4, (C3), (MC) x 2, (C2), (C3) x 2, (C2) x 2, (C3), (C2) x 3, (MC) x 5 (21 squares)
↗ Row 22 [WS]: (MC) x 5, (C2) x 3, (C3) x 2, (C2) x 2, (C3), (C2), (MC), (C3), (MC), (C3), (MC) x 4 (22 squares)
↙ Row 23 [RS]: (MC) x 6, (C3) x 3, (C2), (C3), (C2), (C3), (C2), (C3), (C2) x 2, (MC) x 6 (23 squares)
Bottom Corner: Stop Increasing Width.
↗ Row 24 [WS]: (MC) x 5, (C2) x 4, (C3), (C2) x 4, (C3), (MC), (C3), (MC) x 6 (23 squares)
↙ Row 25 [RS]: (MC) x 7, (C3) x 2, (C2) x 3, (C3), (C2), (C3), (C2), (C3), (C2), (MC) x 5 (23 squares)
↗ Row 26 [WS]: (MC) x 5, (C2), (C3), (C2), (C3) x 2, (C2) x 2, (C3), (C2), (C3), (MC) x 8 (23 squares)
↙ Row 27 [RS]: (MC) x 8, (C2) x 2, (C3) x 3, (C2), (C3), (C2), (C3), (C2), (C3), (MC) x 4 (23 squares)
↗ Row 28 [WS]: (MC) x 4, (C3) x 3, (C2) x 3, (C3), (C2), (C3), (C2) x 2, (MC) x 8 (23 squares)
↙ Row 29 [RS]: (MC) x 9, (C2) x 2, (C3) x 2, (C2), (C3), (C2), (C3), (MC), (C3), (MC), (C3), (MC) x 2 (23 squares)
↗ Row 30 [WS]: (MC), (C3), (MC) x 2, (C3) x 2, (MC) x 2, (C3), (C2), (C3), (C2) x 3, (MC) x 9 (23 squares)
Top Corner: Begin Decreasing on Both Ends
↙ Row 31 [RS]: (MC) x 6, (C2) x 7, (C3) x 3, (MC), (C3), (MC), (C3) x 2, (MC) (22 squares)
↗ Row 32 [WS]: (MC), (C3), (MC) x 4, (C3), (MC), (C3), (C2) x 10, (MC) x 2 (21 squares)
↙ Row 33 [RS]: (MC) x 2, (C2) x 10, (C3) x 2, (MC), (C3), (MC), (C3) x 2, (MC) (20 squares)
↗ Row 34 [WS]: (MC), (C3), (MC) x 2, (C3), (MC), (C3), (MC), (C2) x 4, (MC), (C2) x 4, (MC) x 2 (19 squares)
↙ Row 35 [RS]: (MC) x 3, (C2), (MC) x 3, (C2) x 2, (MC) x 4, (C3), (MC), (C3), (MC) x 2 (18 squares)
↗ Row 36 [WS]: (MC) x 2, (C3) x 3, (MC) x 4, (C2) x 2, (MC) x 6 (17 squares)
↙ Row 37 [RS]: (MC) x 6, (C2) x 2, (MC) x 5, (C3), (MC) x 2 (16 squares)
↗ Row 38 [WS]: (MC) x 2, (C3), (MC) x 5, (C2) x 2, (MC) x 5 (15 squares)
↙ Row 39 [RS]: (MC) x 5, (C2), (MC) x 8 (14 squares)
↗ Row 40 [WS]: (MC) x 7, (C2) x 2, (MC) x 4 (13 squares)
↙ Row 41 [RS]: (MC) x 3, (C2) x 2, (MC) x 7 (12 squares)
↗ Row 42 [WS]: (MC) x 6, (C2) x 2, (MC) x 3 (11 squares)
↙ Row 43 [RS]: (MC) x 2, (C2) x 2, (MC) x 6 (10 squares)
↗ Row 44 [WS]: (MC) x 6, (C2), (MC) x 2 (9 squares)
↙ Row 45 [RS]: (MC) x 2, (C2), (MC) x 5 (8 squares)
↗ Row 46 [WS]: (MC) x 7 (7 squares)
↙ Row 47 [RS]: (MC) x 6 (6 squares)
↗ Row 48 [WS]: (MC) x 5 (5 squares)
↙ Row 49 [RS]: (MC) x 4 (4 squares)
↗ Row 50 [WS]: (MC) x 3 (3 squares)
↙ Row 51 [RS]: (MC) x 2 (2 squares)
↗ Row 52 [WS]: (MC) (1 square)
Total: (MC) x 420, (C2) x 168, (C3) x 102
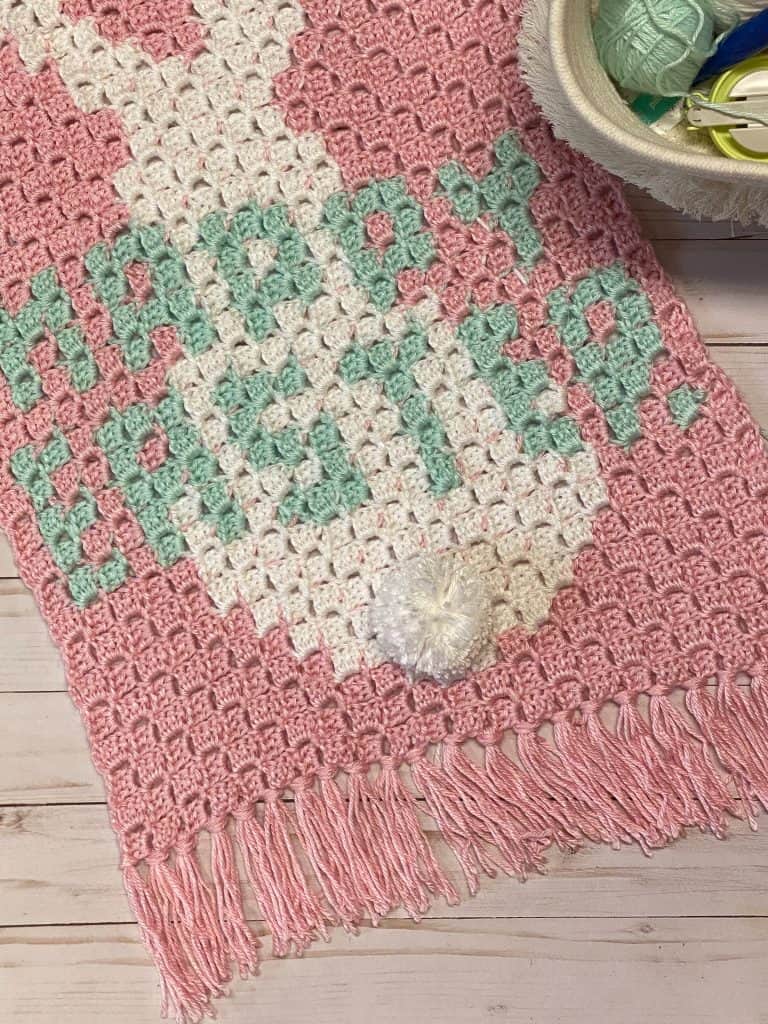
Bunny Tail:
Make a 2.5” pom pom in white and attach it at the bottom of the bunny.
Clover Pom Pom Maker Instructions:
I wrapped the yarn 100 times around each side. For more help watch the video below: https://youtu.be/W7tb_9YKoMU
DIY Cardboard Pom Pom Maker: https://youtu.be/SXFCO3LBJss
Trim and attach your Pom Pom along the bottom of your bunny!
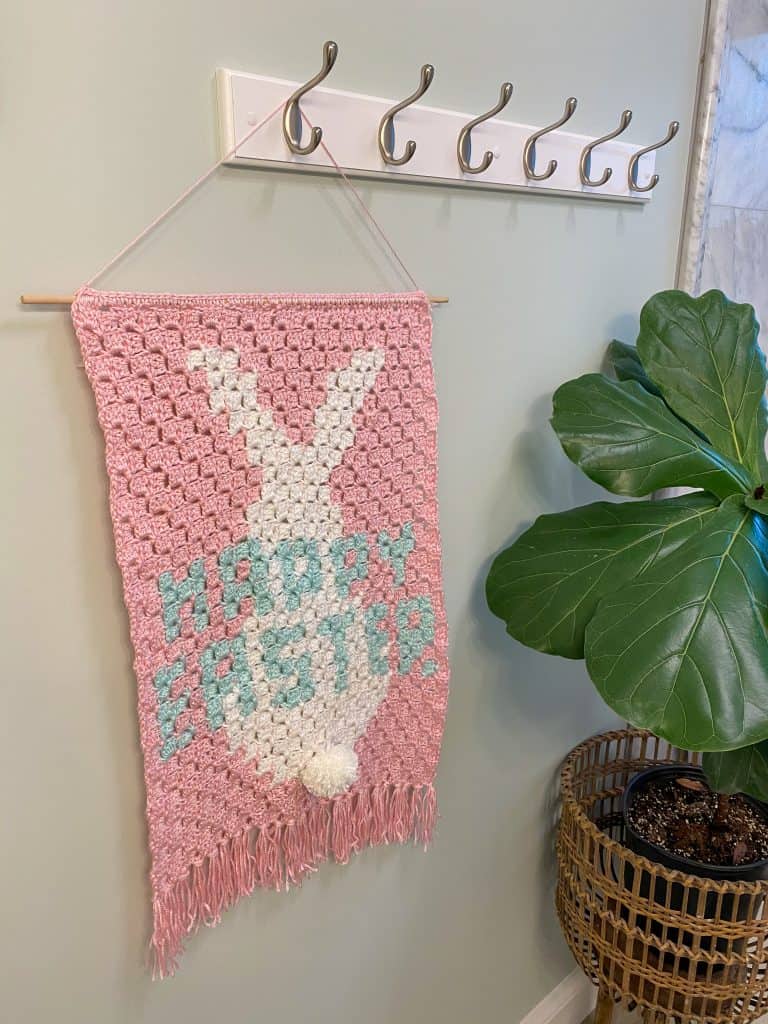
Attaching to the dowel:
You are going to single crochet to attach to the dowel rod. Check out this video for help: https://youtu.be/WdimDpjnMX8
Optional Fringe:
Cut 96 pieces, of the main color yarn, 8” long.
For the fringe, you’ll use 4 pieces for each fringe. Place one fringe on each end and one in between each square (24 total).
Congratulations, you’re done! I would love to see your finished work and the colors you used!
Instagram: @kelseyjanedesigns
Ravelry:Kelsey Jane Designs