How to Crochet Alphabet Bunting
The following post contains affiliate links. By clicking on the links you are supporting my site and allowing me to continue to create free content. I promise, I only share products that I use and love! For more information please see my disclosure page.
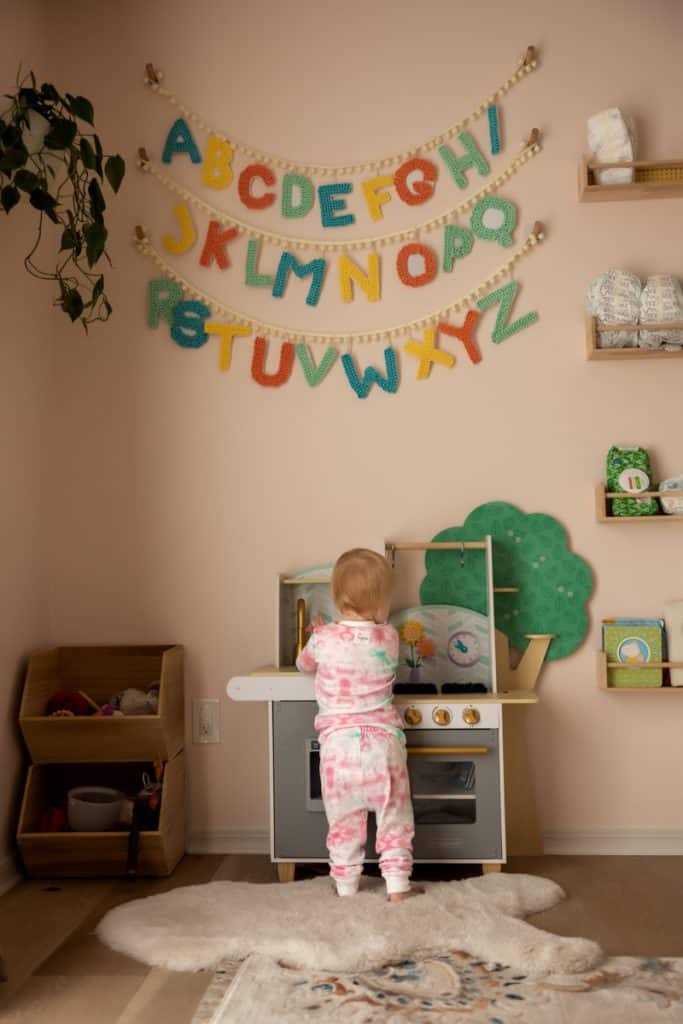
For years now, I have dreamed of crocheting my own alphabet bunting for decor in one of my kid’s rooms. Until recently, it was a lofty goal but then I found Tamara Kelly, from Moogly, her crochet alphabet pattern!
Full disclaimer, the alphabet pattern is not mine and I am not affiliated. But the good news is it’s available for FREE on her blog. All of the photos here are my own 🙂
The Moogly blog is known for having excellent tutorials and free crochet patterns. If you ever need a refresher or want to learn a new technique, look no further than her blog. I used her YouTube tutorials constantly when I was first learning how to crochet.
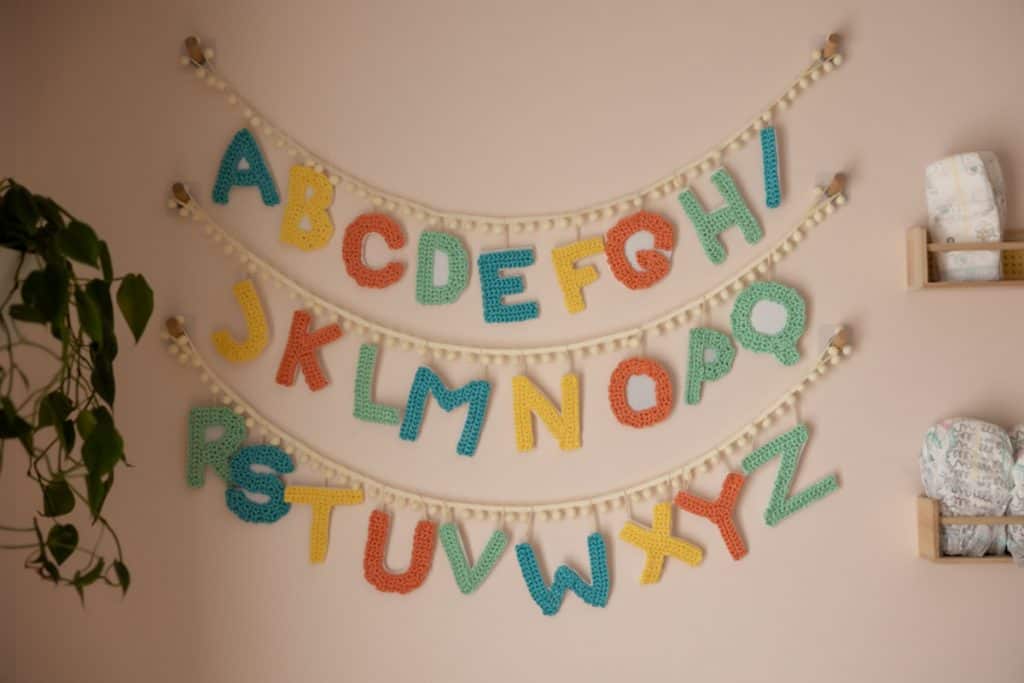
What I really enjoyed about this pattern, in particular, is that almost all the letters are made seamlessly in one piece, which means a whole lot fewer tails to hide or weave in. I also really enjoy the font style of the letters!
Supplies Used:
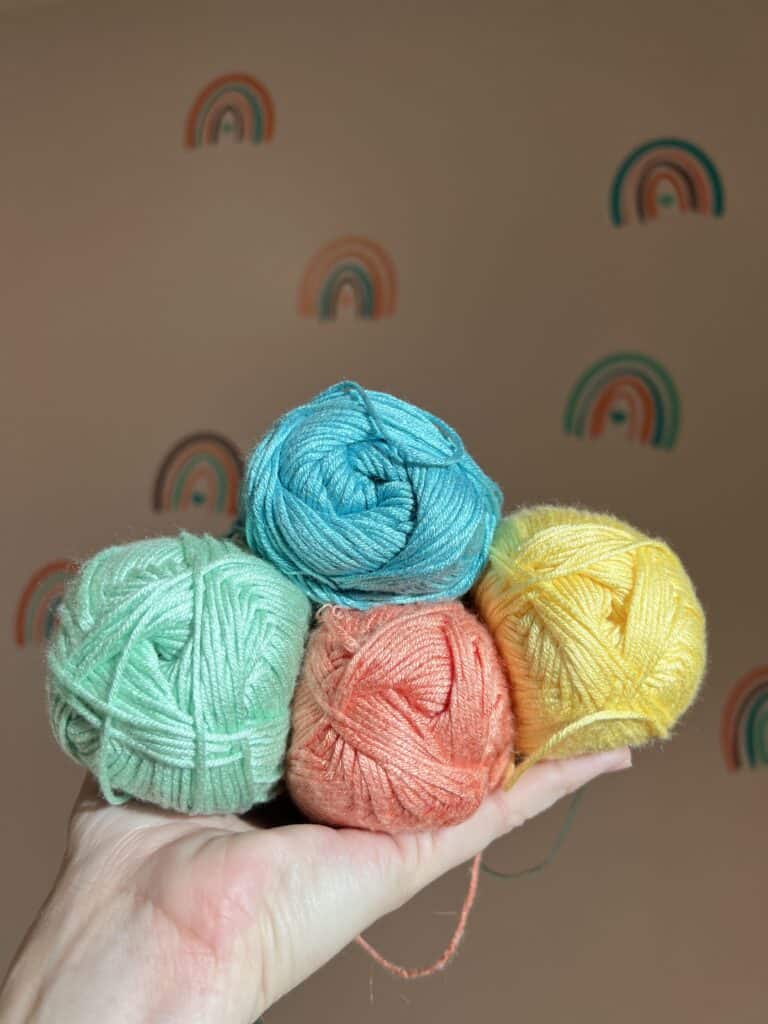
Lion Brand TruBoo Yarn (Yellow, Coral, Aqua, and Mint)
6mm crochet hook (my current favorite)
Scissors
Stiff Felt (I bought this one but it’s much more affordable at craft stores)
Fringe Ribbon in Ivory (to hang letters from)
Wall Hooks (I used this, damage-free)
Something heavy to flatten the letters (I used high school yearbooks)
Ivory Cotton yarn, to make a loop to hang letters with.
Alphabet Notes:
I held two strands of yarn at once to give more stiffness.
On the Moogly Blog, Tamara has multiple different alphabets (uppercase, lowercase and even greek).
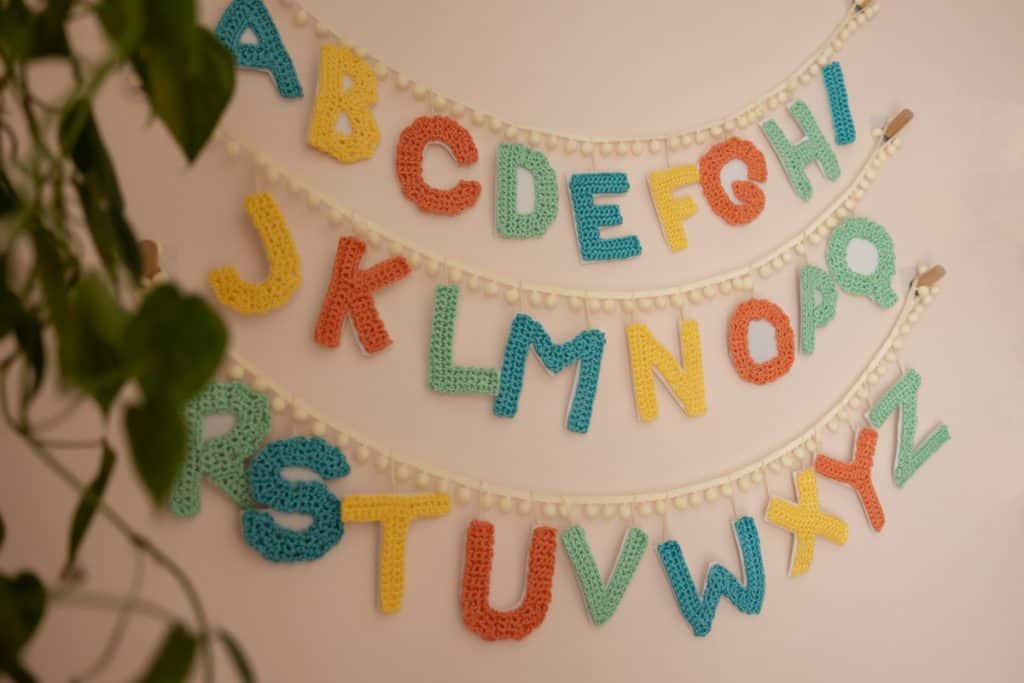
You may have already noticed, I messed up my color alternating and did 3 letters in a row in Mint. I thought about going back and fixing it, since I was intending to write a blog post, but I instead decided to keep my mistake visible and own the fact that no body is perfect! I honestly think little discrepencies are beautiful!
Easy Steps
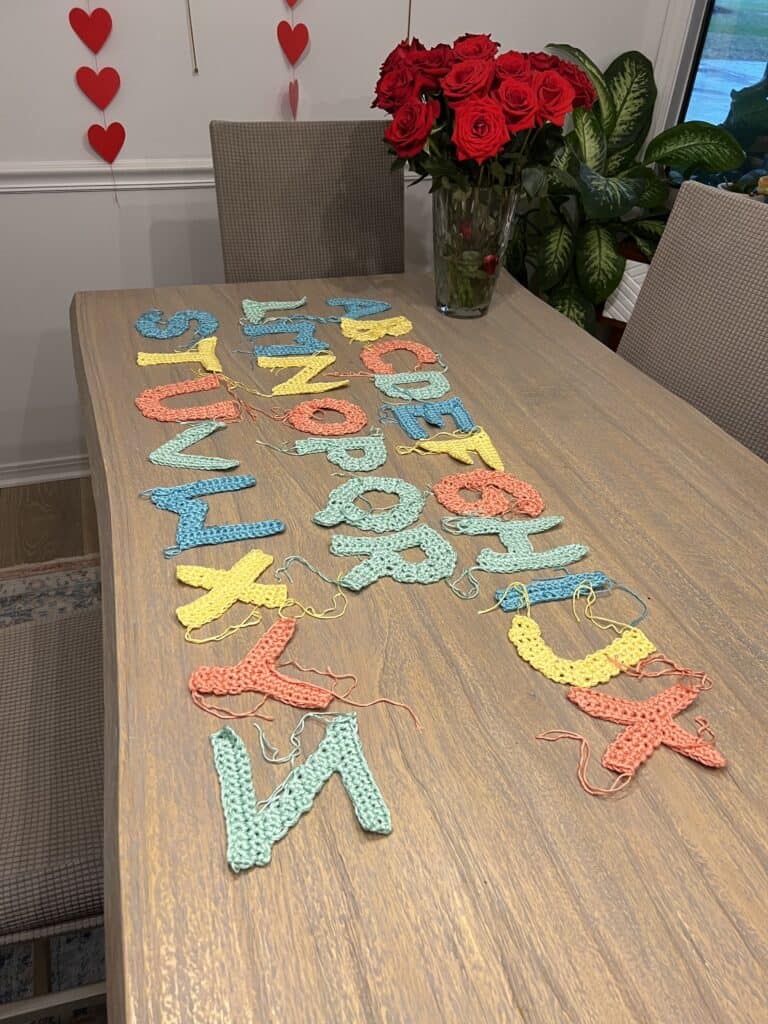
- Crochet Alphabet using Moogly’s pattern
- Flatten Letters (great job for those excessively large yearbooks)
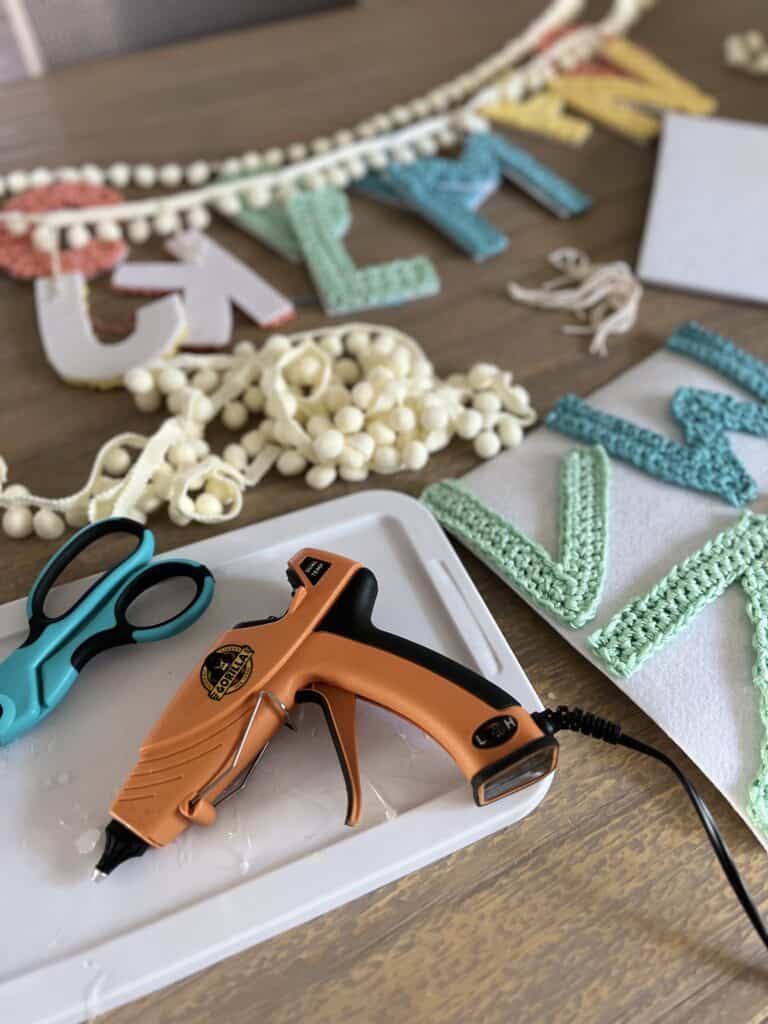
- Hot Glue Letters to stiff Felt
- Cut out letters
- Flatten Again
- Hot glue 3” loop on the back of each letter.
- Size up your space (determine how many rows will work and the needed length of the ribbon)
- Add letters onto the ribbon
I hope you enjoyed this tutorial, be sure to check out my free crochet patterns: