Bobble Hobo Bag FREE Crochet Pattern
The following post contains affiliate links. By clicking on the links you are supporting my site and allowing me to continue to create free content. I promise, I only share products that I use and love! For more information please see my disclosure page.
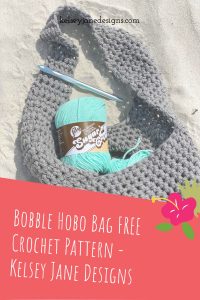
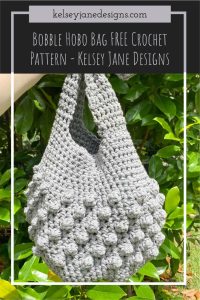
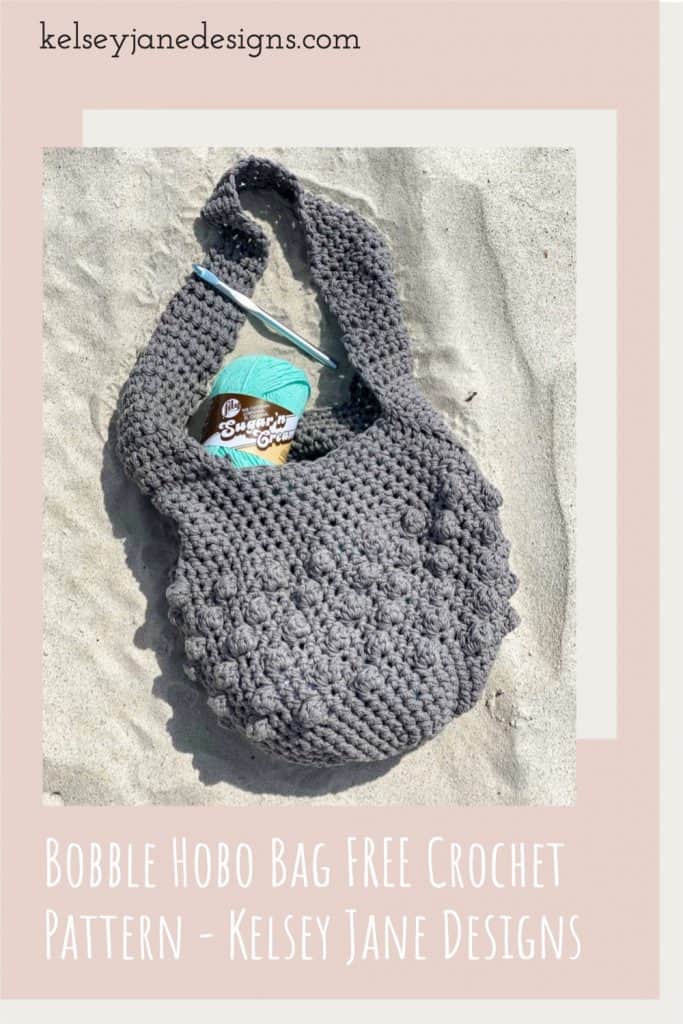
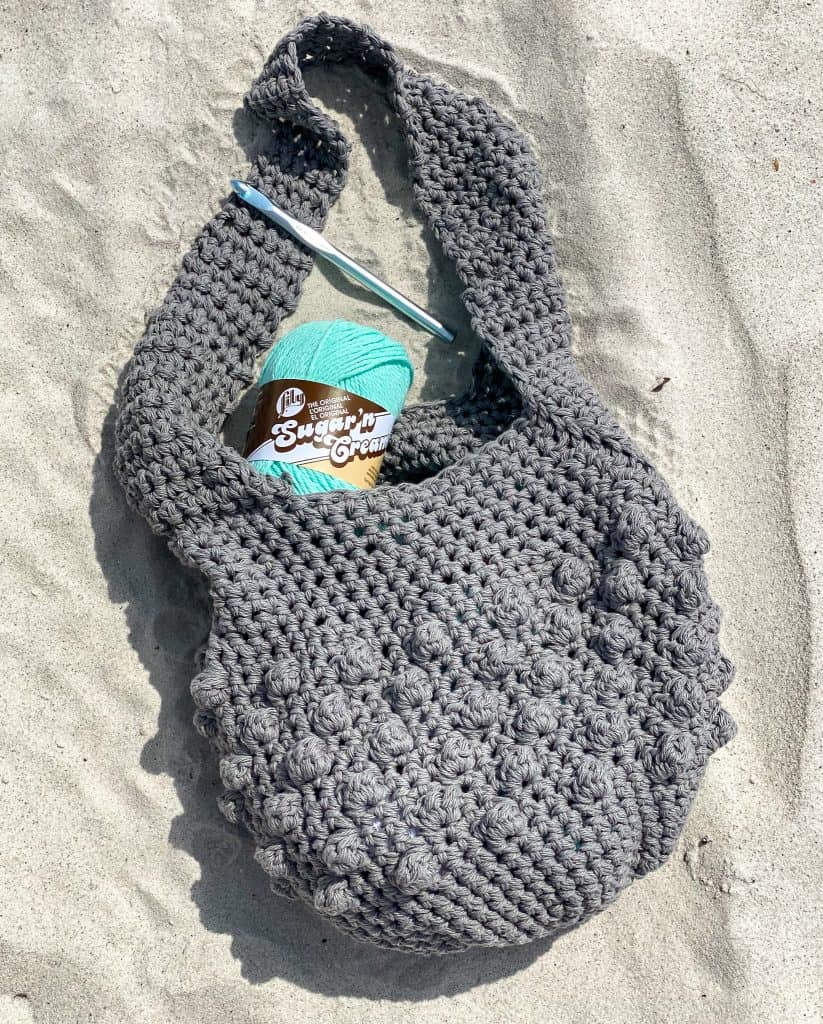
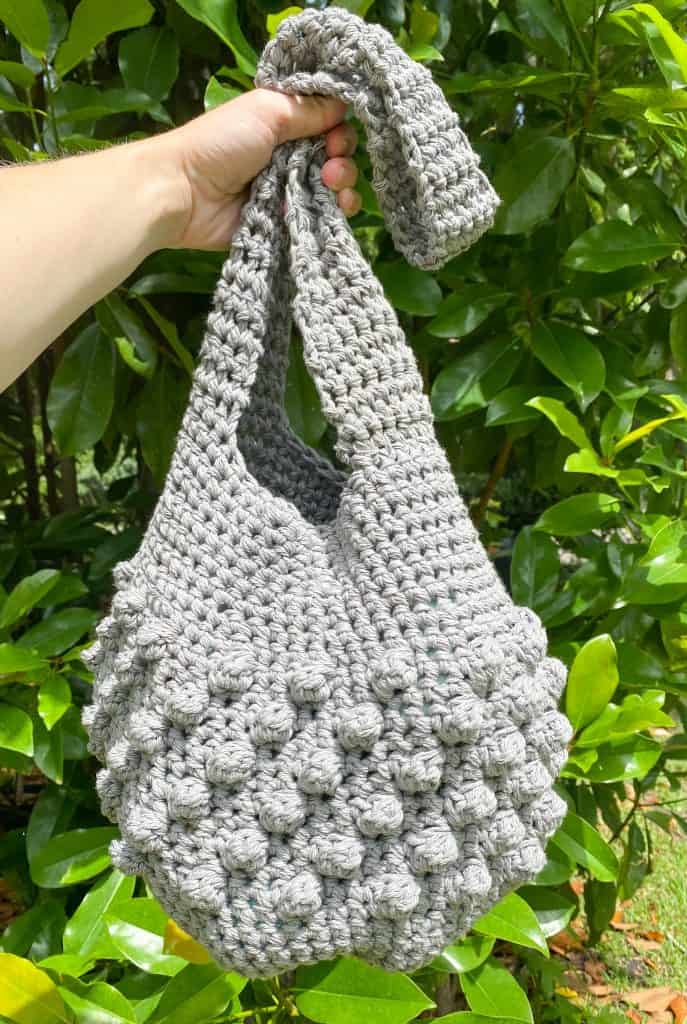
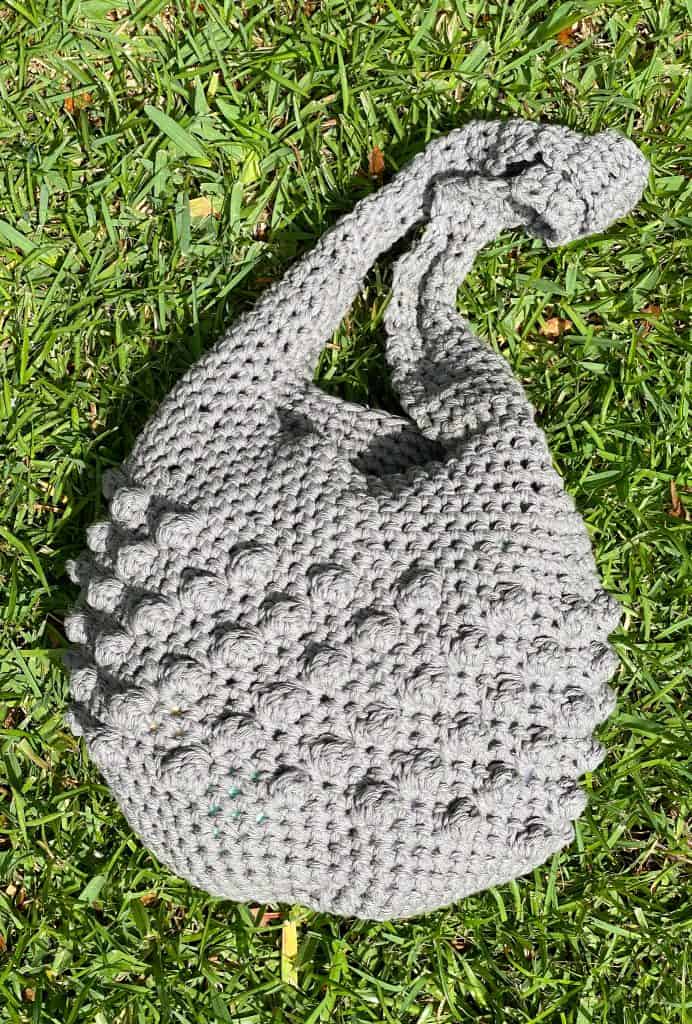
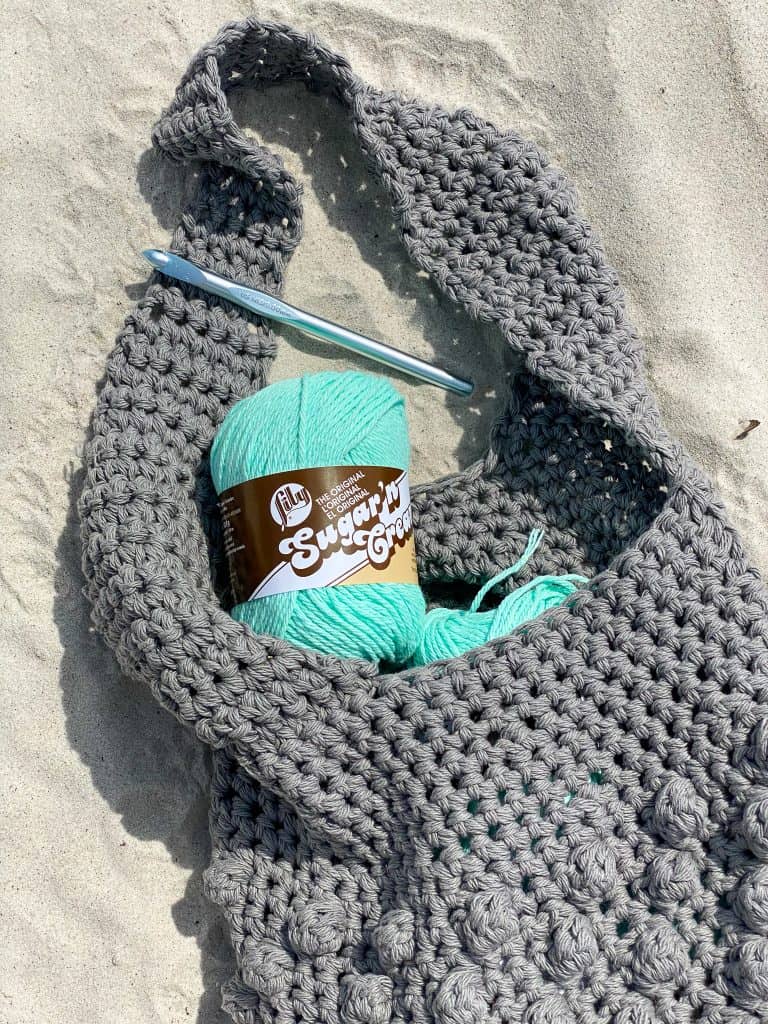
The Bobble Hobo Bag is the perfect bag for summer and works up quickly in a weekend! Using 2 strands of Lily Sugar n’ Cream yarn your bag will be super durable and ready for your next adventure. This bag is super easy to make and you’ll find yourself done in no time. Inspired by The Sak 120 Hobo bag.
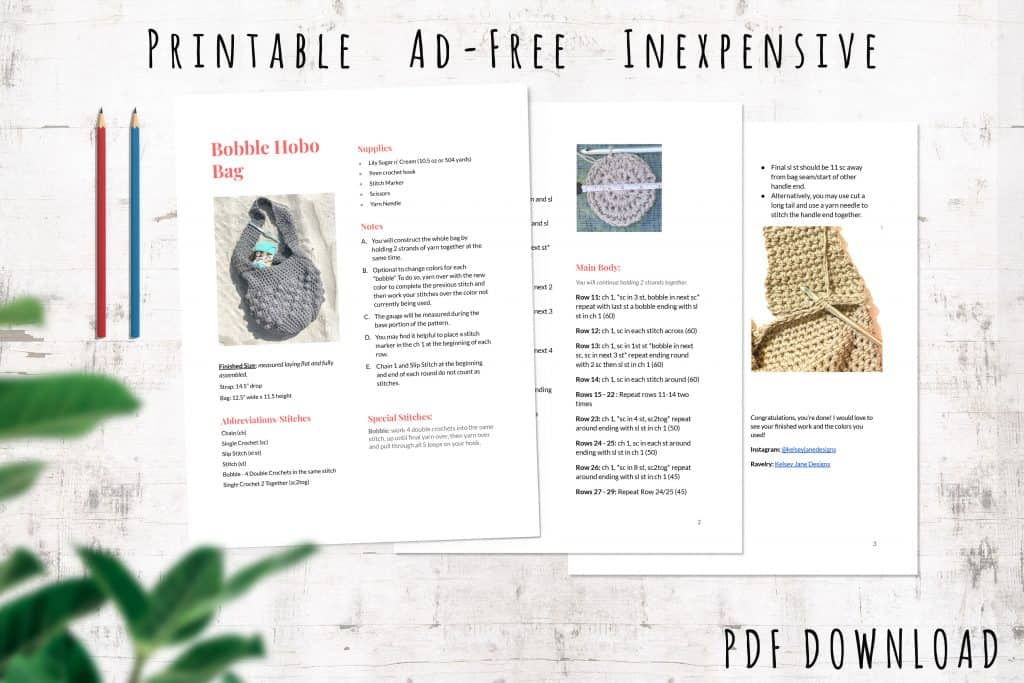
Grab the inexpensive PDF pattern here or scroll down for the free pattern.
Inspiration
This bag is something I have wanted to make for quite some time. Inspired by a limited edition bag from The Sak that I’ve had my eyes on. The style of the bag provides a perfect catch-all for all your summertime beach gear while also looking extra stylish with the boho hobo style. There are so many possibilities for how to use your bag! It’s the perfect size for an everyday purse, beach bag, shopping bag, or your wip project bag!
The Yarn
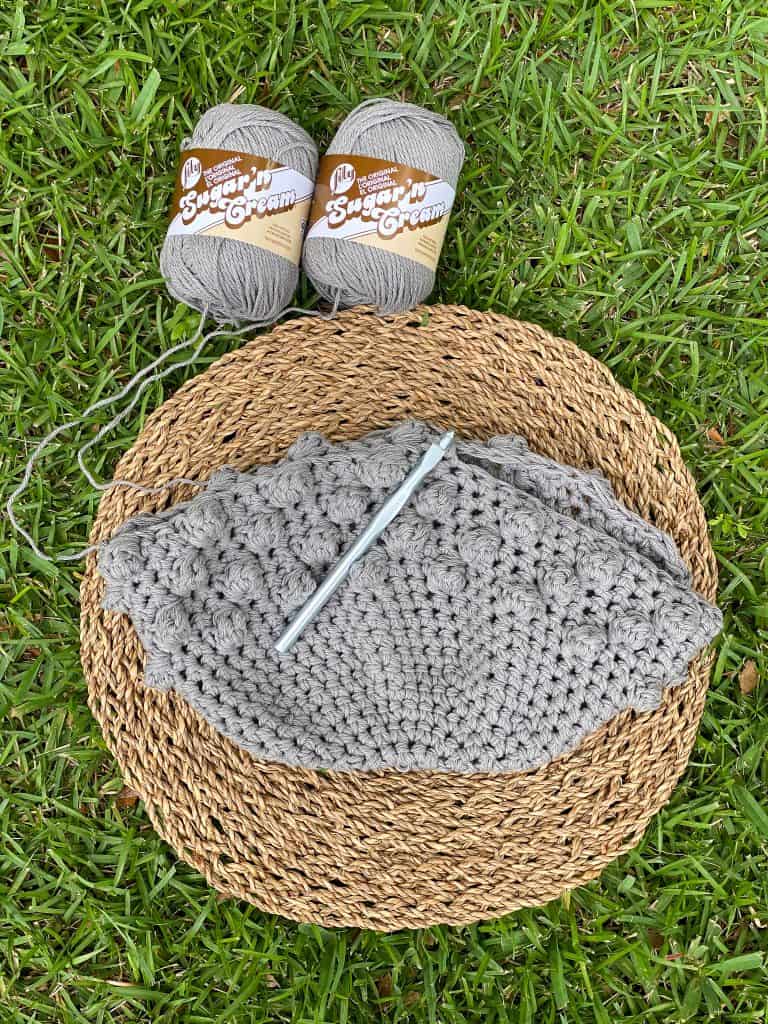
I actually originally started making this bag using a different yarn that changed colors in the sunlight but ran into some complications… Check out my yarn review to find out more. After abandoning the previous yarn, I decided to use Lily Sugar n’ Cream 100% cotton yarn. This yarn is super durable and provides a timeless feel with the cotton texture. This bag will endure daily wear like a champ and will look great for many summers to come.
My favorite parts of using Lily Sugar n’ Cream are how affordable it is and how readily available it is to purchase. You can buy this yarn at any craft store, big box stores like Walmart, and of course online from Amazon. Plus the yarn comes in an infinite number of different colors including stripes and ombres. One thing I will say I have noticed is that the number of ounces varies by retailer. For example, Michaels sells the yarn in 2.5 oz/120 yard skeins and Joann’s sells it in 4 oz/190 yards. And then like many other brands, there is less in the ombre and stripe varieties. So just keep that in mind when shopping so you can make sure to get enough yarn!
I used 2 strands of yarn held together at the same time so the small-sized skeins come in handy. By using 2 strands the bag works up super quickly and you’ll be done in no time. Using 2 strands together also makes the bag very sturdy and capable of handling heavier items.
You can use pretty much any 100% cotton, worsted weight yarn for this project. If you would like to use something different, I recommend checking out www.yarnsub.com . It’s a really great resource for giving tips and advice for the best yarns to substitute.
- Get the ad-free inexpensive printable pattern on ETSY!
- Save this pattern to your Ravelry queue
- Pin this pattern for easy access later!
Finished Size:
Strap: 14.5” drop
Bag: 12.5” wide x 11.5 height
Abbreviations/Stitches
- Chain (ch)
- Single Crochet (sc)
- Slip Stitch (sl st)
- Stitch (st)
- Bobble – 4 Double Crochets in the same stitch
- Single Crochet 2 Together (sc2tog)
Supplies
- Lily Sugar n’ Cream (10.5 oz or 504 yards)
- 9mm crochet hook
- Stitch Marker
- Scissors
- Yarn Needle
Notes
- You will construct the whole bag by holding 2 strands of yarn together at the same time.
- Optional to change colors for each “bobble” To do so, yarn over with the new color to complete the previous stitch and then work your stitches over the color not currently being used.
- The gauge will be measured during the base portion of the pattern.
- You may find it helpful to place a stitch marker in the ch 1 at the beginning of each row.
- Chain 1 and Slip Stitch at the beginning and end of each round do not count as stitches.
Special Stitches:
Bobble: work 4 double crochets into the same stitch, up until final yarn over, then yarn over and pull through all 5 loops on your hook.
Base:
Worked holding 2 strands of yarn together.
Magic circle: 10 sc in circle (tighten and sl st into 1st sc)
Row 1: ch 1, 2 sc in each st around and sl st into ch 1 (20)
Row 2: ch 1, *2 sc in same st, 1 sc next st* repeat and sl st into ch 1 (30)
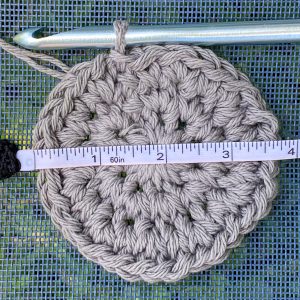
Gauge ✅: 3.75” diameter
Row 3: ch 1, *2 sc in same st, 1 sc in next 2 st* repeat and sl st into ch 1 (40)
Row 4: ch 1, *2 sc in same st, 1 sc in next 3 st* repeat and sl st into ch 1 (50)
Gauge ✅: 6” diameter
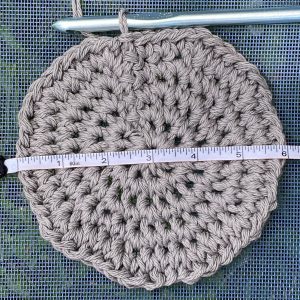
Row 5: ch 1, *2 sc in same st, 1 sc in next 4 st* repeat and sl st into ch 1 (60)
Gauge ✅: 7” diameter
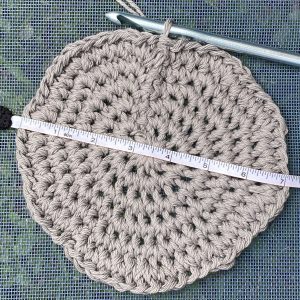
Row 6: ch 1, 1 sc in each st around ending with sl st in ch 1 (60)
Should begin to curl up once we stop increasing. Rows 7 – 10: repeat row 6
Main Body:
You will continue holding 2 strands together.
Row 11: ch 1, *sc in 3 st, bobble in next sc* repeat with last st a bobble ending with sl st in ch 1 (60)
Row 12: ch 1, sc in each stitch across (60)
Row 13: ch 1, sc in 1st st *bobble in next sc, sc in next 3 st* repeat ending round with 2 sc then sl st in ch 1 (60)
Row 14: ch 1, sc in each stitch around (60)
Rows 15 – 22 : Repeat rows 11-14 two times
Row 23: ch 1, *sc in 4 st, sc2tog* repeat around ending with sl st in ch 1 (50)
Rows 24 – 25: ch 1, sc in each st around ending with sl st in ch 1 (50)
Row 26: ch 1, *sc in 8 st, sc2tog* repeat around ending with sl st in ch 1 (45)
Rows 27 – 29: Repeat Row 24/25 (45)
Strap:
You will continue holding 2 strands together.
Row 1: ch 1, sc in 11 st and turn (11)
Rows 2 -5: Repeat row 1 (11)
Row 6: ch 1, sc2tog, sc in 9 st and turn (10)
Row 7: Repeat row 6 (9)
Rows 8 – 12: ch 1, sc in each st and turn (9)
Rows 13 – 14: Repeat rows 6 & 7
Rows 15 – 17: Repeat row 8 (7)
Rows 18 – 19: Repeat rows 6 & 7
Rows 20 – 40: Repeat row 8 (5)
Row 41: ch 1, 2sc in 1st st, sc in 4 st and turn (6)
Row 42: Repeat row 41 (7)
Rows 43 -45: Repeat row 1 (7)
Rows 46 & 47: Repeat rows 41 & 42
Rows 48 – 52: Repeat row 8 (9)
Rows 53 – 54: Repeat rows 41 & 42
Rows 55 – 59: Rep Row 8 (11)
Attaching the Strap:
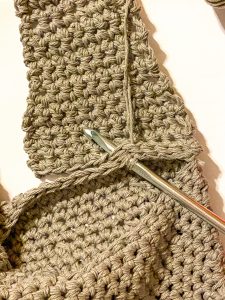
- Return to Row 1 of the strap, go to the final sc of the row, and count 12 stitches to the left.
- Starting in the 13th stitch, use a sl st to attach the strap end from the inside of the bag.
- Cut yarn and weave in ends.
- Final sl st should be 11 sc away from bag seam/start of other handle end.
- Alternatively, you may use cut a long tail and use a yarn needle to stitch the handle end together.
Congratulations, you’re done! I would love to see your finished work and the colors you used!
Instagram: @kelseyjanedesigns
Ravelry: Kelsey Jane Designs
Be sure to check out my other FREE Crochet Patterns
