Oh My Fuzzy Stars ✨ FREE Crochet Ear Warmer Pattern
The following post contains affiliate links. By clicking on the links you are supporting my site and allowing me to continue to create free content. I promise, I only share products that I use and love! For more information please see my disclosure page.
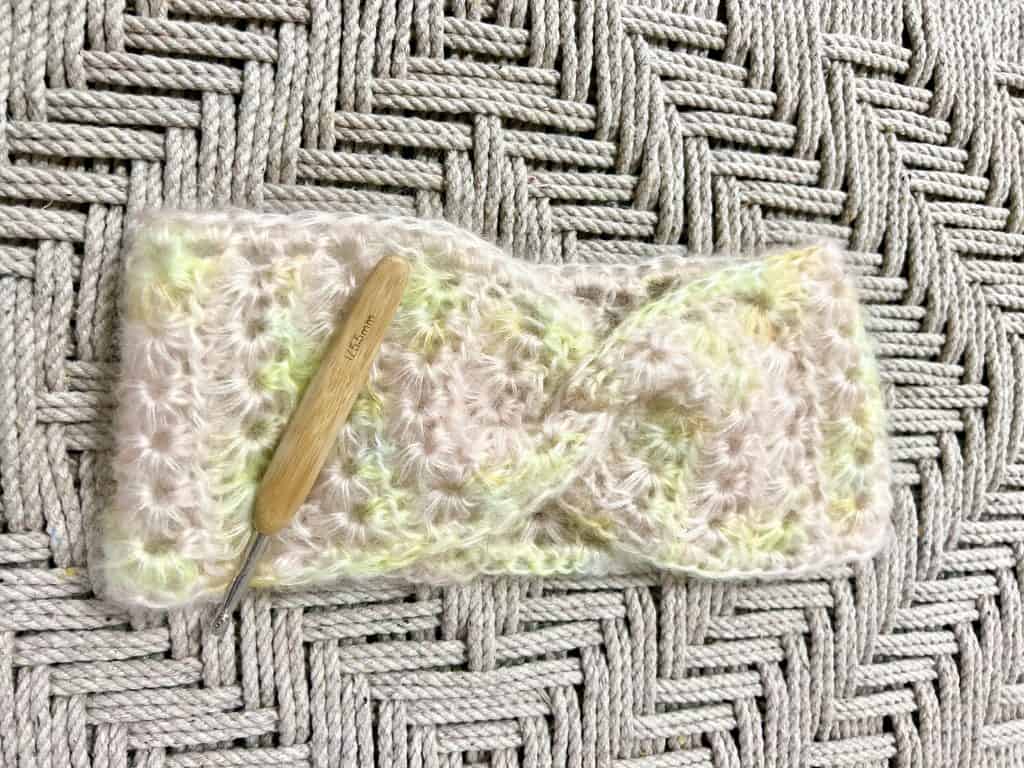
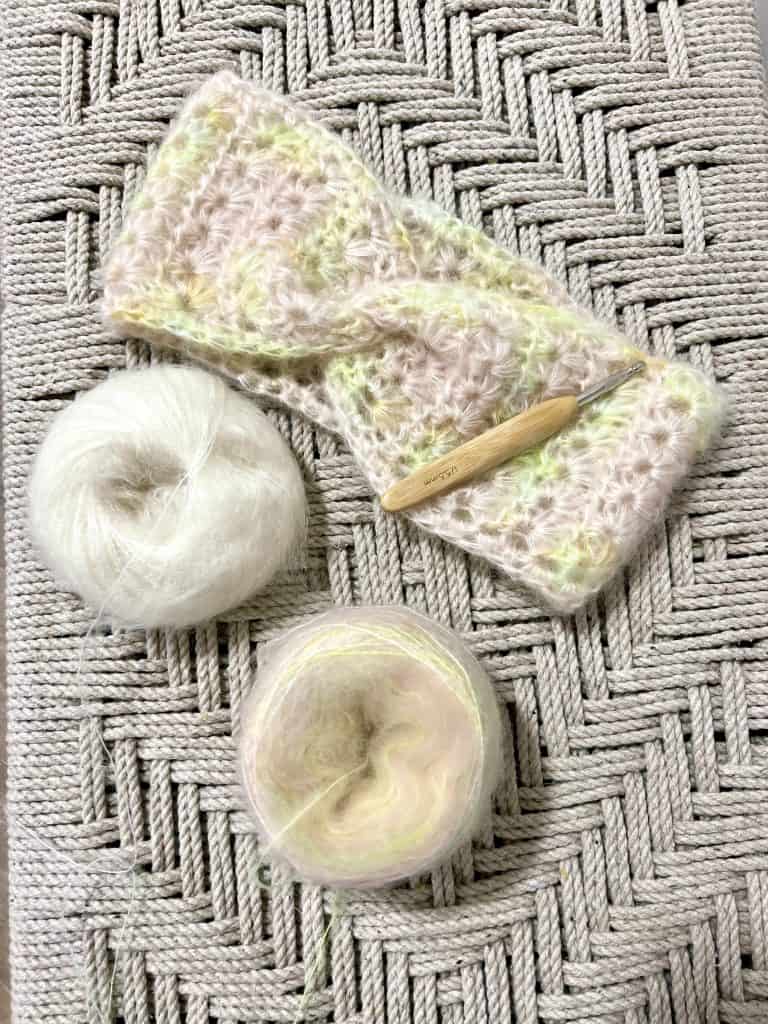
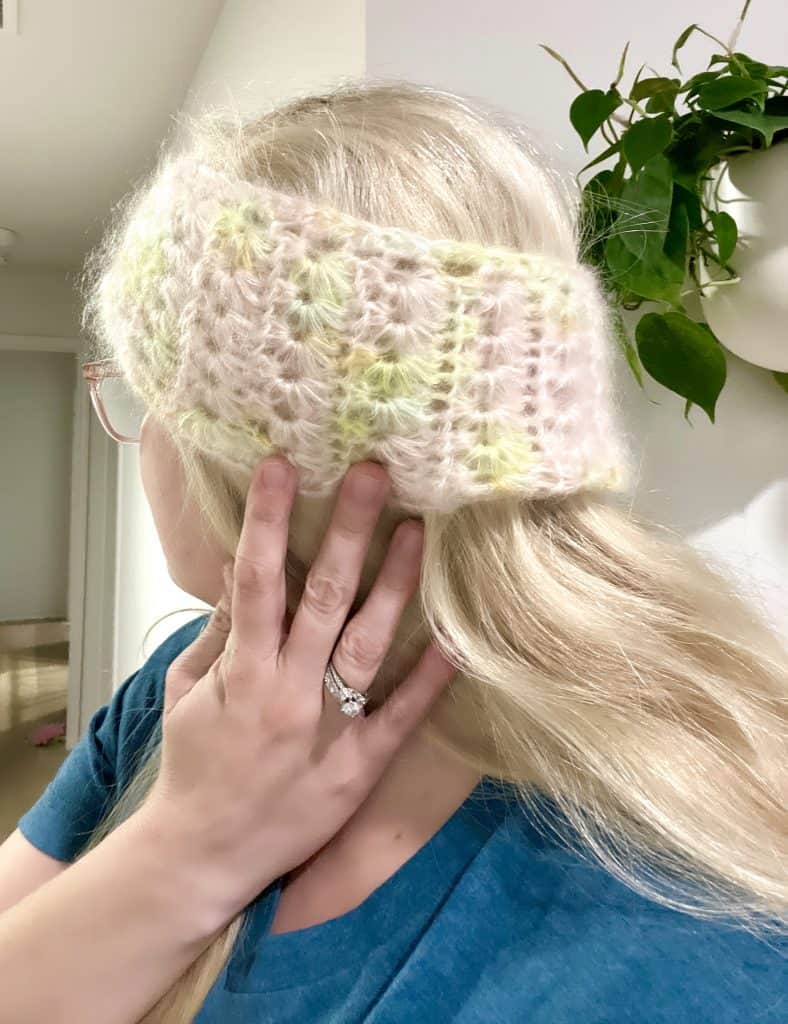
Make in any size using 3 strands of Mohair (or 1 strand DK weight and 1 strand of Mohair).
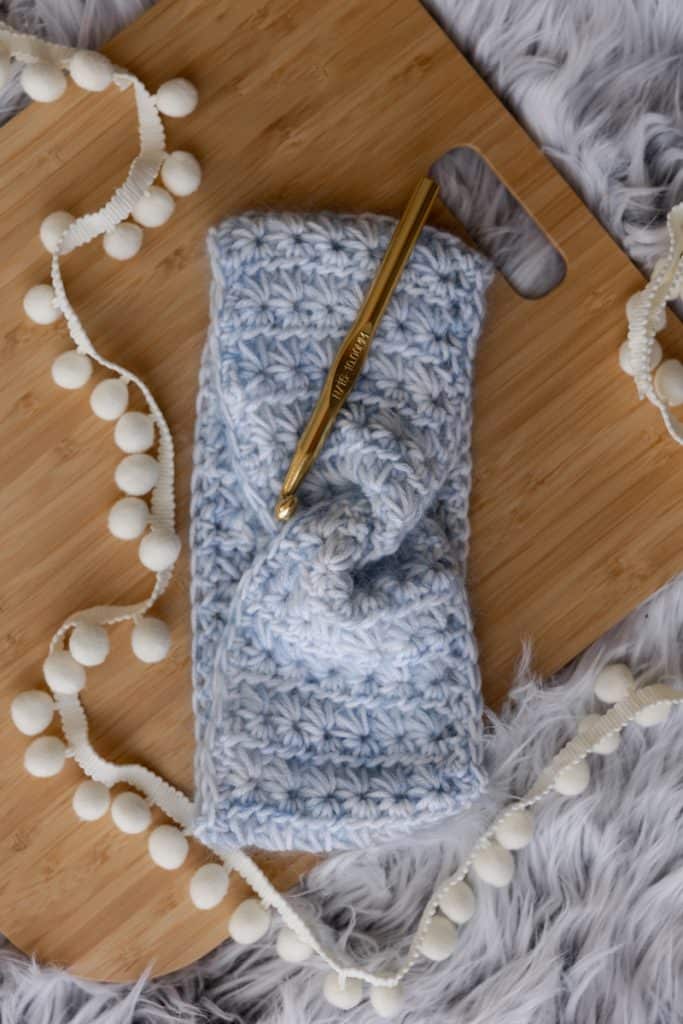
The pillowy softness of the mohair and star stitch creates dramatic plush stitches that work up quickly. You can easily finish this project in a few hours! I recommend grabbing your favorite hand dyed skein of mohair and pair it with two strands of a neutral color (like white) or 1 strand of a neutral colored DK weight yarn. The neutral color with provide a simple backdrop to let the gorgeous hand dyed hues shine.
Purchase the, low-cost, Ad-Free version on ETSY!
Pattern Notes:
- If you are new to the star stitch, I recommend quickly making a sample swatch in a different yarn so you can be comfortable with the stitch. Mohair is amazing but very unforgiving when needing to frog.
- The pillowy softness of the mohair and star stitch creates dramatic plush stitches that work up quickly. You can easily finish this project in a few hours! I recommend grabbing your favorite hand dyed skein of silk mohair and pair it with 2 strands of a neutral color (like white) or 1 strand of a neutral colored DK weight yarn. The neutral color will provide a simple backdrop to allow the gorgeous hand dyed hues shine.
- Created with a simple two row star stitch repeat. You’ll continue until reaching the desired head circumference and then stitch the ends together! It’s that easy!
Mohair Tips:
- Put your project in freezer for a few minutes before frogging. I know, it sounds bizarre but trust me…
- Choose your hook wisely. I prefer a metal tip hook, it helps glide through the mohair easier. I personally have carpal tunnel so I go for a ChiaoGoo metal hook with a wooden handle.
- Work your stitches loosely. If your having trouble getting your hook in then you may want to size up.
- Keep your yarns separate while working. Mohair wants to desperately felt and tangle amongst itself. To avoid devastation, be gentle and what I do is I get a small reusable grocery bag, that stands on its own, and 3 separate bags (zip lock, cloth, your choice) and put each yarn in a different bag within the larger bag.
- Adjusting Width:
- Want to make your headband wider or more narrow? The star stitch needs to be worked over an even number of stitches, simply pick your even number and add 1 for your starting chain.
- The standard width for an ear warmer is approximately 4 inches. But this is your project so do you!
Standard Head Circumferences:
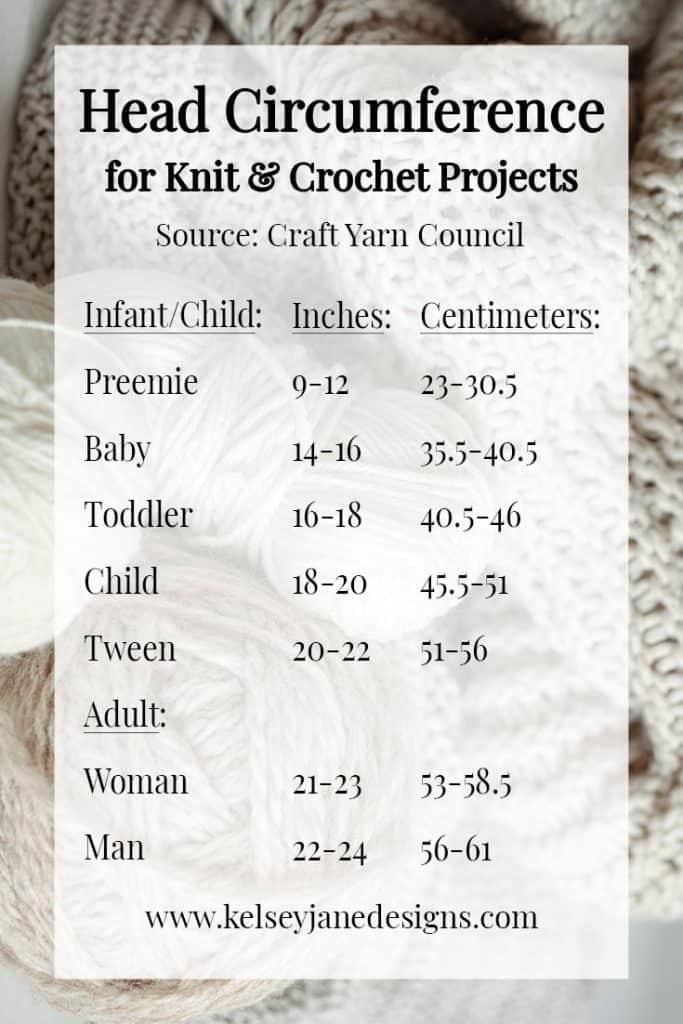
Source: Craft Yarn Council (https://www.craftyarncouncil.com/standards/head-circumference-chart)
Supplies:
- Yarn Held Together:
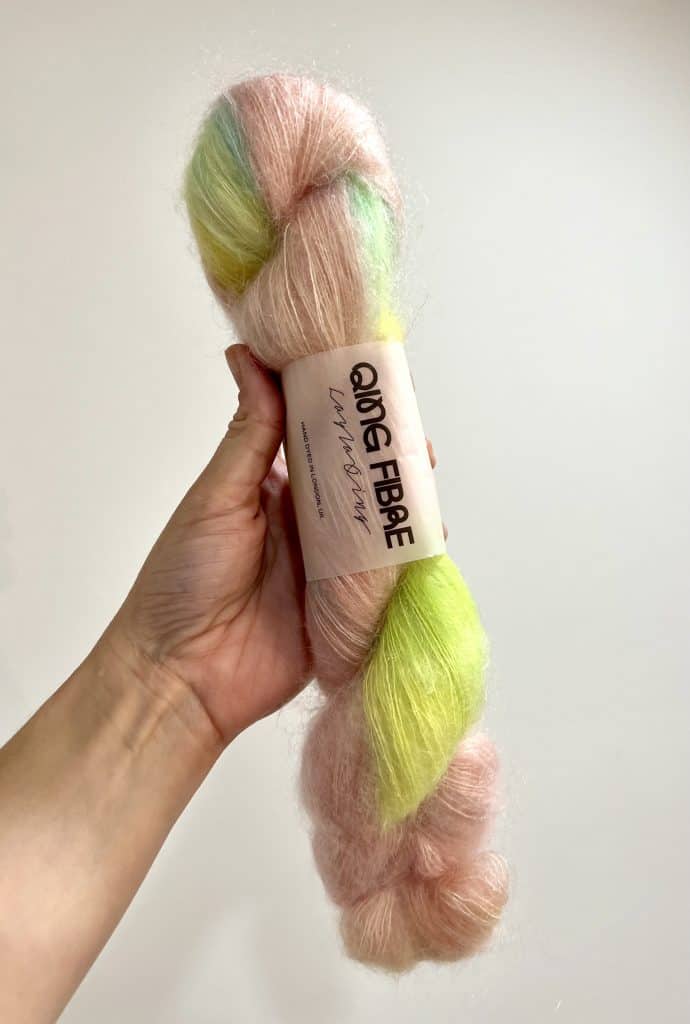
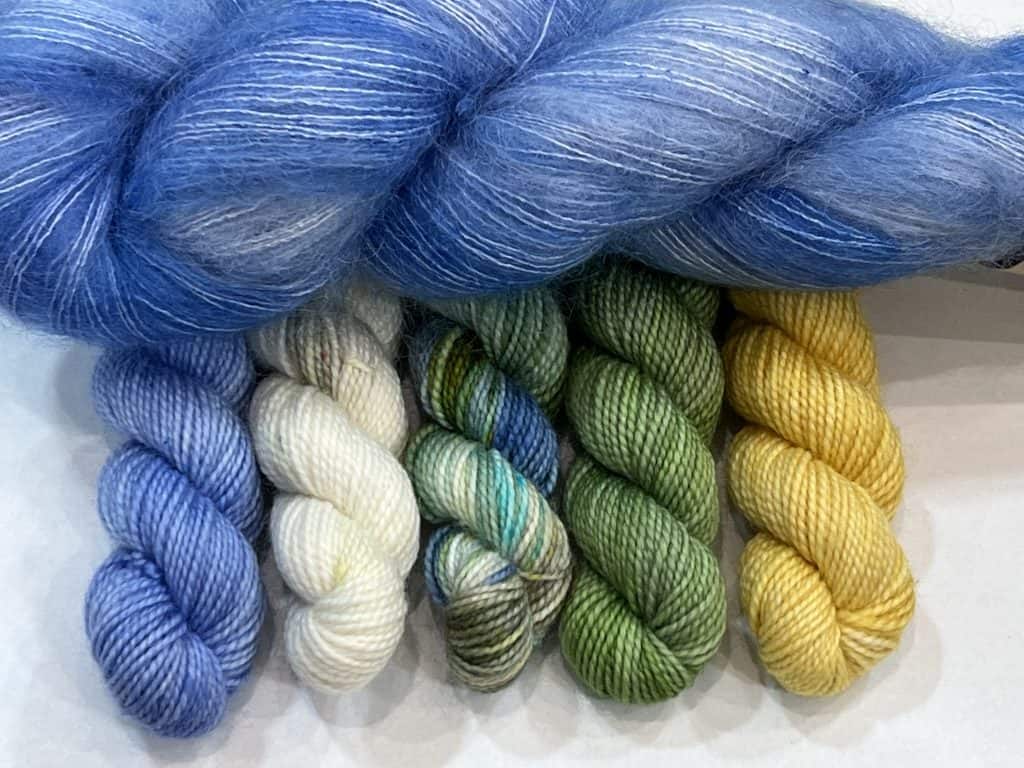
- 1 strand Hand Dyed Lace Weight Mohair (80 yards approx.) I used:
- Qing Fibre Kid Mohair Silk in Jazzy
- 2 strands of Lace Mohair OR 1 strand of DK weight wool in neutral color (Mohair: 160 yards approx. / DK: 80 yards approx.) Examples:
- Valley Yarns Southhampton in Natural
- Valley Yarns Superwash DK Merino in White
- 1 strand Hand Dyed Lace Weight Mohair (80 yards approx.) I used:
- I (5.5mm) crochet hook
- Scissors
Let’s be friends on YouTube!
Abbreviations:
- Chain (ch)
- Half Double Crochet (hdc)
- Right Side (RS)
- Single Crochet 5 Stitches Together (sc5tog)
- Star/Five Star Marguerite Stitch (str)
- Stitch / Stitches (st / sts)
- Wrong Side (WS)
- Yarn Over (yo)
Star Stitch / Five Star Marguerite:
- Must be done on a row with an even number of stitches.
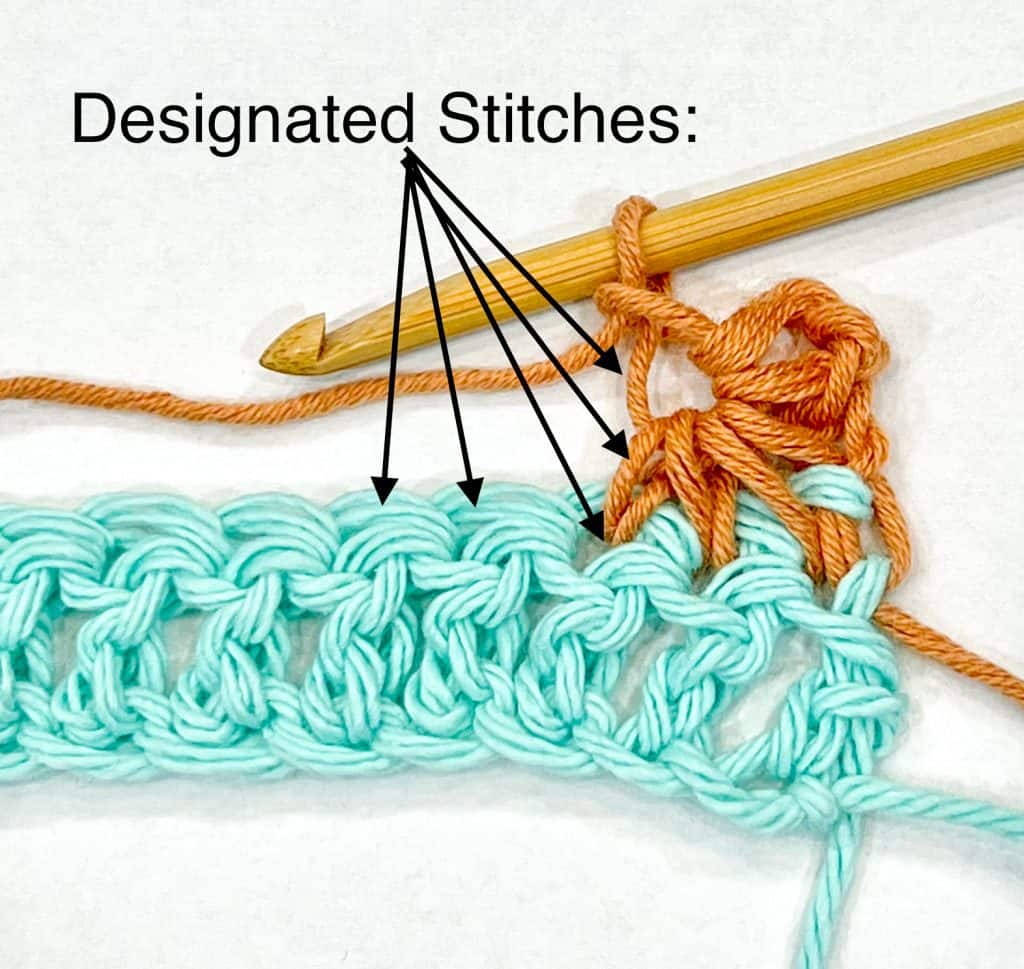
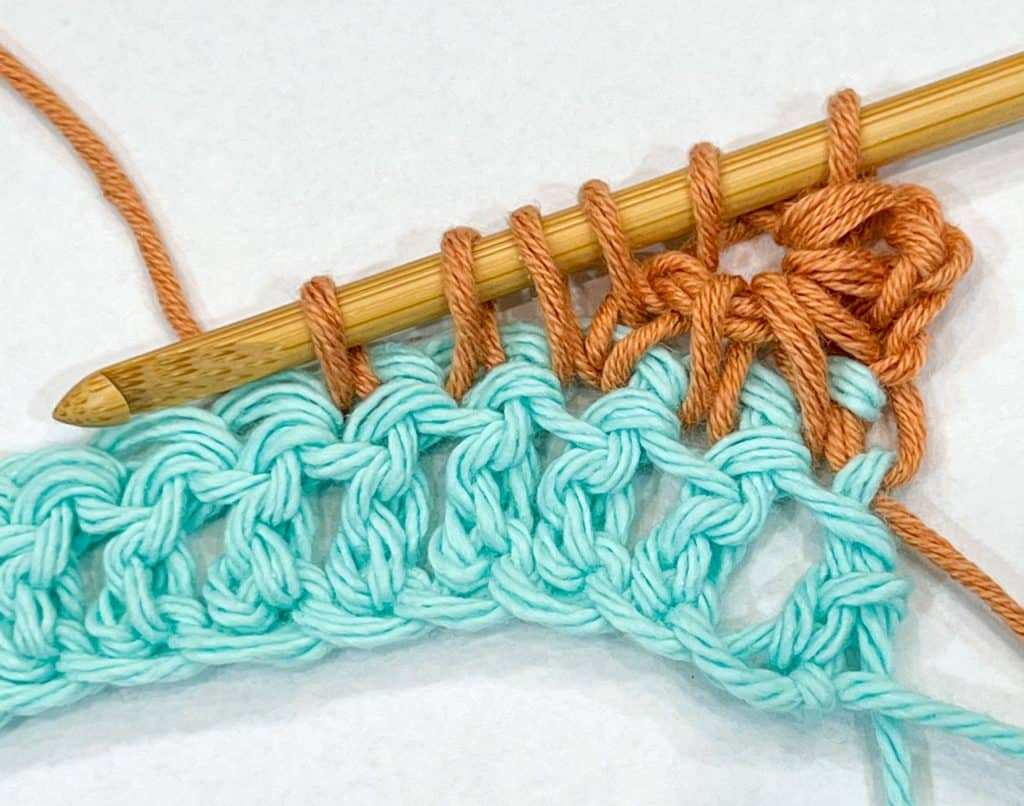
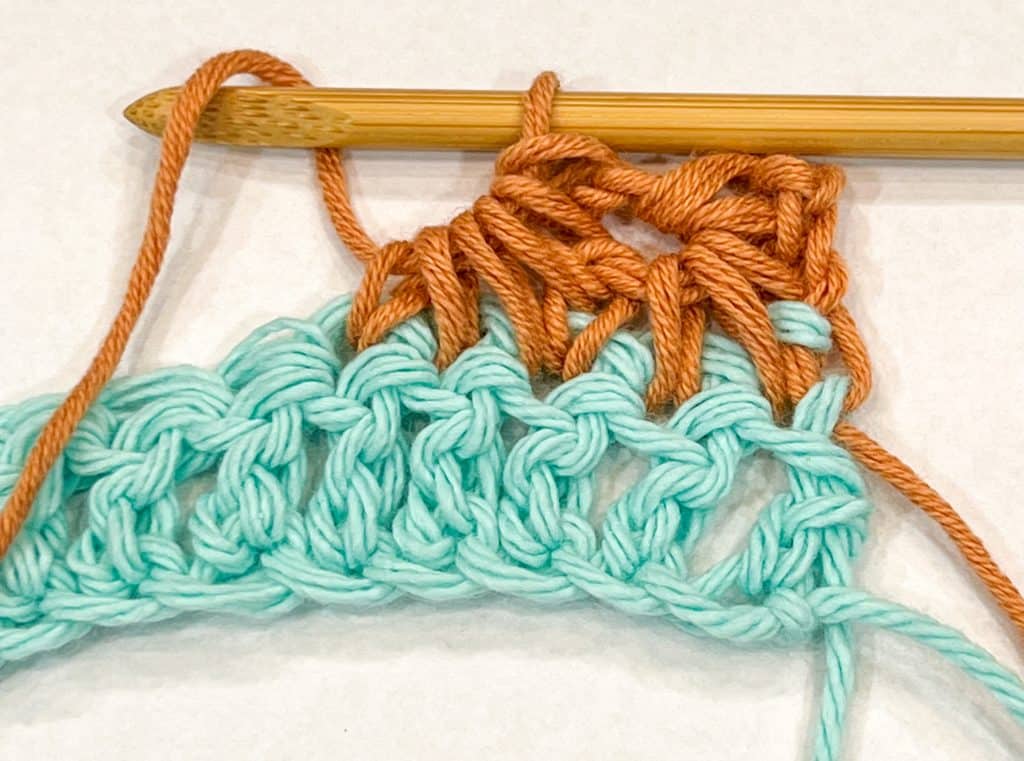
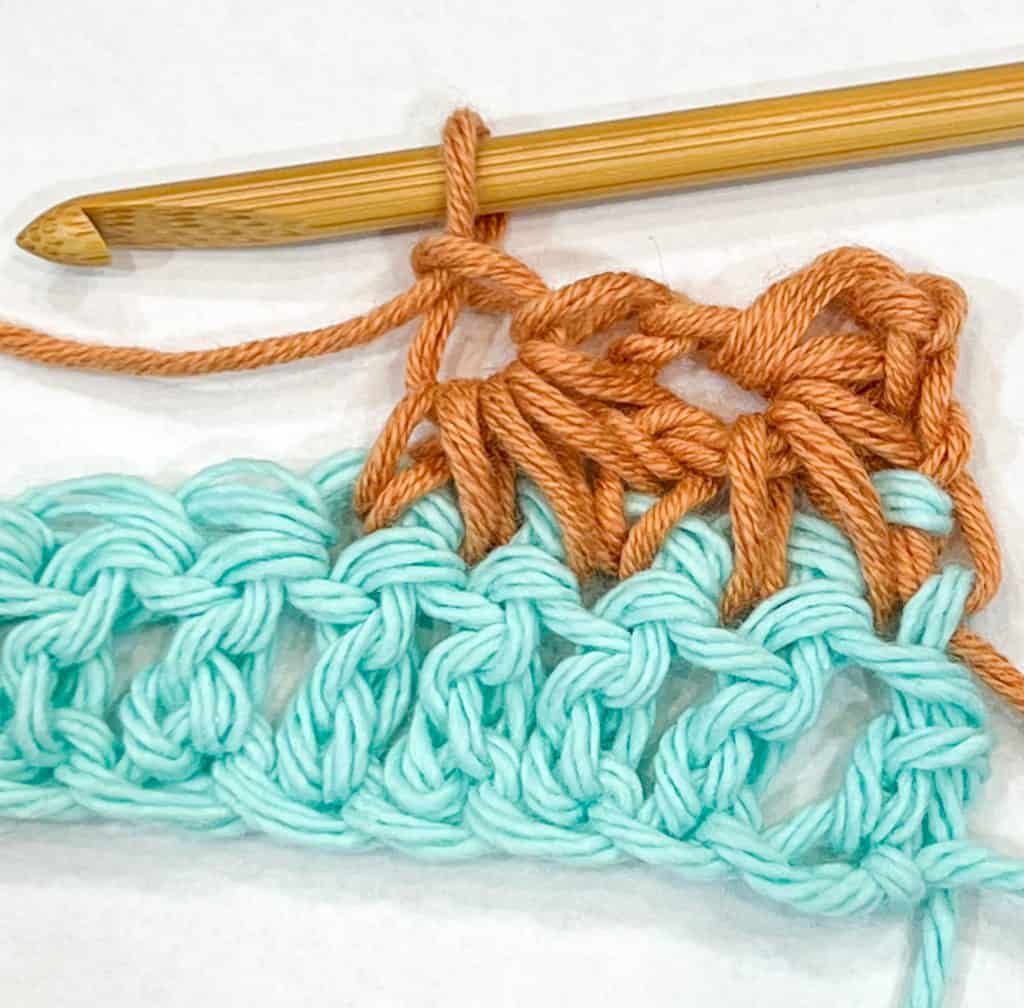
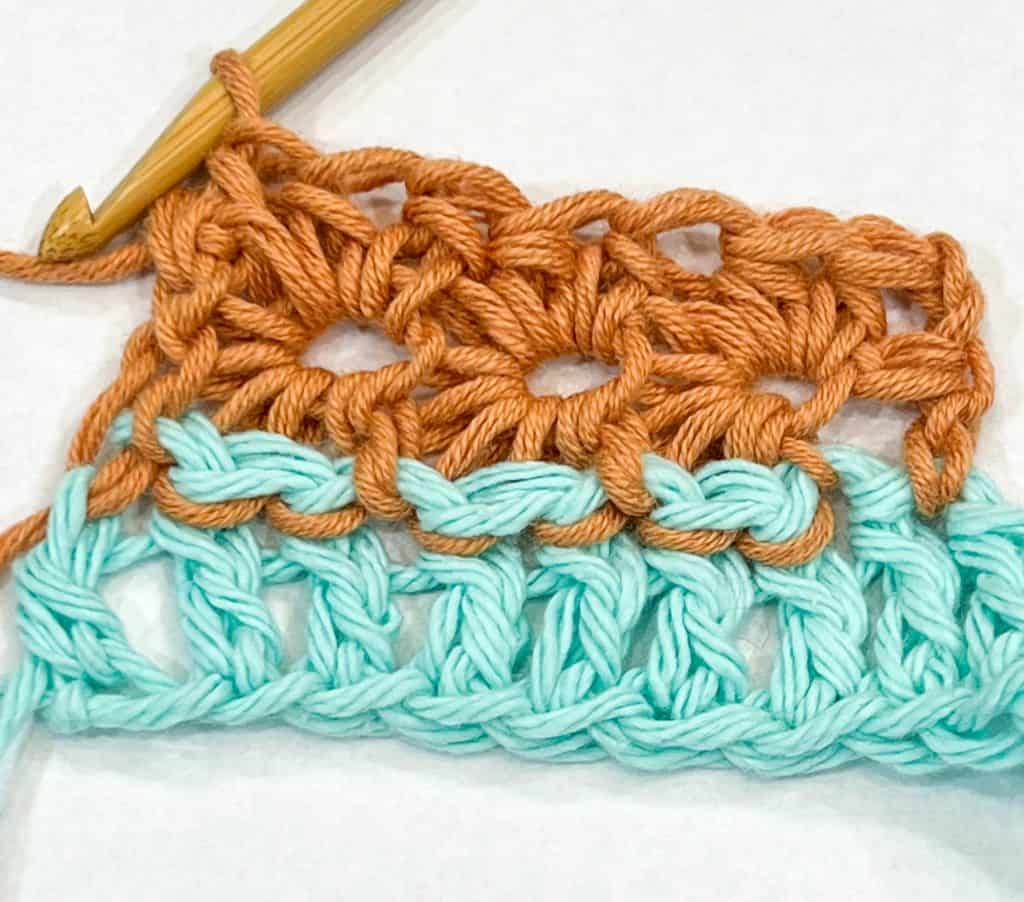
- Sc5tog: *insert hook into designated stitch, draw up a loop* repeat 5x for 6 loops on hook, yarn over and draw through all 6 loops, ch 1 to close the stitch (creating an eye)
- Star Stitch Section, 2 row section:
- Row 1: ch 3, sc5tog starting in the 2nd ch from the hook, sc5tog across ending with a hdc in the final stitch. (RS)
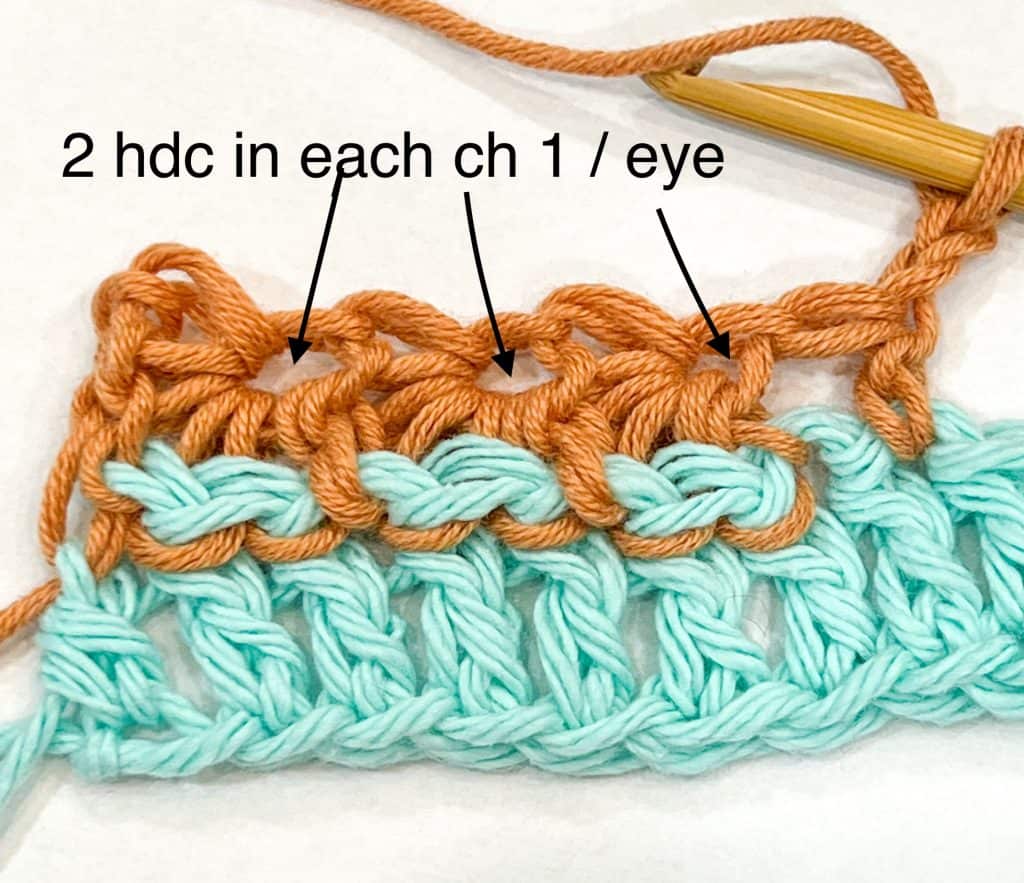
- Row 2: ch 2 (counts as hdc), *2 hdc in each ch 1 from the previous row* end with hdc in starting ch 3. (WS)
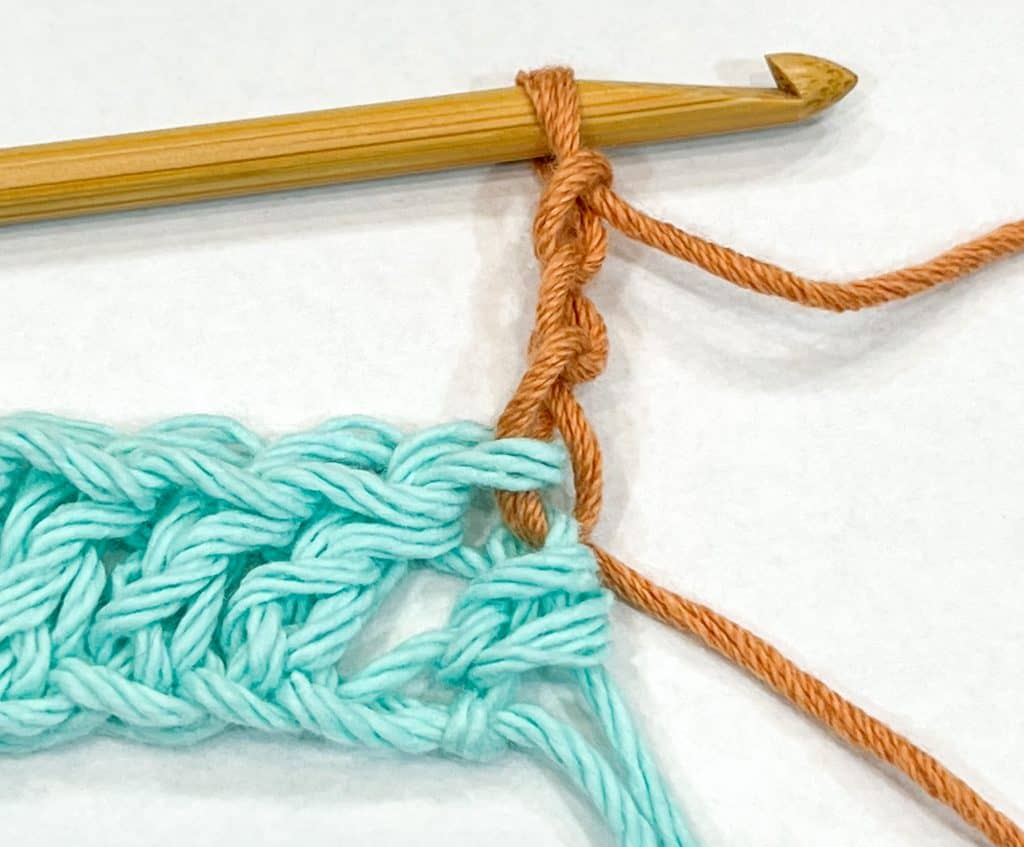
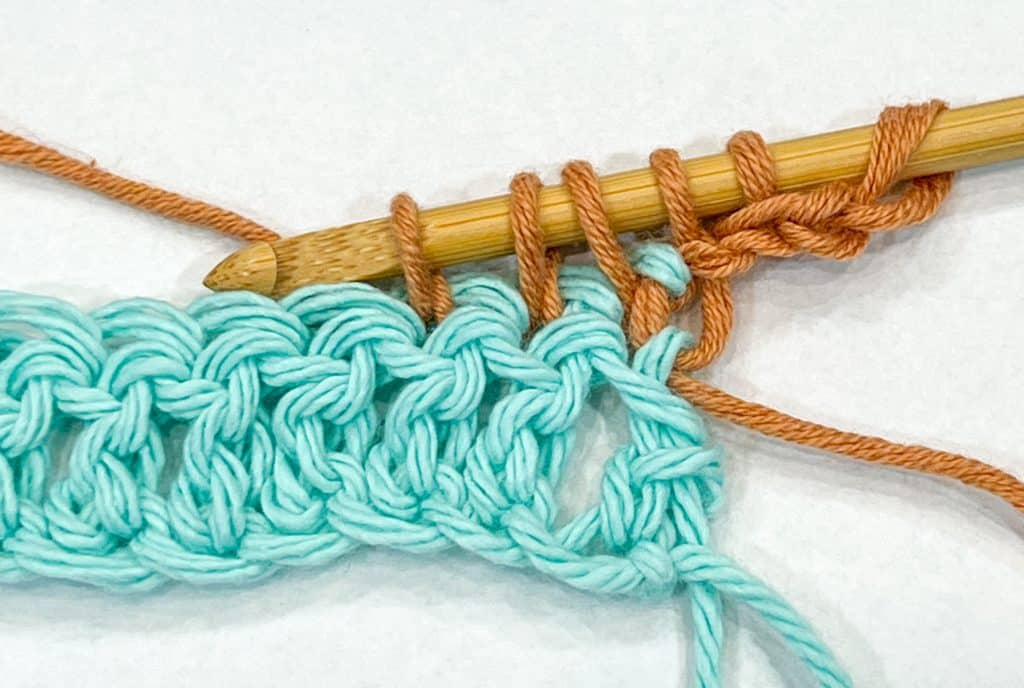
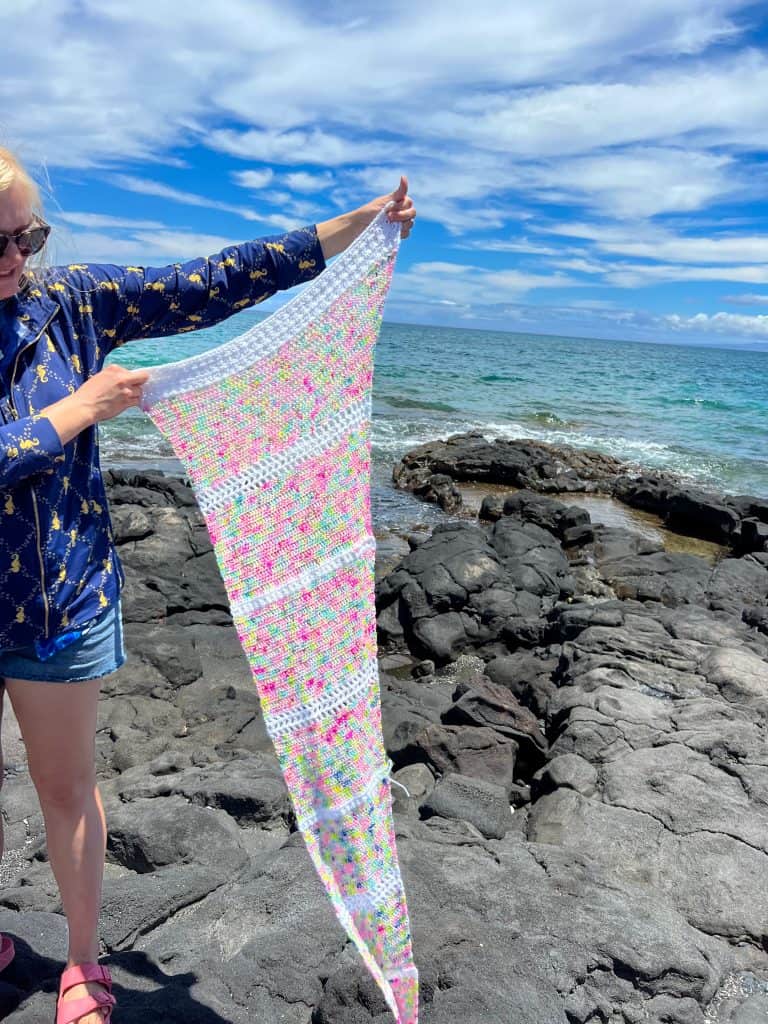
If you are enjoying this Star Stitch pattern, check out my Kua Bay Scarf, it’s a free crochet pattern that also features the star stitch!
Instructions:
Chain 15
Row 1: sc in 2nd ch from hook and across (14)
Begin Star Stitch Section (see above)
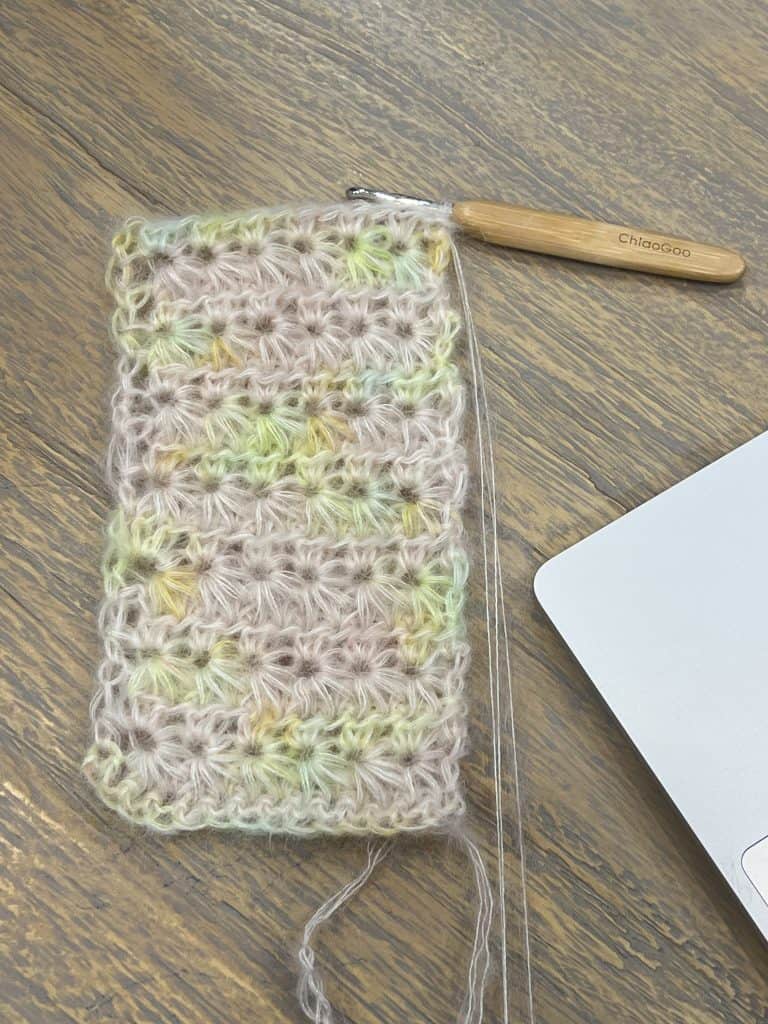
Continue Star Stitch Pattern until you reach the correct circumference of your head. I made mine 21” long.
Final Row/Border: Ch 1, sc across top and around the entire border, to create a clean edge, working 2 sc in each corner, until you reach the starting ch 1.
Continue on to assembly.
Making as a gift? See the chart of standard head circumferences. Keep in mind the natural stretching of the yarn you are using when deciding.
Assembly:
There are two options for assembly, you can either cut your yarn and use a needle to sew the ends or you can use your crochet hook to single crochet together the ends. There’s no right or wrong way.
If you need extra help with assembly, check out this YouTube video. It’s for a different project but the assembly at the end (6 minute mark) is the same!
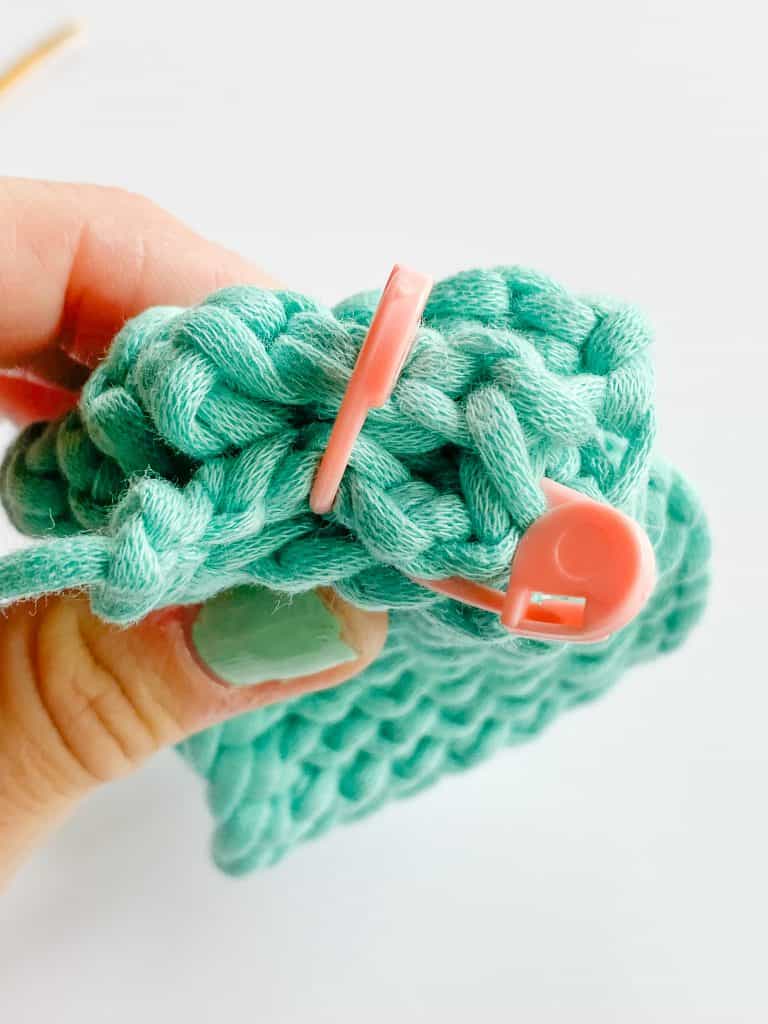
You will flip your panel over and assembling it wrong side out.
Fold the two ends in half (towards the right side).
Then insert the two sides into each other. (Photo A)
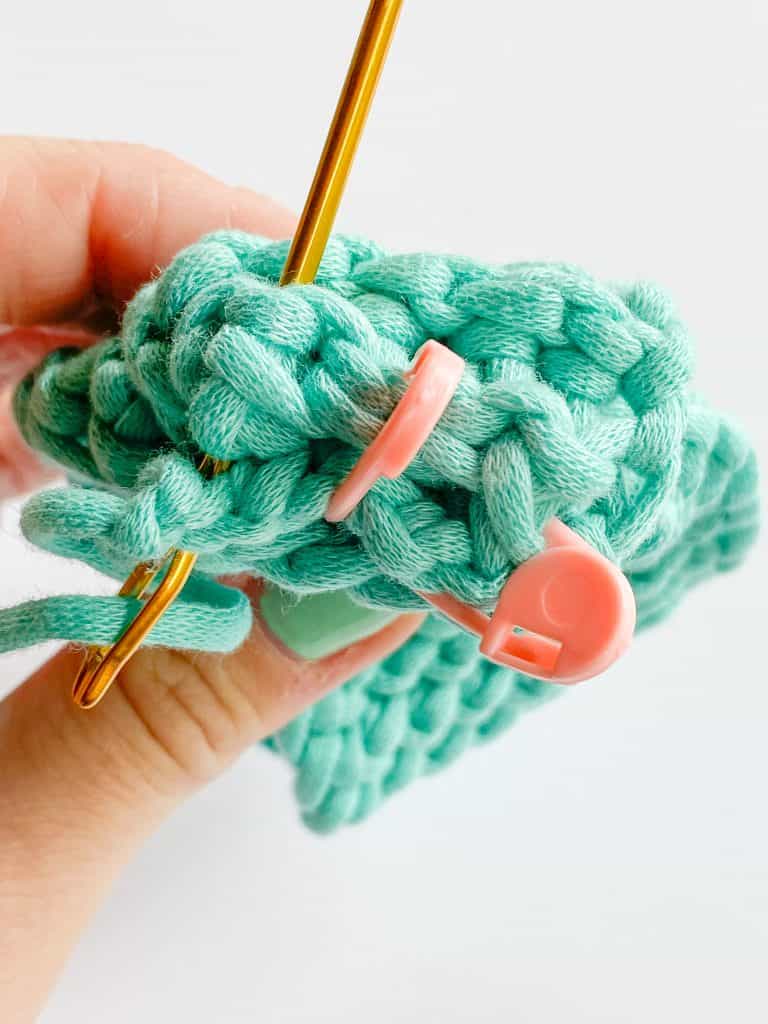
Use a stitch marker(s) to hold the two pieces together. (Photo B)
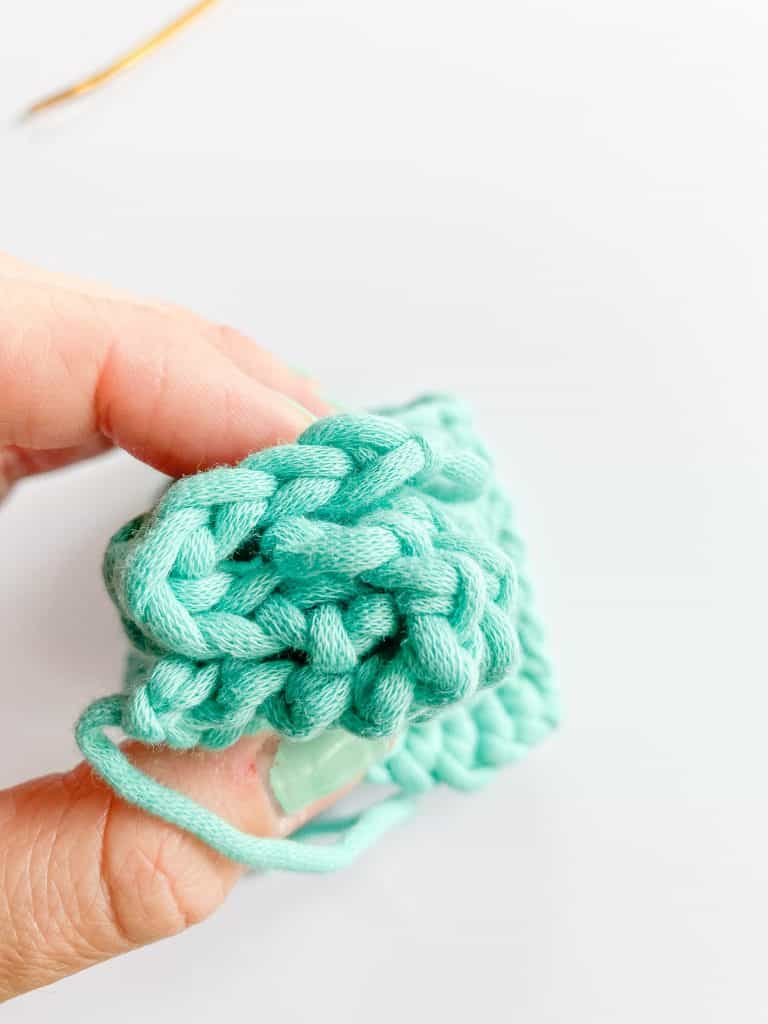
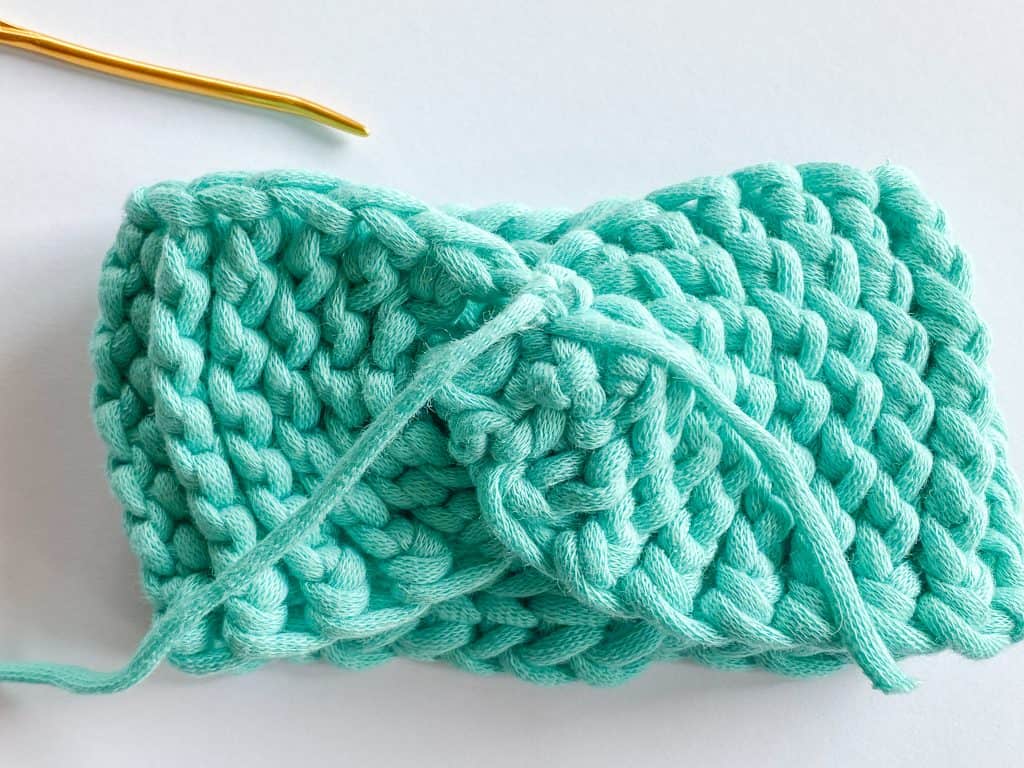
Using your needle, stitch together the pieces and be sure to pick up all 4 layers. (Photo C)
After stitching together, I like to turn back to right side out to make sure I picked up all stitches before tying off.
After tying off, weave tail into seam to secure and cut loose ends.
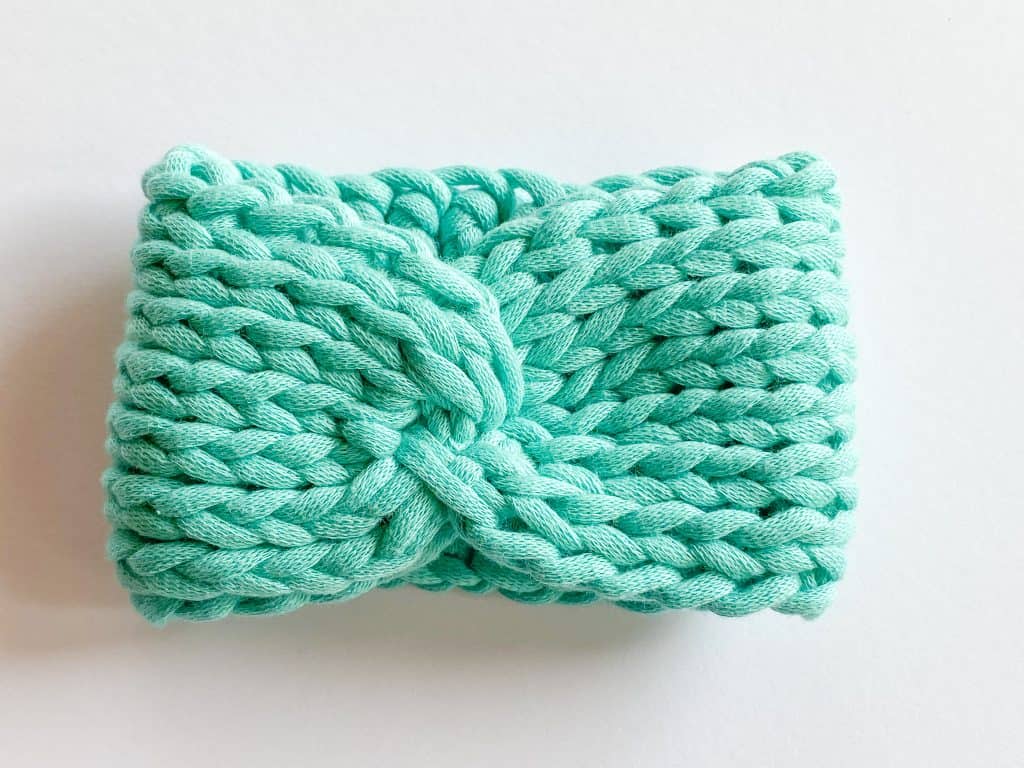
Congratulations, you’re done!! Go out and enjoy!
I would absolutely love to see your finished Ear Warmer and your gorgeous color choices!
Add your photos on Ravelry:
https://www.ravelry.com/designers/kelsey-cole
Tag me on Instagram:
https://www.instagram.com/kelseyjanedesigns

If you enjoyed this pattern be sure to check out other free crochet patterns!
