

Unleash Your Creativity: Make Your Own Crochet Monstera Bag Keychain
The following post contains affiliate links. By clicking on the links you are supporting my site and allowing me to continue to create free content. I promise, I only share products that I use and love! For more information please see my disclosure page.
Are you ready to unleash your creativity and add a touch of whimsy to your style? Imagine accessorizing your bags with an adorable crochet Monstera keychain that will turn heads wherever you go. From learning how to stiffen the cotton crochet ornament to creating a fluffy pom-pom and a tassel, I’ll guide you step by step through the process. Get ready to elevate your accessories game and embrace eco-friendly gifting with this charming DIY project. So, grab your yarn and crochet hook, and let’s embark on a journey of creativity together.
Disclaimer: I used a pattern to crochet the Monstera leaf. I purchased the pattern on ETSY from CallCrochets. It’s extremely detailed and organized with excellent photos of each step. I believe that an eager beginner can easily crochet it!
The Story Behind the Project
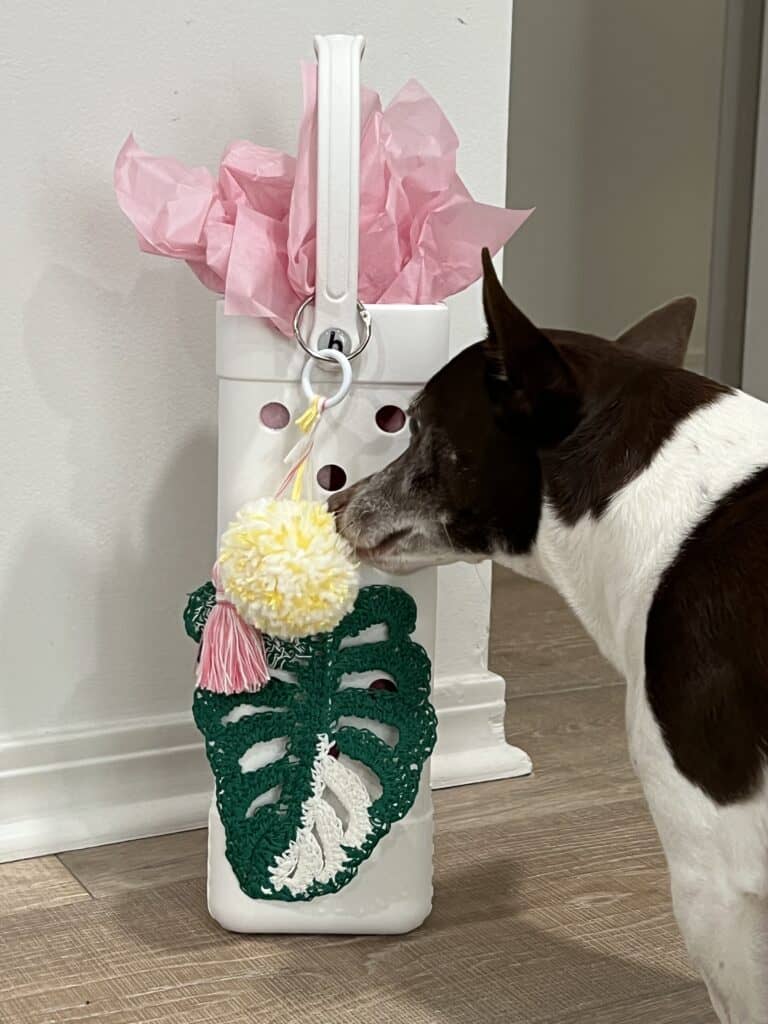
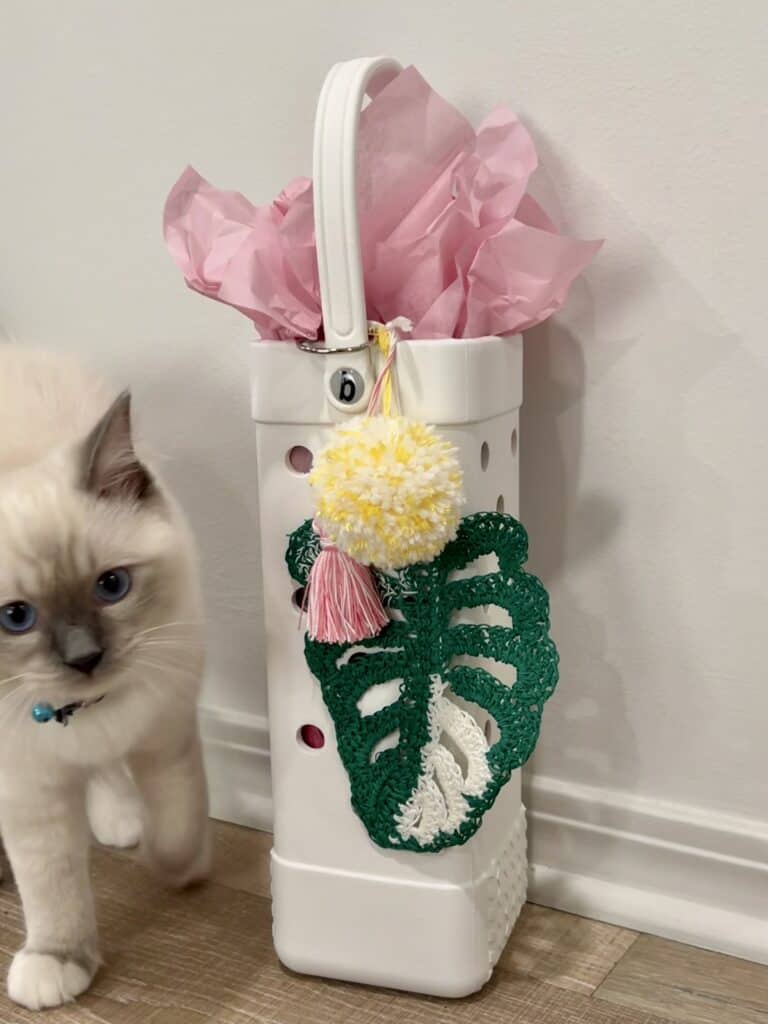
Recently for a friend’s birthday I created this cute, tropical keychain to adorn the Bogg Wine Bag I had gotten her. I got the idea while purchasing the bag. The store had a big bowl filled with adorable cotton pom pom keychains. Problem is, those keychains were like $68. Obviously, I knew I could make something much better myself!
Supplies Used
- 100% cotton yarn; (lace weight for Monstera and Tassel) (acrylic, worsted for pom pom)
- Honestly, you can use absolutely any yarn you want.
- Crochet Hook (size corresponding to the yarn)
- Pom Pom Maker (I used the greenish/yellow one, you can also use cardboard)
- Cardboard (to make a tassel)
- Scissors
- 1″ wooden or plastic ring
- Binder Ring (to attach to bag)
- Spray Starch
This project was one of those where I improvised to what ever I had around the house. So, feel free to use any yarn you’d like or what ever you have around for the clip/ring.


Crocheting the Monstera Leaf
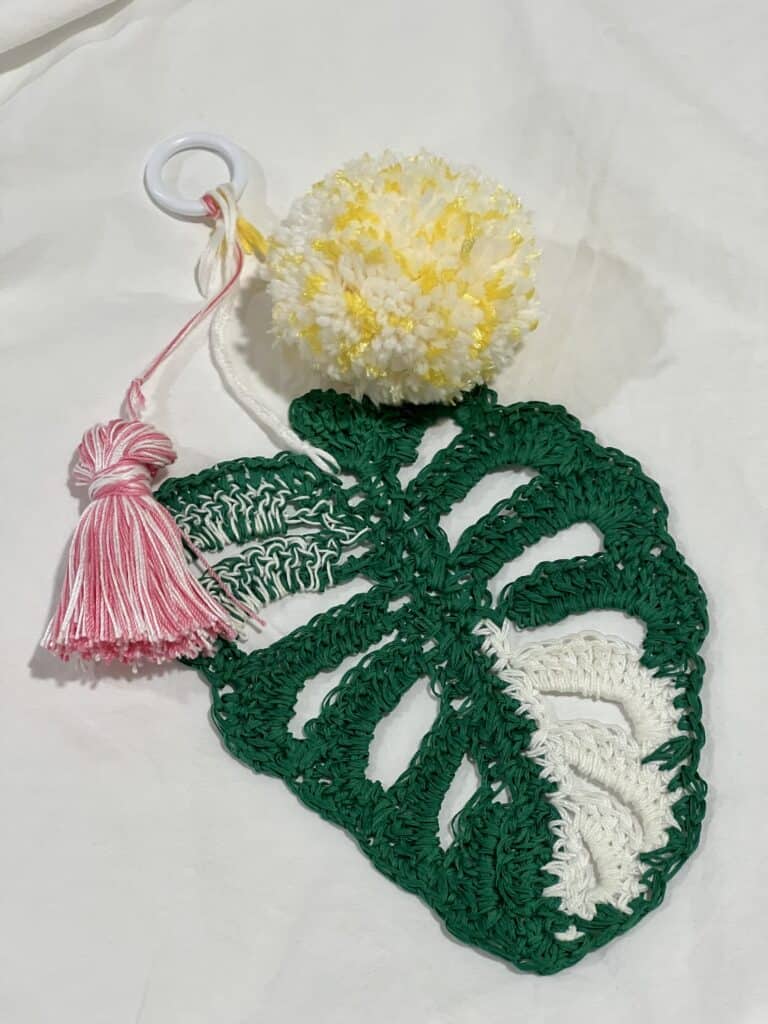
I used two strands of lace weight yarn held together with a 3.5mm crochet hook. I wanted this bag to look like my favorite plant to daydream about. The gorgeous varigated monstrea. So I incorporated white into the leaf.
The pattern was very well written and extremely detailed. I ended up making my starting chain longer to make my leaf slightly bigger.

How to use spray starch to stiffen your cotton crochet Monstera ornament.
Now that you’ve successfully crocheted your Monstera applique, it’s time to add the finishing touch and ensure that it maintains its shape and structure. One effective method to achieve this is by using spray starch to stiffen your cotton crochet ornament.
Spray starch is a simple yet powerful tool in the world of DIY crafting. It helps to transform your soft, pliable crocheted creation into a more rigid and durable piece. By stiffening your Monstera leaf, you can ensure that it retains its stiffness and remains visually appealing for a long time to come.
To begin, gather your materials: your completed cotton crochet monstera ornament that has been made as flat as possible (ex: lay heavy books on top), a can of spray starch, and a clean, flat surface to work on. Make sure the surface is protected with a plastic sheet or newspaper to prevent any unintentional stains.
Start by shaking the can of spray starch thoroughly to ensure that the product is well-mixed. Holding the can about 6-8 inches away from your crochet ornament, begin spraying an even layer of starch onto the entire surface. I fully saturated mine as I was looking for that perfectly stiff appearance.
After applying the starch, gently press and shape the monstera ornament with your fingers to help distribute the starch evenly and remove any excess moisture. Pay special attention to the leaves and any intricate areas, ensuring that they maintain their distinct shape.
Once fully dried, I laid it under heavy books overnight to ensure flatness. The spray starch also works wonders on the pesky little yarn ends to prevent fraying and creating a clean look.
Using spray starch to stiffen your cotton crochet monstera ornament is a fantastic way to elevate your project. Not only does it enhance the overall quality and durability of your creation, but it also adds a professional touch. So don’t be afraid to experiment with this technique and unleash your creativity with confidence.,
Using a Pom Pom Maker
Consider adding a touch of whimsy with a pom pom. Using a pom pom maker is a simple yet effective way to create colorful and fluffy adornments that will add personality to your keychain.
To get started, select your desired yarn colors for the pom pom. You can stick with traditional one color or experiment with different shades to match your personal style. I used 3 strands of white and 1 yellow all at once. Once you have your yarn ready, follow these easy steps to create your pom pom:
- Open the pom pom maker and separate the two halves. You will notice that each half has a curved side and a flat side.
- Begin by wrapping the yarn around one-half of the pom pom maker. Start by making a loop around one of the curved sides, then continue wrapping the yarn around the half, covering it entirely.
- Once you have wrapped the yarn completely around one half, close it and move on to the other half. Repeat the wrapping process on the other side, ensuring that the yarn is evenly distributed.
- Once both halves are wrapped, use sharp scissors to cut along the outer edges of the pom pom maker. Be careful not to cut the yarn in the center, as this will hold your pom pom together.
- After cutting along the edges, take a separate piece of yarn and tie it tightly around the center of the pom pom maker, securing the yarn in place.
- Gently pull apart the two halves of the pom pom maker, revealing your fluffy pom pom. Give it a gentle shake to fluff it up and trim any uneven yarn strands to create a neat and uniform shape.
Using a piece of cardboard to make a tassel.
Using a piece of cardboard to make a tassel is a simple and fun technique that adds another dimension to your bag keychain. To begin, find a piece of cardboard or thick cardstock that is approximately the length you want your tassel to be. This could be around 4-6 inches, depending on your preference.
Once you have your cardboard, start by wrapping your chosen yarn around the width of the cardboard. The more times you wrap the yarn, the fuller the tassel will be, so feel free to experiment and find your desired look. Make sure to leave a small tail of yarn hanging down at the starting point.
Once you are satisfied with the amount of yarn wrapped around the cardboard, carefully slide the wrapped yarn off the cardboard, keeping the small tail in place. Take another piece of yarn, approximately 8-10 inches long, and slide it under the wrapped yarn near the top. Tie a tight knot to secure the yarn, creating the top part of the tassel.
Next, take a sharp pair of scissors and insert them into the bottom loops of the wrapped yarn. Cut across all the loops, ensuring that you do not cut the top piece of yarn that you just tied. As you cut through the loops, the yarn will fall down and create a fluffy tassel shape.
Once you have cut through all the loops, take another piece of yarn, approximately 10-12 inches long, and tie it tightly around the top of the tassel, about 1 inch below the top knot. This will help give your tassel a defined “head” and “body” shape. I then carefully used the spray starch the adhere the knot on the back and create a clean look.
To finish off the tassel, trim any uneven strands of yarn to create a neat and uniform shape. You can make the tassel as long or short as you like by trimming the bottom strands. Play around with different lengths to see what you like best.
Using a piece of cardboard to make a tassel is a versatile technique that allows you to customize the look of your bag keychain even further. With a fluffy pom pom and a stylish tassel, your keychain will be a unique and eye-catching accessory. Now that you know how to make both, it’s time to attach them to your crochet monstera bag keychain and showcase your creativity.,